Tag Archives: recipe

Hot Flash Cupcakes!

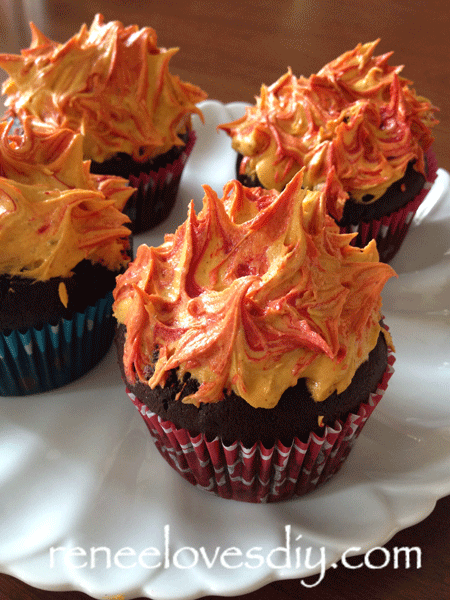
These cupcakes are on fire!!
Hot Flash Cupcakes!
Hot Flash Cupcakes!

Hot Flash Cupcakes prove that menopause doesn’t have to be all bad!  Rich dark chocolate cupcakes combined with spicy buttercream frosting makes for a cupcake anyone would love!  Add some fire and you have the perfect gift for your hot flashing friends!

To prepare these fabulous Hot Flash Cupcakes, you need a dark chocolate cupcake recipe and luckily for you, I have one!  This recipe makes one dozen rich wonderful cupcakes that stand up well to the spicy buttercream that tops this fun and flashy dessert!

As always, a printable recipe can be found at the bottom of the page!

Dark Chocolate Cupcake Recipe

1 Stick of Butter at Room Temperature
3/4 Cup of Sugar
1 Large Egg at Room Temperature
1/2 Teaspoon of Vanilla
1 Cup Flour
1/2 Cup Cocoa Powder
1/2 Teaspoon Baking Soda
1/2 Teaspoon Salt
1/2 Cup Buttermilk at Room Temperature
1/2 Cup Hot Water
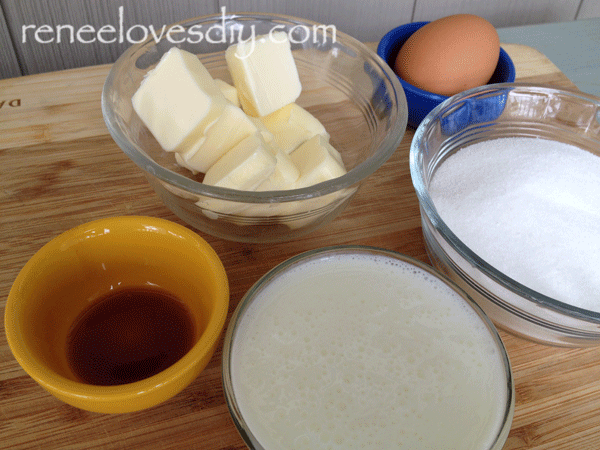
Dark Chocolate Cupcake Recipe

Gather all the ingredients!

Dark Chocolate Cupcake Recipe

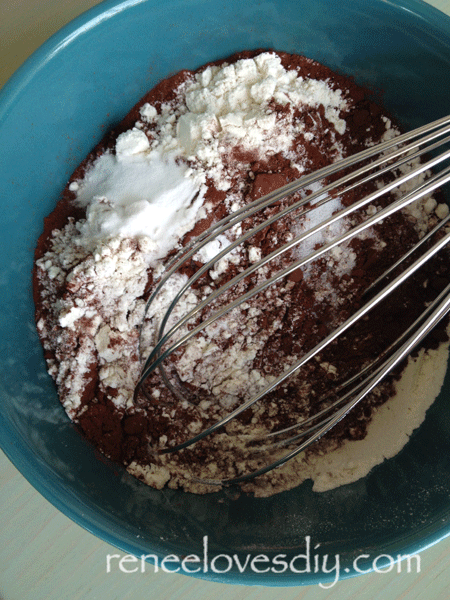
Whisk the dry ingredients together in a medium size bowl.  Beat butter in a large bowl at medium speed until light and fluffy.  Add the sugar and beat well, add the egg and vanilla and beat well.

Add 1/3 of the dry ingredients and beat until just combined,  Add ½ of the buttermilk, beat until just combined.  Repeat with 1/3 of the dry ingredients and the rest of the buttermilk. Finish with the rest of the dry ingredients, mixing until just combined. At a slow speed, beat ½ cup hot water into the batter until just combined.

Prepare the cupcake tin with 12 paper cups and distribute the batter evenly.
Bake at 350 degrees for 17-20 minutes until a cake tester comes out clean.
Cool on a wire rack.
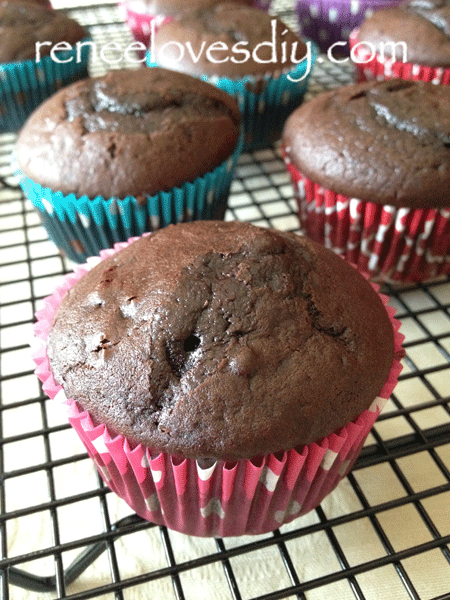
Wonderful Dark Chocolate Cupcakes!

Don’t they look incredible – they taste yummy too!

Now for the frosting!

Spicy Buttercream Frosting Recipe!

2 Sticks of Butter at Room Temperature
3 Cups of Powdered Sugar
2 Teaspoons of Cream
1 Teaspoons of Vanilla
1 Teaspoon of Cinnamon
1 Teaspoon of Chipotle Chili Powder
1/4 Teaspoon of Cayenne Pepper
1/4 Teaspoon Salt

Combine all spices into a small bowl.
For those of you who like it  extra hot, you can up the cayenne pepper to 1/2 teaspoon!
In a large bowl, beat the butter until light and fluffy.  At low speed, add the powdered sugar and cream, varying the amounts until the desired consistency is achieved.
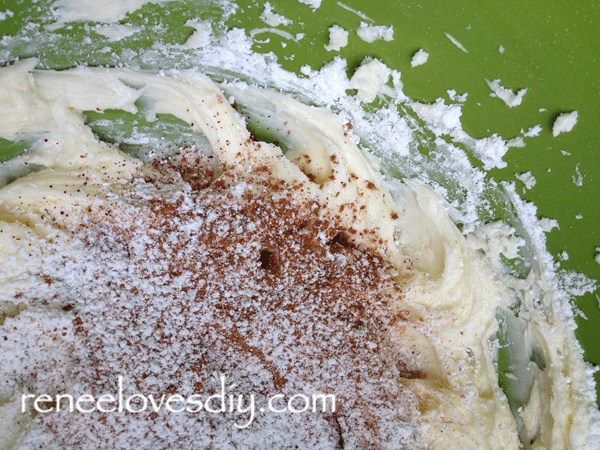
Spicy Buttercream Frosting

Sift the spices into the frosting, add the vanilla and beat until light and fluffy.
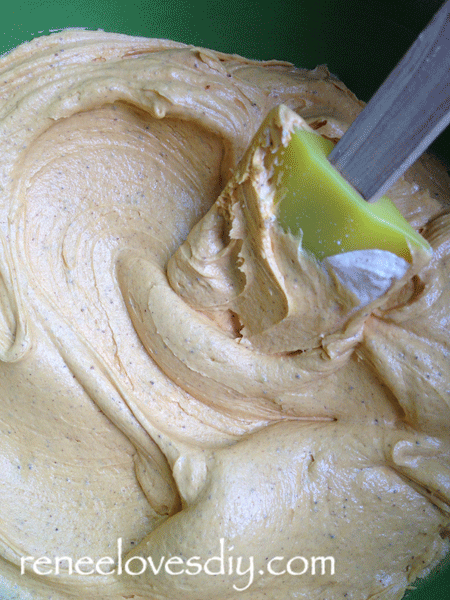
Spicy Buttercream Frosting

Time to turn that spicy frosting into Fire!

We all know that the hottest part of the flame is yellow, therefore you need to try to make your frosting yellow as it will be the center or hottest part of the flame!  The added spice mixture makes this challenging because it lends a brownish hue to the frosting.  Just go ahead and throw in some yellow food coloring and mix well.  No need for perfection.  You will be adding orange and red to the tips of the flames and it will all turn out fabulously.   Now it’s time to frost!  Fill your pastry bag and frost using whatever tip you want. Try to form peaks like flames of a fire!
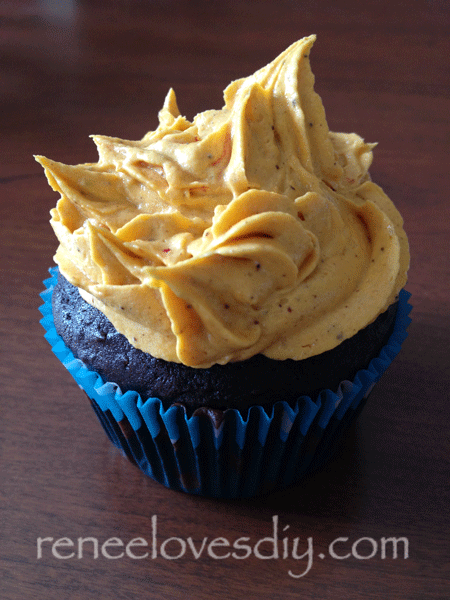
Spicy Buttercream Frosting

To finish your flames, add red and orange food coloring to a small amount of frosting. Gently mix the color in the frosting while trying to keep the colors mostly separate!
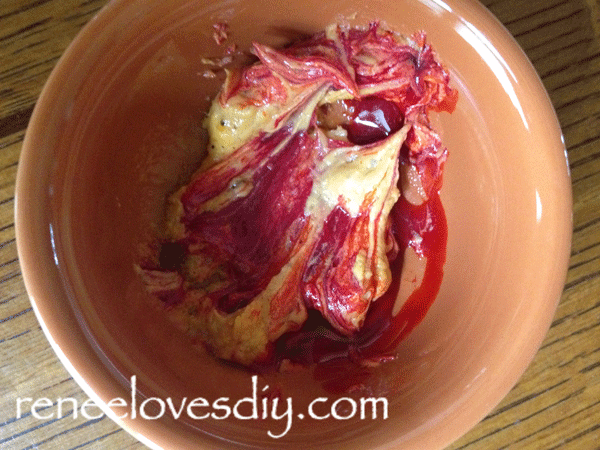
Making Fire with Frosting!
Hot Flash Cupcakes!

Using a fork, pick up a small amount of the colored frosting and streak it through the piped frosting of each cupcake.  Try to make it look like fire by lifting and separating the buttercream into flames!
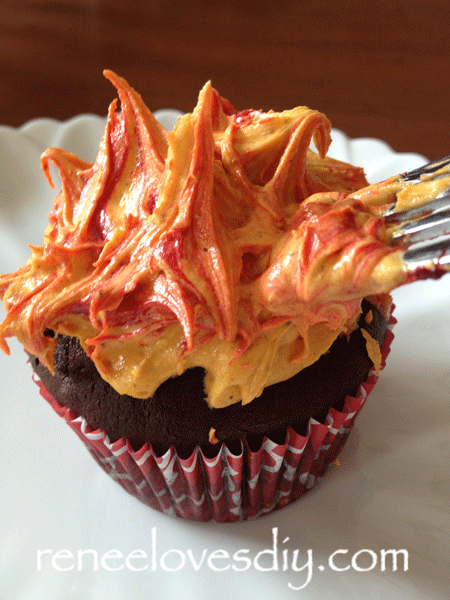
Hot Flash Cupcakes!
Hot Flash Cupcakes!

Hot Flash Cupcakes will bring a smile to all your Hot Flashing friends!
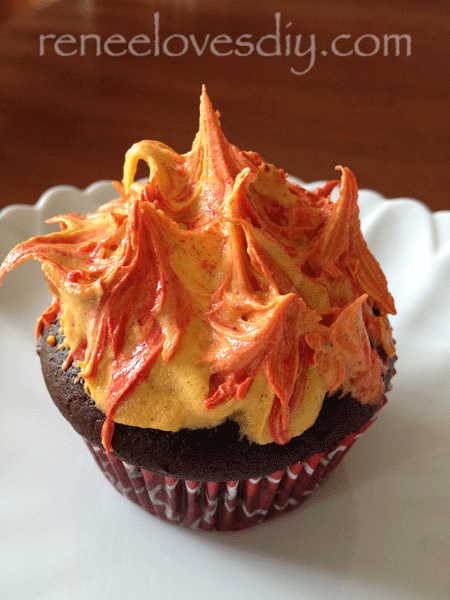
Hot Flash Cupcakes will bring a smile to all your Hot Flashing friends!

For all you Hunger Games fans, these would work well at your next Hunger Games party!

[gmc_recipe 2820]

[gmc_recipe 2835]
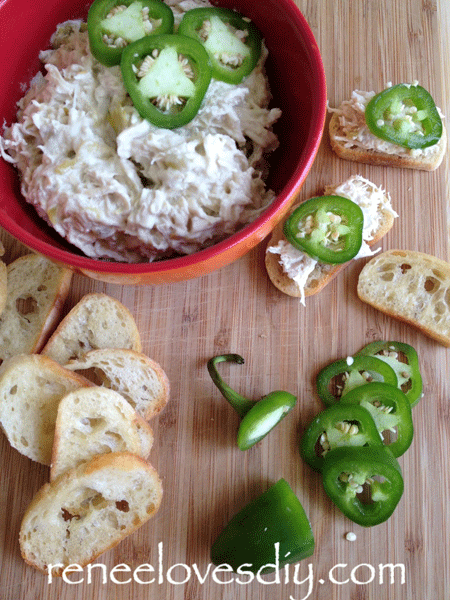
Spicy Chicken Dip Recipe

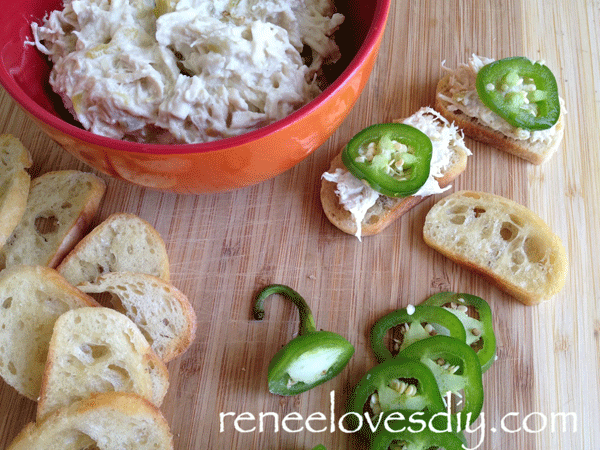
This Chicken Dip Recipe is made spicy by adding jalapeños and it is wonderful. My favorite way to eat the dip is on crostini, but it also makes a great sandwich spread.

So many options –  dip at a party, sandwich spread for your family or something you whip up at the last minute to impress your friends!

If you want to turn down the temperature, this recipe can be prepared with the wonderful flavor of mild green chilis instead of the jalapeños!

Spicy Chicken Spread Recipe
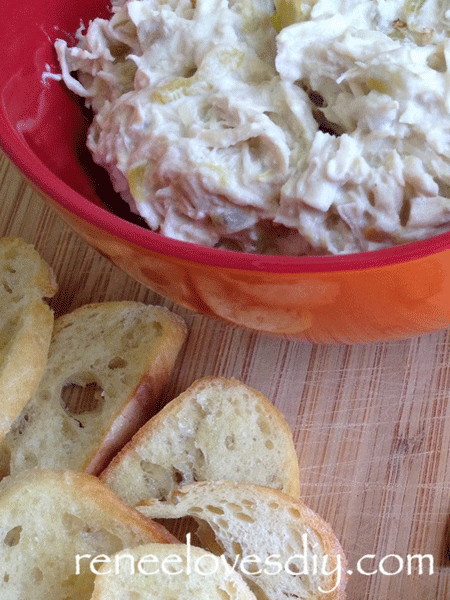
Spicy Chicken Dip on Crostini!

The original recipe came from a friend of mine and it contained a lot more cream cheese than chicken so I changed it so it’s more about spicy chicken made creamy with less cream cheese!

Spicy Chicken Spread
1 lb of cooked chicken –  shredded
8 oz cream cheese
1 cup chicken broth
1 – 4 oz can mild green chili’s – drained
1 – 4 oz can diced jalapenos – drained (optional)
Salt and Pepper to taste

Spicy Chicken Spread Recipe
Spicy Chicken Dip Recipe

I always use the entire can of green chilis and only a tablespoon or two of the jalapeños. The jalapenos have a wonderful flavor that I love, but adding the entire can makes it too spicy for me!  For those in my family that can’t seem to get enough spice, I keep the left over diced jalapeños as a condiment!

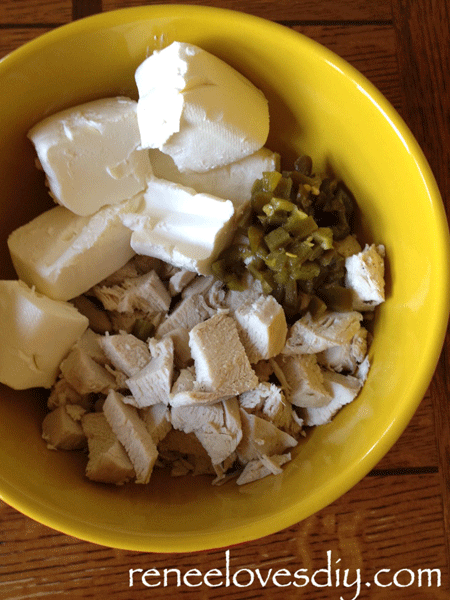
Combine all the ingredients together, stir well and heat in a covered  crock pot for at least an hour.  Stir occasionally while cooking.


Spicy Chicken Spread Recipe
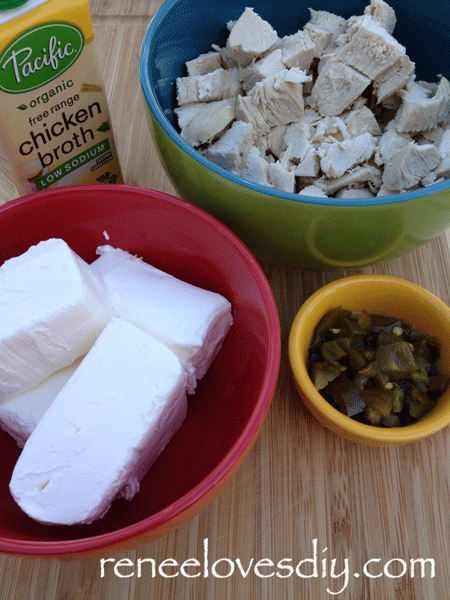
Spicy Chicken Dip Ingredients

The result is a creamy delicious chicken spread that everyone will love!

Spicy Chicken Spread Recipe
Spicy Chicken Dip

When I am in a hurry, I microwave all the ingredients for a few minutes in a bowl  and then pour them into the crock pot. This speeds things up, but don’t skip the crock pot all together. Allowing the chicken mixture to simmer in the crock pot adds something special to the recipe!


Spicy Chicken Spread Recipe
Spicy Chicken Dip with Jalapeños!

The truly brave can top the chicken dip with fresh jalapeños!

Enjoy!

I linked up to iheartnaptime!


Gingerbread Pancake Recipe

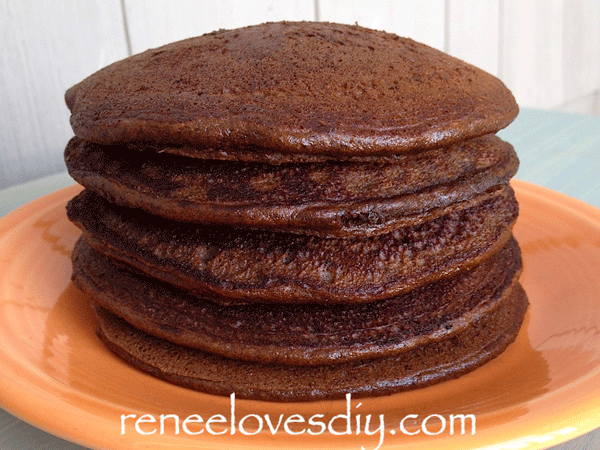
Gingerbread Pancake Recipe

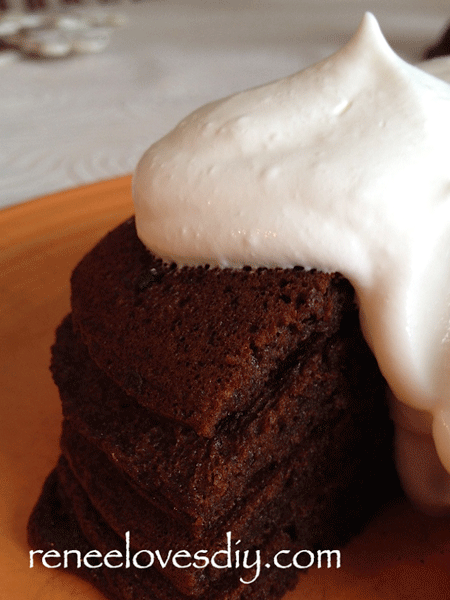
I love gingerbread and what could be better than starting the day with rich, moist, wonderful pancakes!  These Gingerbread pancakes can be prepared gluten-free and are full of molasses, cinnamon, ginger, cloves and the special ingredient – buckwheat!  Top them with luscious whipped cream and everyone will be coming back for more of these hearty and delicious pancakes!

I was challenged to make this recipe from my sister who is very good at varying her diet.  I tend to get stuck in a rut with cooking so I was up for the challenge.

This recipe includes two ingredients you may not commonly use – Molasses and Buckwheat!

Molasses is an excellent sugar to use when baking and blackstrap molasses is the healthiest because it contains the least amount of sugar and the highest concentration of vitamins and minerals.  Who knew sugars could be healthy, but don’t go crazy with it as it is still a sugar!

Buckwheat is gluten-free and is very good for you!  I have to admit, until now I have never been a fan of the flavor of buckwheat.  In this recipe though, the buckwheat seems to enhance the dark richness of the molasses!
Buckwheat – you have a new fan!

For more information on buckwheat, here is a wonderful link to check out!
The World’s Healthiest Foods

Now on to the recipe!

Gingerbread Pancake Recipe
2 Eggs
2 Tablespoons Coconut Oil (melted)
1 Cup Buttermilk
1/2 Cup Molasses
1 Teaspoon Vanilla
3 Tablespoon Brown Sugar
1 Cup Pancake Mix (I use Pamelas’s Gluten-free Baking and Pancake Mix)
1/3 Cup Buckwheat
1/2 Teaspoon Cinnamon
1/2 Teaspoon Ginger
1/4 Teaspoon Ground Cloves
1/4 Teaspoon Salt
Whipped Cream for a delicious topping!

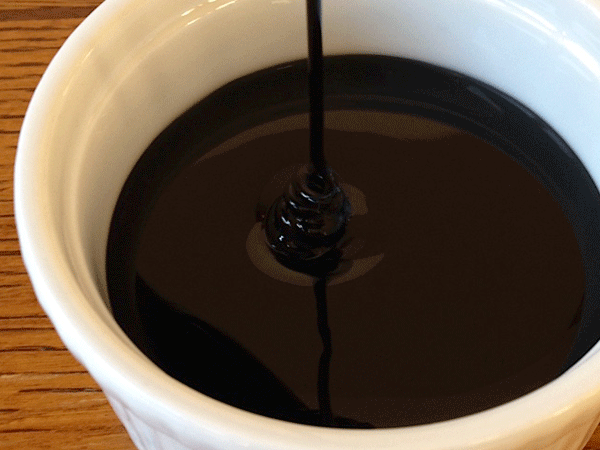
Molasses for Gingerbread Pancakes!

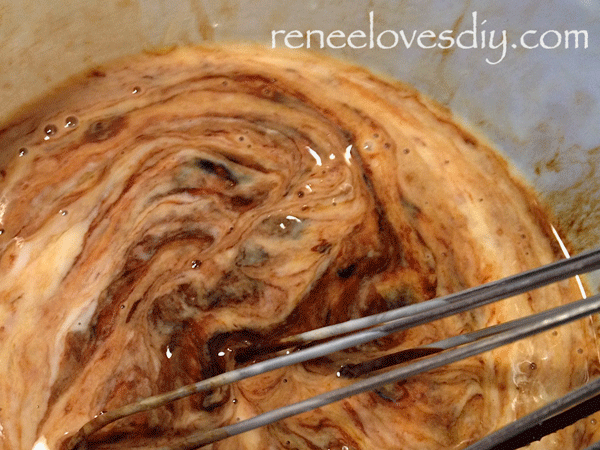
Using a whisk, blend the eggs, oil, buttermilk,  molasses and vanilla.

Gingerbread Pancake Recipe

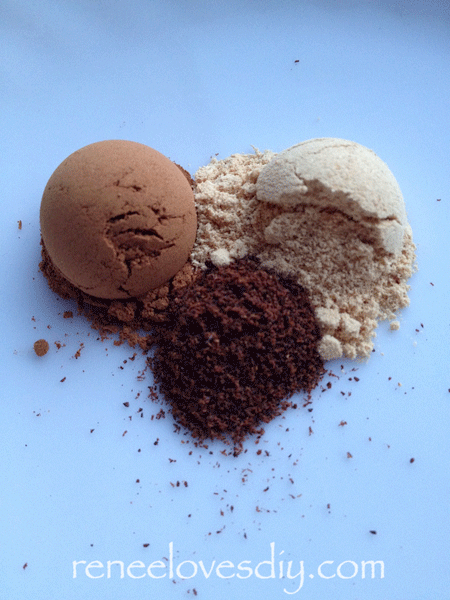
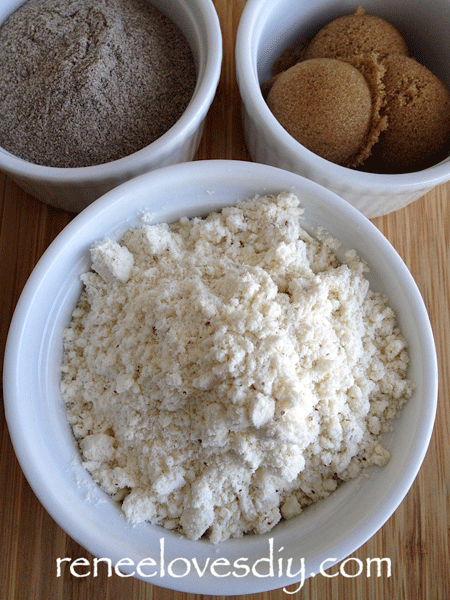
Mix all the dry ingredients together!

Cinnamon, Cloves & Ginger
Gingerbread Pancake Recipe
Gingerbread Pancake Recipe Ingredients

Blend the dry ingredients  into the egg mixture until just mixed!  A few lumps are fine!

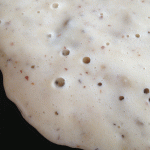
Lightly oil a griddle and heat over medium heat. Pour 1/4 cup of batter onto your pan.  The pancake will begin to form bubbles. When the bubbles on your pancake begin to pop and the edges look dry, flip the pancake and cook until browned.

Gingerbread Pancake Recipe

My favorite topping for gingerbread is whipped cream, but the pancakes would also be delicious topped with apple sauce!

If you wish to use maple syrup on your gingerbread pancakes, skip the brown sugar in the recipe.  I added the brown sugar because I knew I would be topping my fabulous pancakes with whipped cream!  Yummy!

Here is a printable copy of the recipe!

Enjoy!

[gmc_recipe 2341]

I linked up to iheartnaptime!

Egg Soufflé Recipe

Egg Soufflé Recipe
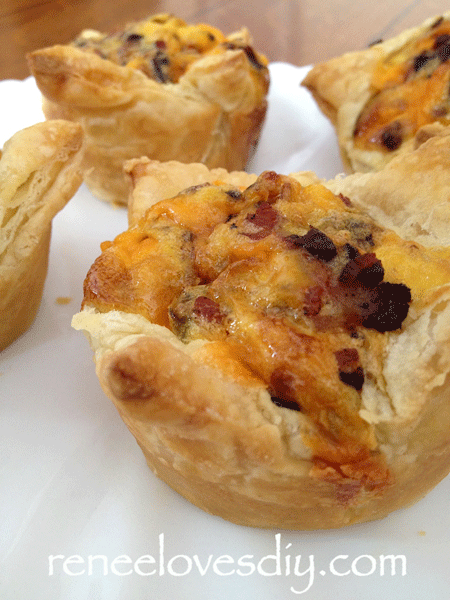
Egg Soufflé Recipe

 Here is a delicious, elegant and beautiful breakfast to prepare for company or for those you love the most – your family!  If you can make scrambled eggs you can prepare these wonderful soufflés!

What do you need?
1/2 small onion – diced
1 small green pepper – diced
1 jalapeno – diced (optional)
9 eggs
4 sliced cooked bacon – crumbled
1 cup shredded cheddar cheese
1 sheet of puffed pastry
salt and pepper

Preheat oven to 350 degrees.
Prepare a muffin tin by spraying with cooking spray.

Puff Pastry for the Egg Soufflé Crust

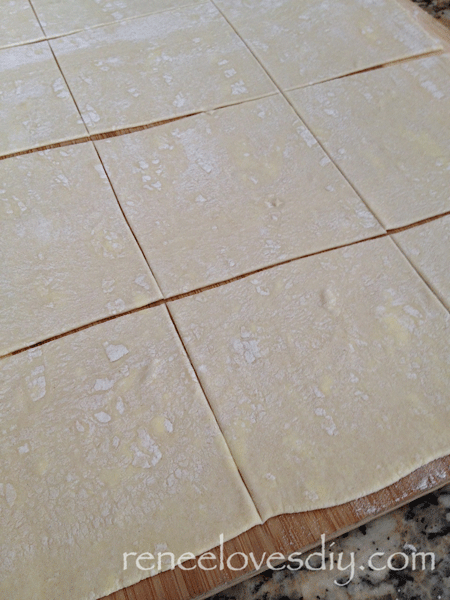
On a floured surface, roll out the puffed pastry sheet until it is a  12″ X 16″ rectangle.  Using a pizza cutter, cut the pastry into 12 – 4″ squares.

Puff Pastry for the Egg Soufflé Crust

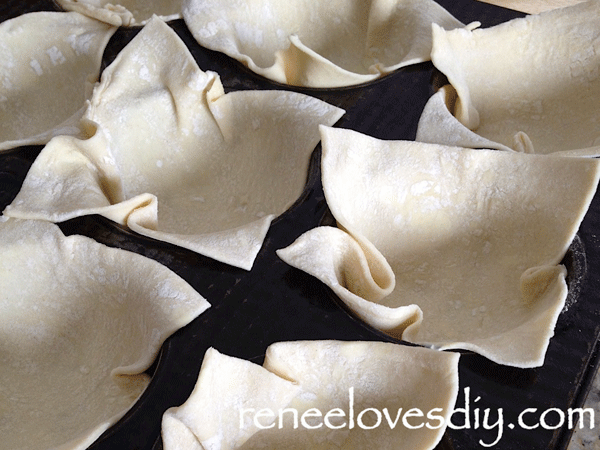
Line each of the holes of your muffin tin with one of the pastry squares

Egg Soufflé Recipe
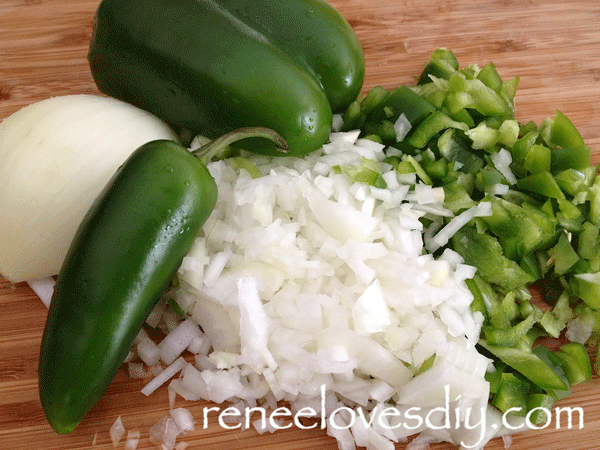
Dice onions and peppers for the Egg Soufflé Recipe

Sauté the onion, green pepper and optional jalapeno in a small frying pan coated in oil until the onions become translucent.  (Coconut oil is my favorite!)

Egg Soufflé
Egg Soufflé

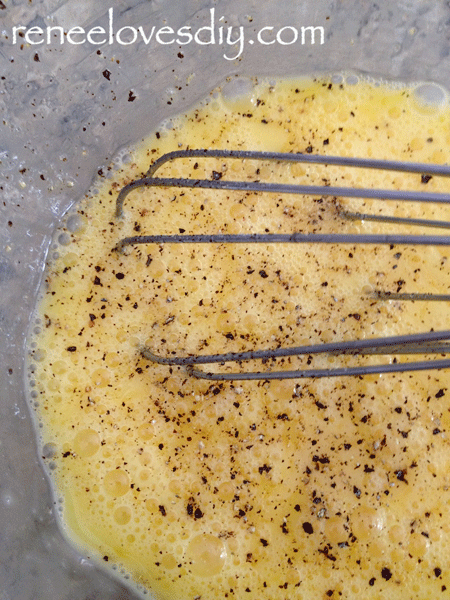
In a medium sized bowl, whisk the eggs and add the sautéd peppers and onions.  Season with salt and pepper.

Egg Soufflé Recipe
Egg Soufflé Recipe

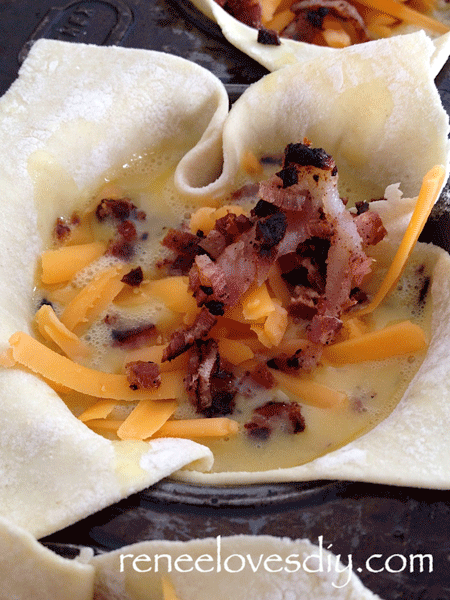
Using a large spoon, distribute the egg mixture evenly to the pastry lined muffin tin.

Top each of the soufflés with the shredded cheese and bacon.

Egg Soufflé Recipe
Egg Soufflé Recipe

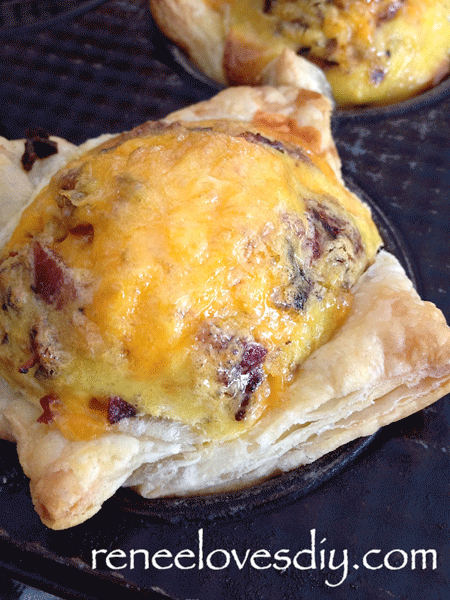
Bake at 350 degrees for 20-25 minutes until the soufflés have puffed and the pastry is golden brown.

Egg Soufflé Recipe
Egg Soufflé Recipe

Doesn’t that look delicious!
I’m getting hungry!

Enjoy!

Here is a printable recipe for you!

[gmc_recipe 2201]

I linked up to iheartnaptime!

Creamy Rich Hot Chocolate

“This is sooo good” –  my son’s comment after taking a sip of this wonderful hot chocolate!
My daughter describes it as “creamy, delicious and chocolatey!”

This recipe truly makes a heavenly, rich hot chocolate that is so easy to prepare!

Hot Chocolate

A printable recipe can be found at the bottom of this post!

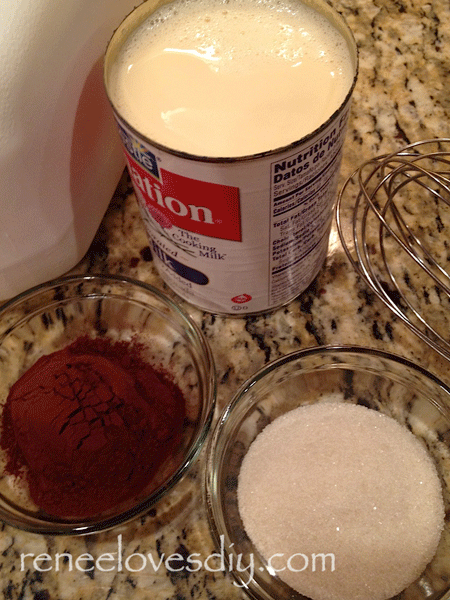
Ingredients
1/4 cup Cocoa – I use Dutch Processed!
3 Tablespoons Sugar
1/2 cup water
12 oz Evaporated Milk
6 oz Milk
1/4 teaspoon of Vanilla
Dash of Salt

hotChoc

If you do not have Dutch Processed Cocoa – no worries!  Any cocoa will work, but you may want to add an additional tablespoon of sugar with any other cocoa!  If you can get your hands on the Dutch Processed – it is worth it!

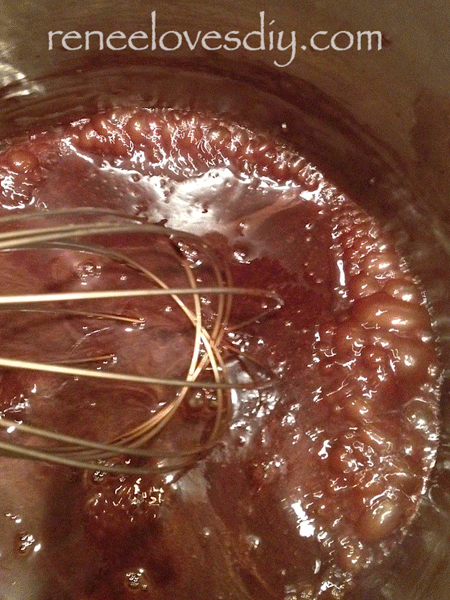
Combine the water, sugar and cocoa powder in a medium sauce pan.

hotChoc2

Bring the contents to a simmer for 3 minutes, whisking constantly.

hotchoc3

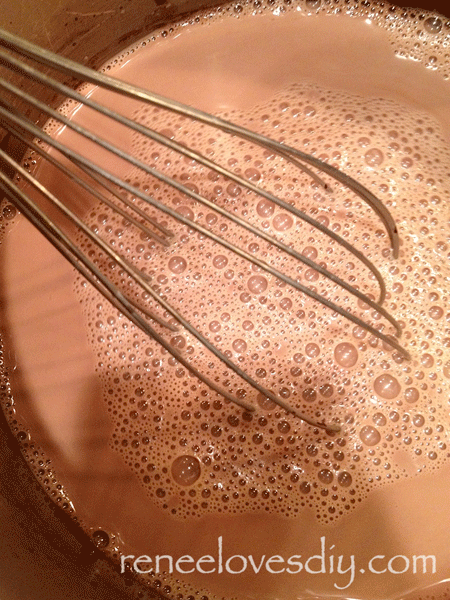
Whisk in the milk and the evaporated milk.  Heat thoroughly then remove from heat, add the vanilla and a dash of salt!  Enjoy!

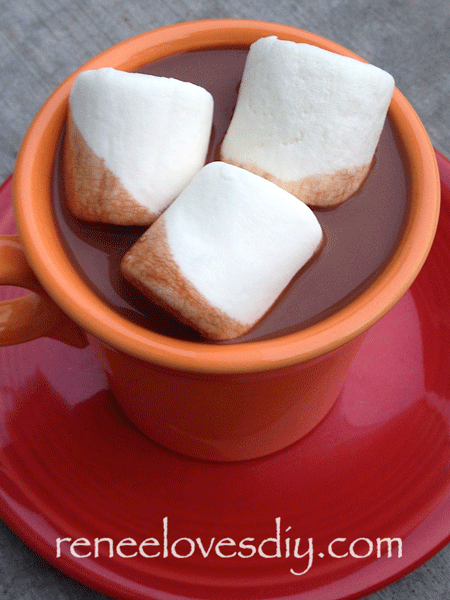
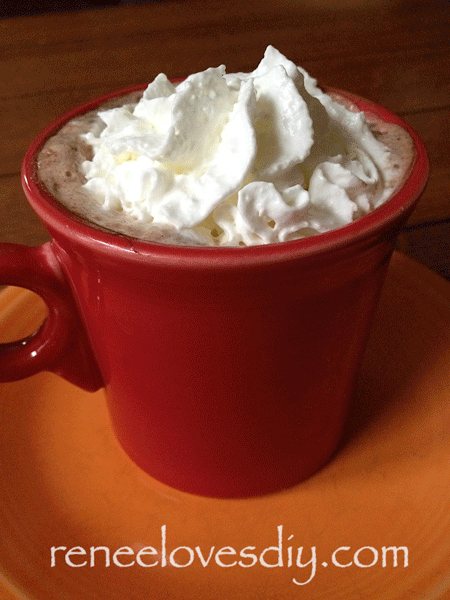
Delicious Hot Chocolate

[gmc_recipe 2062]

Chicken Taquito Recipe

Chicken Taquitos
Chicken Taquitos

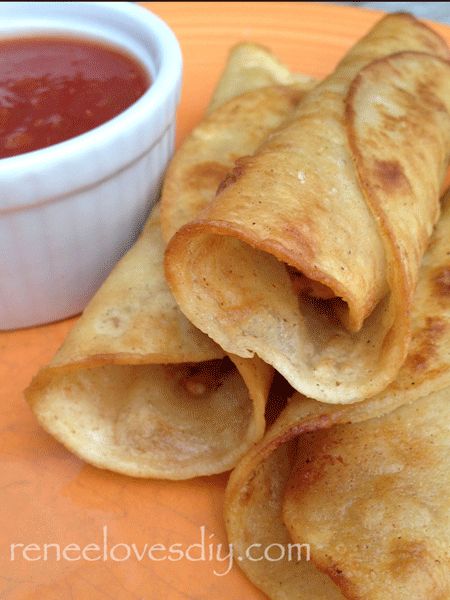
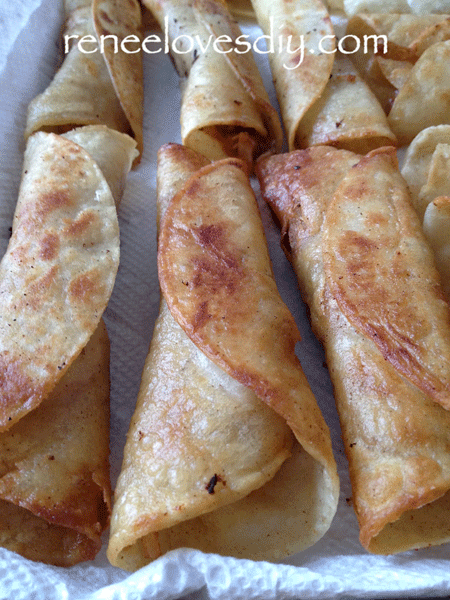
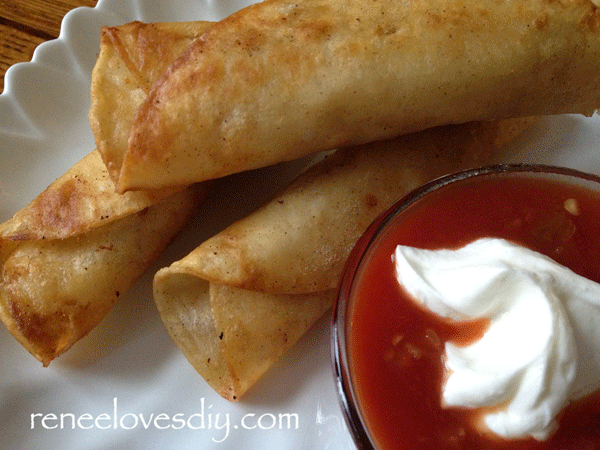
These taquitos are absolutely delicious!  Recently, I made them for a party and now everyone wants the recipe – so here it is!

A printable recipe may be found at the bottom of the post!

Chicken Taquitos

40 Corn tortillas
2 1/2 cups shredded cooked chicken (A little over a pound of chicken)
2 tsp taco seasoning  – I use the Taco Seasoning  recipe from allrecipes.com
1 small can of roasted green chilis or roasted jalapeños
3/4 cup prepared salsa
1 can refried  beans (16oz)
2 cups shredded Cheddar and/or Jack cheeses ( I use 1 cup of each!)

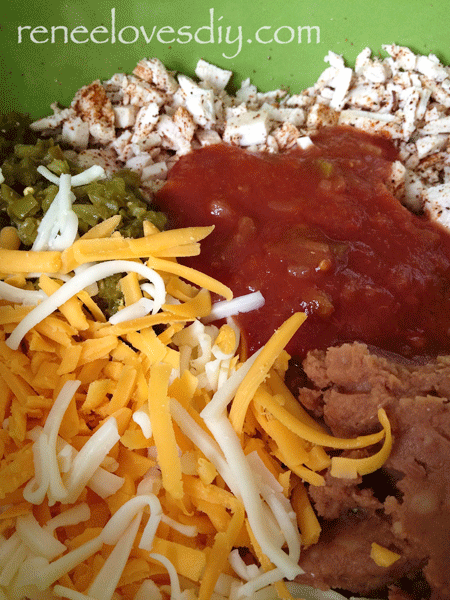
Season the shredded chicken with the taco seasoning.  Puree or finely chop the green chilis or jalapeños and add them to the chicken along with the refried beans, salsa and shredded cheese.  Mix well.

taquito
Chicken Taquito Filling

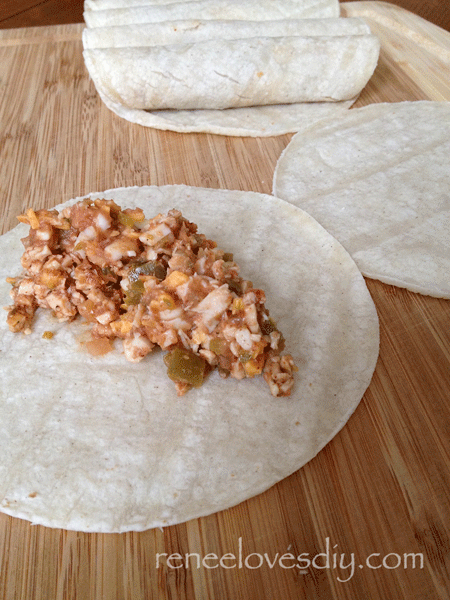
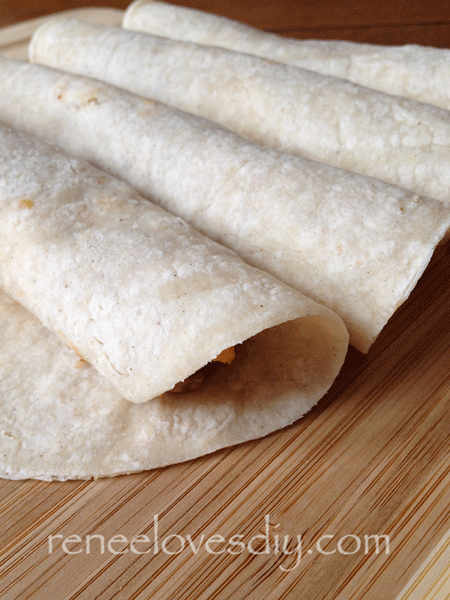
Top each corn tortilla with 2 tablespoons of the chicken mixture.  Roll tightly.  I keep them covered with a wet paper towel until I’m ready to fry them to prevent cracking.  Warming the tortillas in the microwave for a few seconds will also help prevent them from cracking.

taquito2
Preparing the Chicken Taquitos
taquito1
Chicken Taquitos ready for frying!

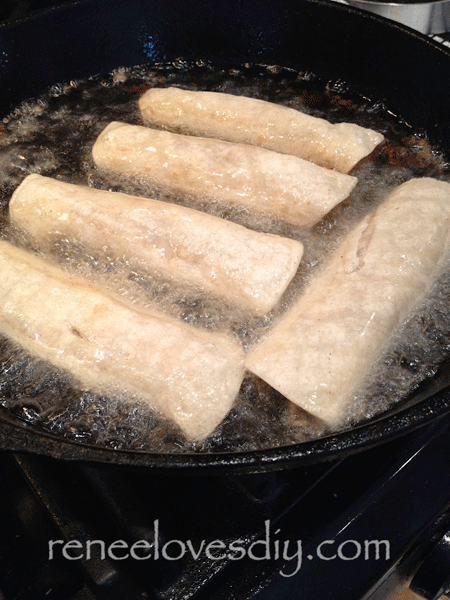
Fry the taquitos in 1 inch of oil until golden brown.  This is a little tricky – I use my grilling tongs and carefully place the taquito into the oil with the open fold down.  I hold the taquito in place for a couple of seconds to prevent it from unrolling.  Once it’s browned, I roll over the taquito and fry the opposite side.

taquito3
Frying the Chicken Taquitos

When golden brown, remove the taquitos from the oil and drain on paper towels.

taquito4
Drain the taquitos on paper towels!

Enjoy immediately or freeze them for later!  I like to serve the taquitos with salsa and greek yogurt – my healthy substitute for sour cream!  Enjoy!

Chicken Taquitos
Chicken Taquitos

[gmc_recipe 1891]


I linked up to iheartnaptime!


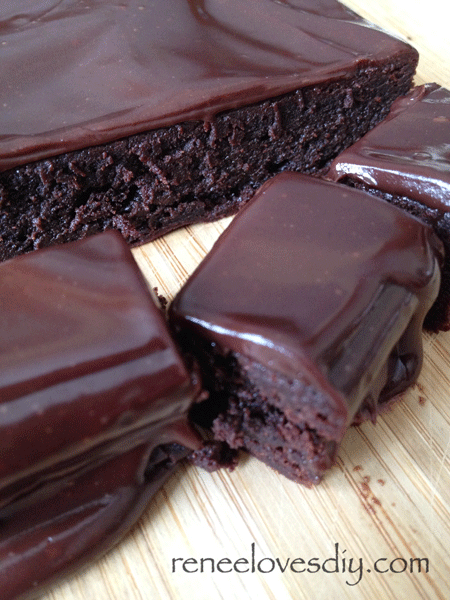
Flourless Mocha Brownie

Flourless Mocha Brownie

Who wants a delicious brownie with none of the flour and all of the delicious taste?  I do!
This recipe is one of my go-to desserts when having a party.

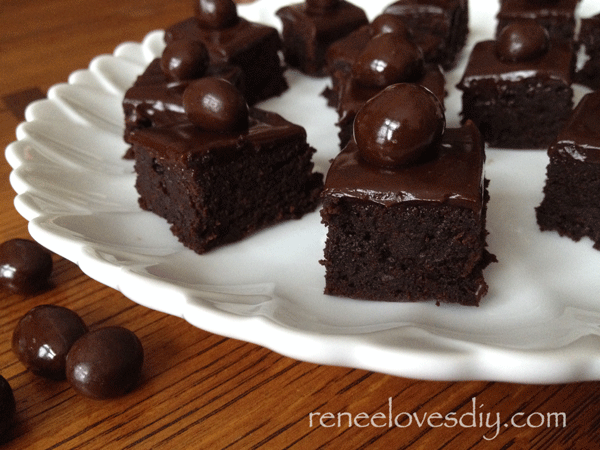
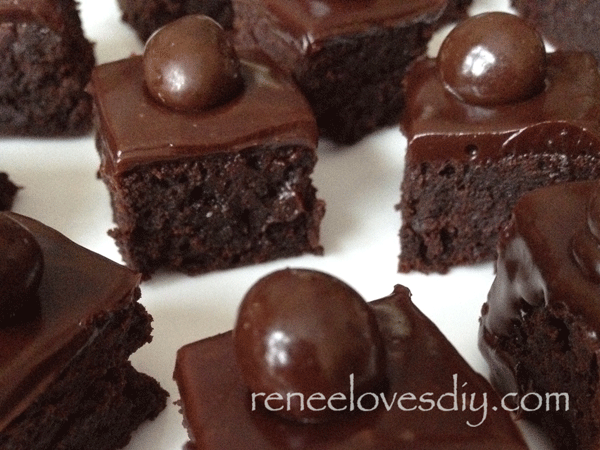
I like to cut these brownies into bite-sized pieces and top them with a chocolate covered espresso bean!  Guests seem to like desserts that are small – why? I think it’s so they can eat 5 of them and not feel guilty – hmmm.

Here is the recipe for you to try!

Flourless Mocha Brownie
½ cup unsalted butter
1 cup semi-sweet chocolate chips
½ cup sugar
1 tsp vanilla
3 eggs
dash salt
½ cup cocoa powder
2 tsp Espresso Powder

Genache Icing
2/3 cup cream
1 cup chocolate chips

Chocolate Covered Espresso Beans

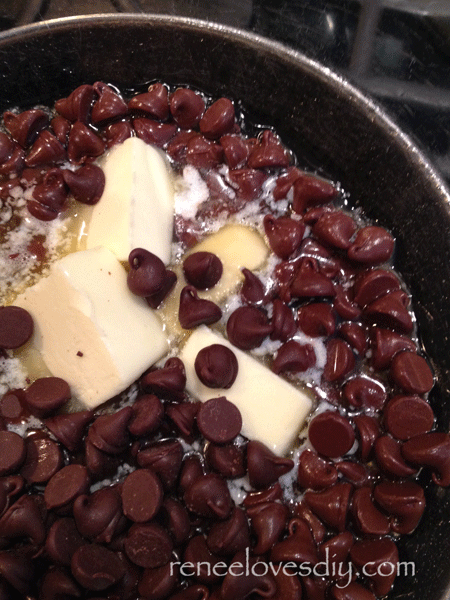
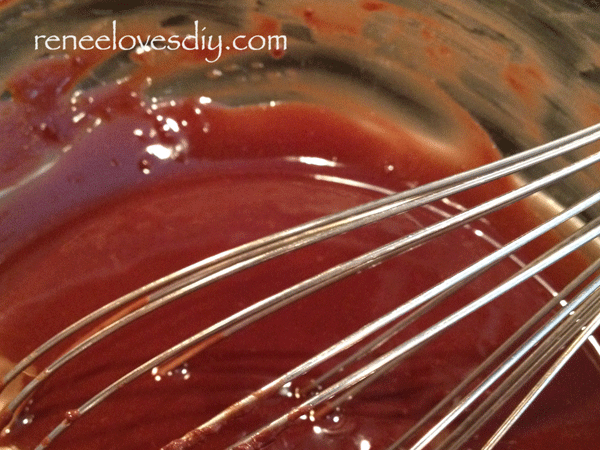
Heat your oven to 350 degrees and prepare a 9” square pan by spraying generously with cooking spray. In a double boiler, melt the butter and 1 cup of chocolate chips over barely simmering water. Whisk until smooth.

Melt Butter and Chocolate Chips in a double boiler!
Chocolate Mixture for Flourless Mocha Brownies!

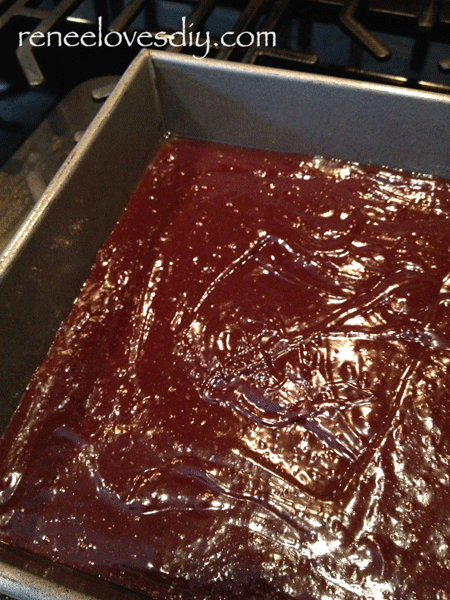
Remove the top of your double boiler from the heat and stir in the sugar, vanilla and eggs. Mix well. Sift together the cocoa powder, espresso powder and salt and add this to the egg mixture. Stir until just combined and pour into your prepared pan.

Flourless Mocha Brownie is ready for baking!

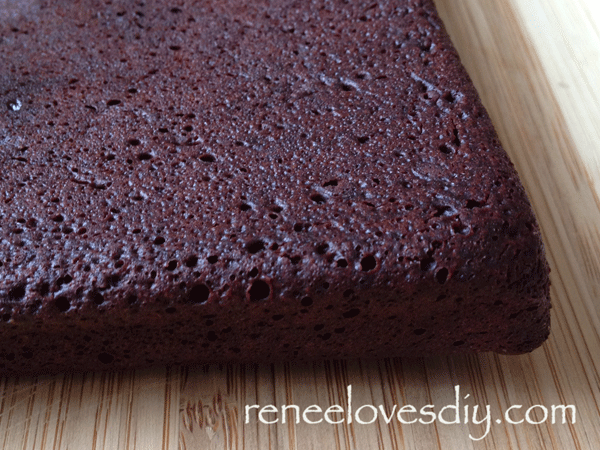
Bake for 12-15 minutes until a cake taster comes out almost clean.

Flourless Mocha Brownie ready for it's Genache glaze!
Flourless Mocha Brownie ready for it’s Genache glaze!

Allow the brownie to cool in the pan for 10 minutes then turn over onto a cutting board. Allow the brownie to cool completely. In a double boiler melt the chocolate chips with the cream over barely simmering water.

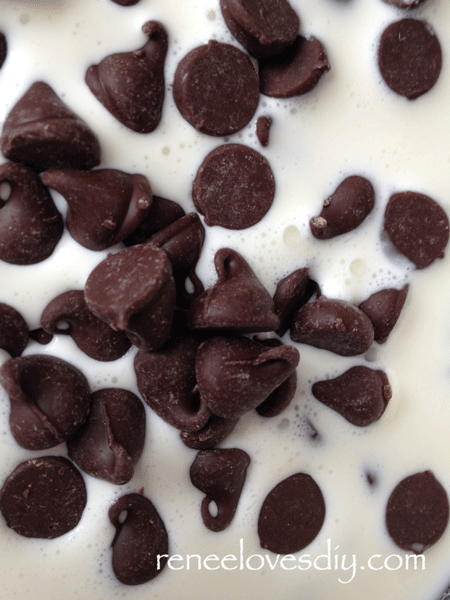
Prepare Chocolate Genache with Cream and Chocolate Chips!

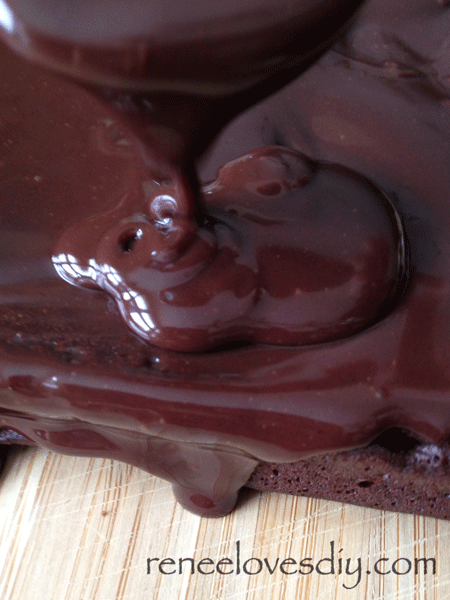
Whisk until smooth. Remove from the heat and allow to cool slightly before spreading over the brownie layer.

Drizzling Genach over the Flourless Mocha Brownie!

After the genache has stiffened, cut the brownies into bite-sized pieces. Top each brownie square with a chocolate covered espresso bean.  Enjoy!

Flourless Mocha Brownie

If you clean your knife after every cut, you will get perfect pieces with no crumbs!

Flourless Mocha Brownie

Here is an easily printable recipe for you![gmc_recipe 1725]
 

I linked up to iheartnaptime!

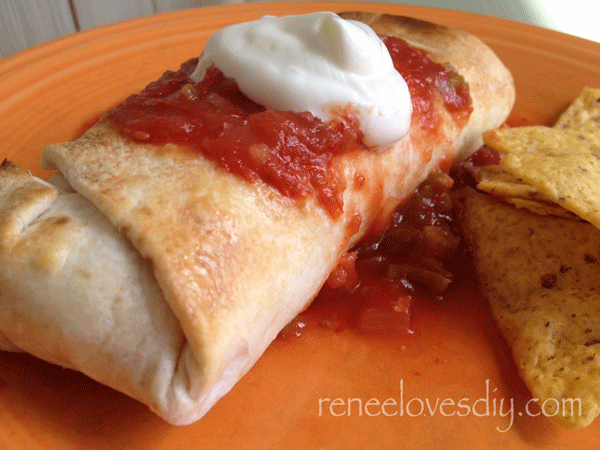
Baked Chicken Chimichanga


Baked Chicken Chimichanga

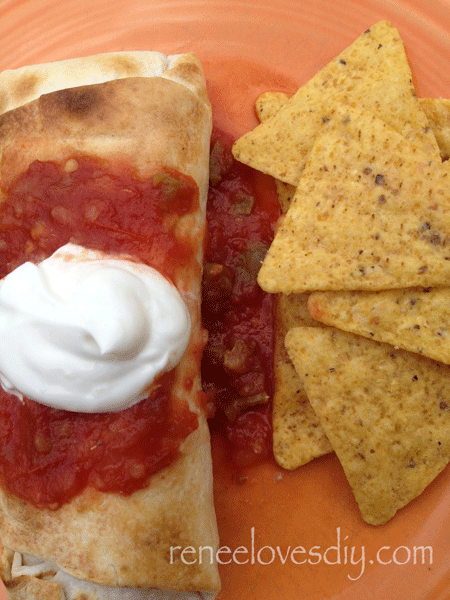
Baked Chicken Chimichangas – we love chimichangas!  The deep fried ones with the crispy crust are really wonderful, but I feel so guilty eating all that deep fried tortilla.  Plus, drowning that delectable crispness in salsa and sour cream just makes the tortilla soggy anyway…right?…So it’s not that great…right?  Ok that is what I am telling myself –  so let’s just go with it – baked is better!

My son loves it when I make chimichangas because that means there is a quick meal for him  in the freezer for at least a week.  They never last long at my house – they are that good!

This recipe will make 10- 12 chimichangas, depending on how full you fill them!

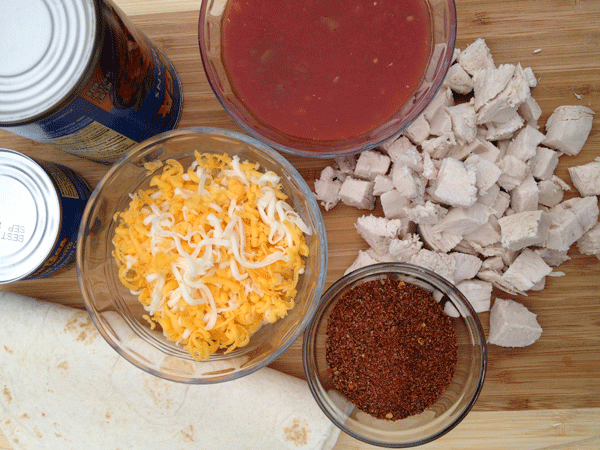
Chimichanga Ingredients

1.5 lbs cooked and cubed chicken breast
1 tbs taco seasoning
2 cups salsa
3/4 lb freshly grated cheese ( I use a mixture of cheddar and jack cheeses)
1 can roasted diced green chiles
1 can refried beans

10-12 10″ tortillas

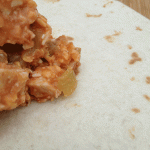
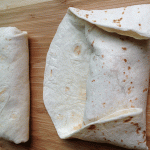
In a large bowl flavor the chicken with the taco seasoning and mix well.  Add the rest of the ingredients and mix until uniform.  Place  approximately 3/4 cup of the chicken mixture in the center of your tortilla.  Starting at one end roll the tortilla over the mixture, fold in the sides and then finish rolling it up.  If the tortillas crack upon rolling, heat the tortilla slightly on a griddle before using them.

Now you have options!

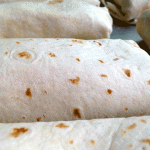
Hungry now – Heat oven to 350 degrees.  Wrap each chimichanga in aluminum foil, place on a cookie sheet and bake 20 minutes.  Remove from the oven, unwrap the chimichanga and bake an additional 10-15 minutes to crisp the outside!

Hungry later – place chimichangas on a cookie sheet, keeping them separate.  Place the chimichangas in the freezer for at least 30 minutes.  Remove from the freezer and place your chimichangas in freezer ziplock bags.  Because you have taken the time to freeze the tortilla, they will not stick together in the bag.  The other option is to wrap each one in aluminum foil then immediately freeze.

To prepare frozen chimichangas, remove from freezer, microwave on high for 1-2 minutes.  If you want the outside crispy, toast the chimichanga in an oven for 10 minutes at 350 degrees.  My toaster oven works well for this!


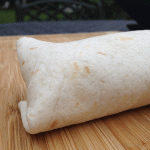
Baked Chicken Chimichanga

Helpful tips:  Taco Seasoning – I make my own!  It is so much better than the packets I used to purchase before I knew better. I use the recipe from allrecipes.com!


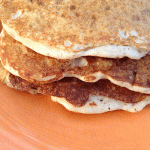
Pancakes with Dates & Walnuts – sweet, crunchy & delicious!

Pancakes with Dates & Walnuts

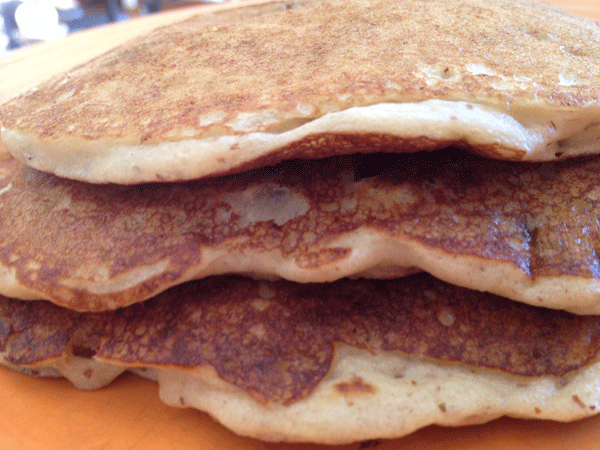
Dates and walnuts make a wonderful combination.  Mix them into pancake batter and you have a nutritious, hearty and delicious breakfast!

I asked my son to provide me with a description of my pancakes and he said “they are life changing!”  Ok, perhaps he was being a bit dramatic.  Life changing – maybe not, but they are flavorful!

Adding the sweet, dark brown dates to pancakes provides a delightful caramel-like flavor and the walnuts are crunchy, delicious and good for you.  Check this link to learn more about the benefits of eating walnuts!

In my house, I like to mix it up and go gluten-free, meat-free….. In fact, morning breakfasts for my son are always gluten-free.  After he began suffering from terrible mid-morning headaches at school, I began recording his breakfast diet.  Low and behold, every time he ate wheat for breakfast, his headaches would occur.  Because I was already using a fabulous gluten-free baking mix, it was easy to convert him to all gluten-free breakfasts with great success!  No more headaches!

Essential Breakfast Items

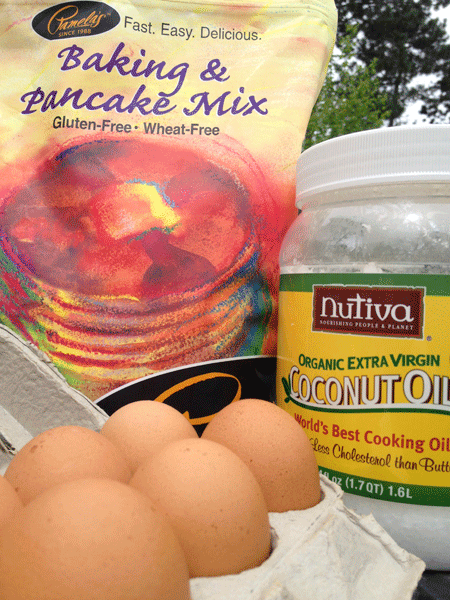
The mix I use and have been using for years  is Pamela’s Baking and Pancake Mix.   I use it for pancakes, muffins, crepes, and cookies.  The flavor and texture is fabulous.  With the exception of cookies, I think it would be difficult for most people to tell the difference between wheat flour and this mix.  The cookies I find to be a little gritty, but still delicious!  With the other baked items, there is no grittiness and they are wonderful!

On Pamela’s link you will find a list of great products along with recipes.  Below, I give my recipe for Date & Walnut  Pancakes using this mix.

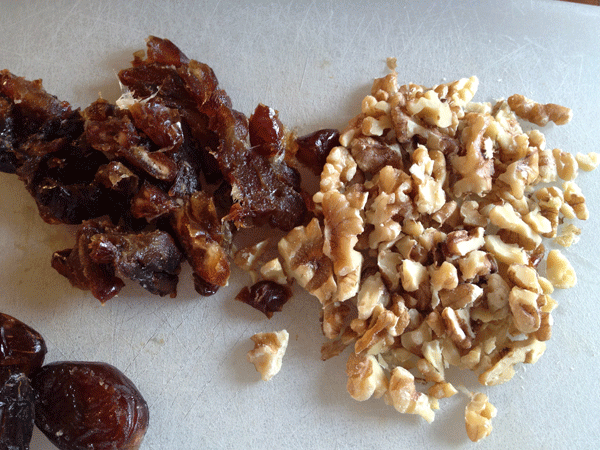
Dates & Walnuts
Dates & Walnuts
Date & Walnut Pancakes

2 eggs
2 Tbls melted Coconut Oil
1 tsp Vanilla
1 cup Buttermilk
1 cup Pamela’s Baking & Pancake Mix
1/2 cup chopped dates
1/2 cup chopped walnuts.

Mix the first 4 ingredients well, add the baking mix and stir until combined.  Add the dates and walnuts to the batter, mix until combined.  Pour batter onto a greased griddle and cooked until done, flipping once.

Enjoy!

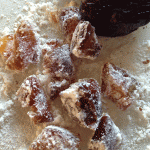
Tips – tossing a small amount of pancake mix over the dates while chopping them will assist in keeping the pieces separate!  Try using the buttermilk!  The batter remains thicker than it would with milk or water, but it is delicious!  Even my kids commented on the enhanced flavor of the pancakes when I began using buttermilk!


Roasted Kale – a light, crisp & tasty snack!

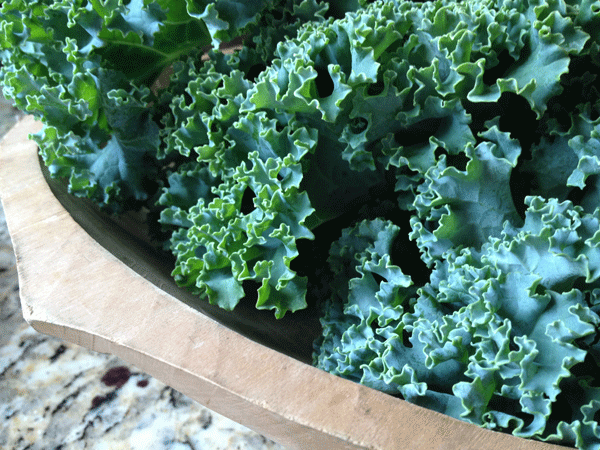
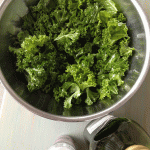
Raw Kale
Raw Kale

Last fall, I was visiting a sister of mine in the state of Washington and she served us a light, crispy, green “chip”.  It was salty and delightful to eat because of it’s mild flavor and satisfying crunch. The chip was roasted kale and it was a wonderful alternative to potato chips.

Now, whenever I have a craving for salty chips, I make roasted kale!  I am personally addicted.  I prepare it at least twice a week and I’m waiting for the day that my son says – please, can you make something else!  Luckily, he is a kale chip fan too – at least for now!

Making Kale Chips
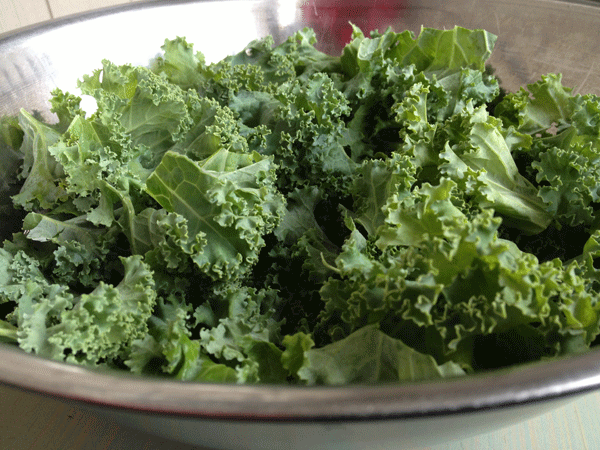
Kale leaves.
Kale leaves

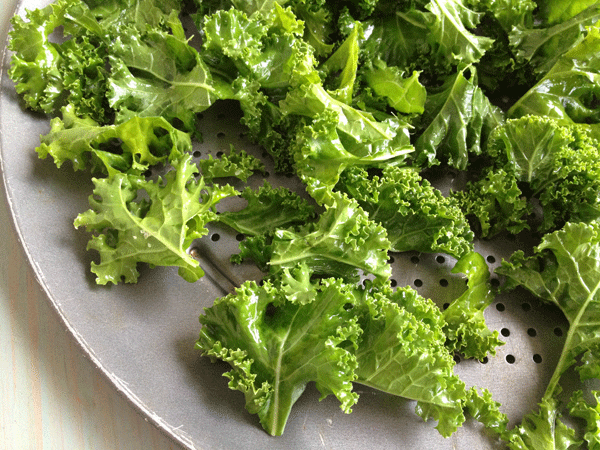
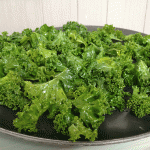
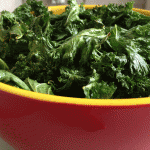
Remove the leaves from the stalk and tear into bite size pieces.  Drizzle with olive oil and your favorite salt.  Using your hands, toss the leaves until they are lightly coated in oil.

Kale ready to be roasted!

Evenly spread the leaves on baking sheets.  It you have a pizza pan with perforations, use that as your baking sheet.  It is not necessary, but it does work best.

I bake the kale at 300 degrees, but you could use a lower temperature.  If you go as high as 300 degrees make sure you keep a close eye on the kale.  Check it at least every 5 minutes until it is dry and crisp.  It will be done in 15-20 minutes depending on how dry your leaves were when you started roasting them.

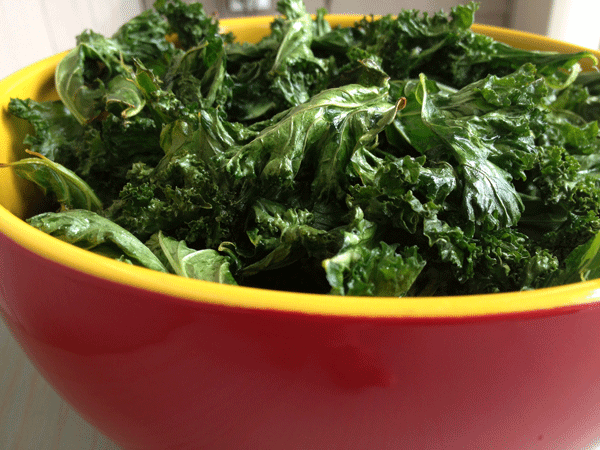
Roasted Kale
Roasted Kale

Remove from your baking sheet and enjoy.  It really is that easy!

Update:  Today I tried something new!  Instead of using olive oil to lightly coat the kale leaves, I used melted coconut oil!  It was delicious!  To find out more about the merits of coconut oil, check another post of mine – Coconut Oil…Coconut Oil…I love Coconut Oil!