Tag Archives: chocolate

Valentine’s Day Garnish for Cakes and Cookies!

Valentine's Day Garnish
Valentine’s Day Garnish

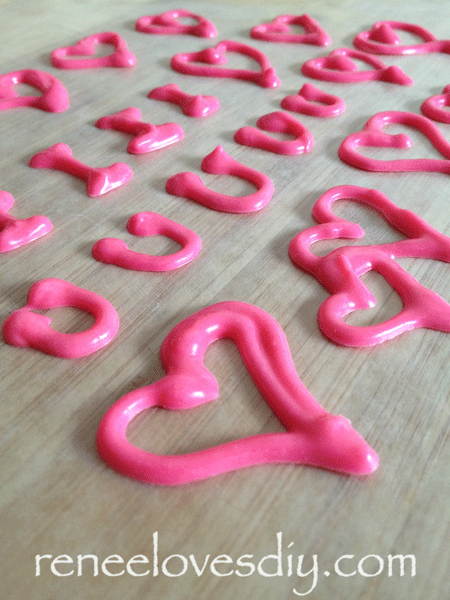
Valentine’s Day is just around the corner!  This year I want you to make all your Valentine treats special with an easy white chocolate garnish!  I have even included a printable template of hearts to use as a guide in making these charming garnishes.

I have a feeling that your Valentines are going to feel very special this year!

What do you need?
Melted white chocolate
Pink or Red gel food coloring
A frosting decorating bag (The number one round tip works well!)
Valentine's Day Garnish
Valentine’s Day Garnish

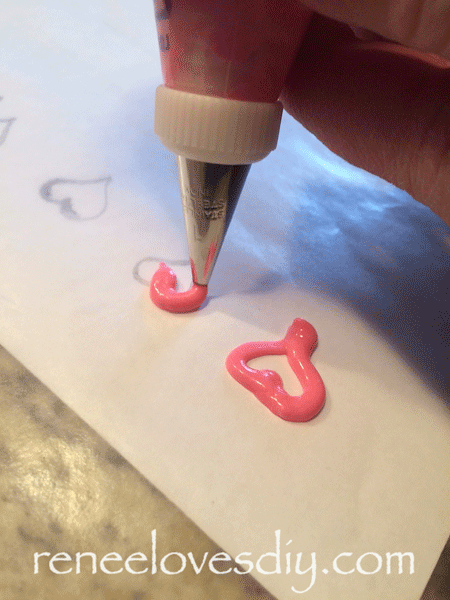
Melt white chocolate and blend in a gel food color of your choice.  I used the Magenta gel food color from Wilton.  The number one round decorating tip, shown here, works well for piping chocolate!

But before you start piping, print a Valentine Garnish Template!  The template includes a variety of hearts and the letters – I and U.  Cover the template with a piece of wax paper and you are ready to begin piping your chocolate, using the template as a guide!

In no time at all you will have lots of wonderful garnishes to use on all your Valentine’s Day treats:  cupcakes, frosted cookies, cakes, candies…  Below I have used the Valentine’s Day garnishes on my Mini-Chocolate Cakes filled with Almond Paste!
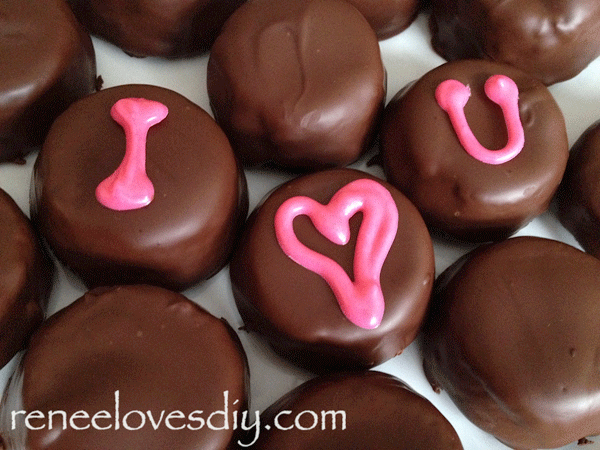
Mini-Chocolate Cakes filled with Almond Paste!

These little cakes are sure to please any Valentine!  Just click on the link for the recipe – Mini-Chocolate Cakes filled with Almond Paste!

For what other events could you use these cute & tasty garnishes?  How about weddings, anniversaries, engagements or any occasion where love is in the air!

Happy Valentine’s Day Everyone!
 

Mini-Chocolate Cakes Filled with Almond Paste!


Mini-Chocolate Cakes filled with Almond Paste!

Just in time for Valentine’s Day, these Mini-Chocolate Cakes filled with Almond Paste are delightful!  I prepared them by baking cake batter in a mini-muffin tin  along with almond paste and then covering them in a luscious layer of chocolate!

Your Valentines would love to receive these as their Valentine’s Day treat!

Mini-Chocolate Cakes Filled with Almond Paste

3/4 cup flour
1/2 cup cocoa powder
1/4 tsp baking soda
Dash salt
1/2 cup butter
3/4 cup sugar
1 egg
1/2 tsp vanilla
1/3 cup hot water
8 oz Almond Paste sliced into 1 tsp pieces

Preheat oven to 350 degrees and prepare mini-muffin tins by spraying with cooking spray. This recipe will make 30-36 mini-cakes!

Mini-Chocolate Cakes filled with Almond Paste!
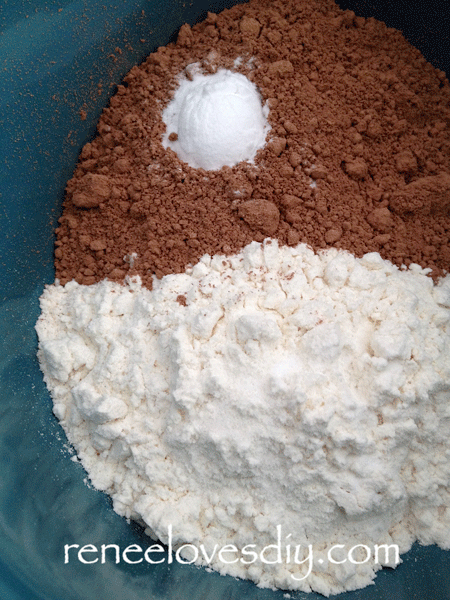
Dry ingredients

Step One – Sift together dry ingredients

Mini-Chocolate Cakes filled with Almond Paste!

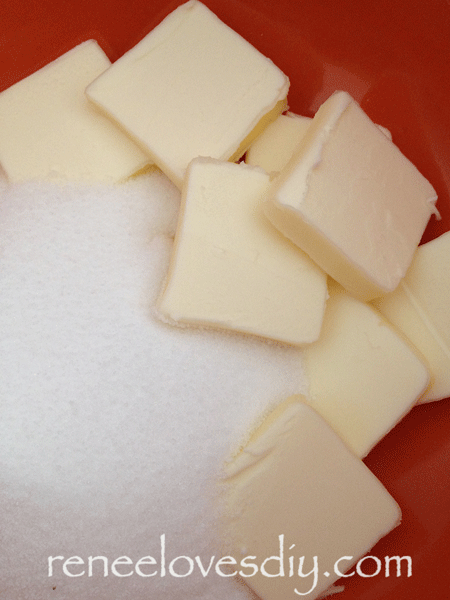
Step Two – Beat the butter, sugar, and vanilla  in a medium bowl  until fluffy.

Step Three – Add 1/2 of the dry ingredients to the butter mixture and beat until just combined.  Slowly add the hot water  to the batter and beat until mixed well.  Add the rest of the dry ingredients to the batter and mix until just combined.

Mini-Chocolate Cakes filled with Almond Paste!


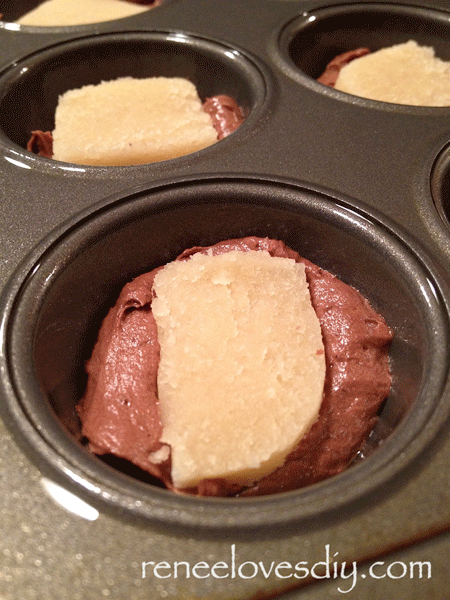
Place 1/2 tablespoon or so of batter into each mini-muffin  well.  The goal is to have enough batter to cover the bottom on the muffin well.  Into the batter,  press 1 tsp of Almond Paste!

If you have never used Almond Paste before, it is wonderfully tasty stuff!  You can find it in the baking aisle of your grocery store.  It is sold in tubes and cans and is very easy to work with. For this recipe, slice the almond paste into 1 teaspoon pieces that will fit on top of the batter in the muffin tin!

You will most likely have a little extra Almond Paste left over after preparing this recipe.  I recommend eating it quickly before the kids see it!  It is that good!

Mini-Chocolate Cakes filled with Almond Paste!

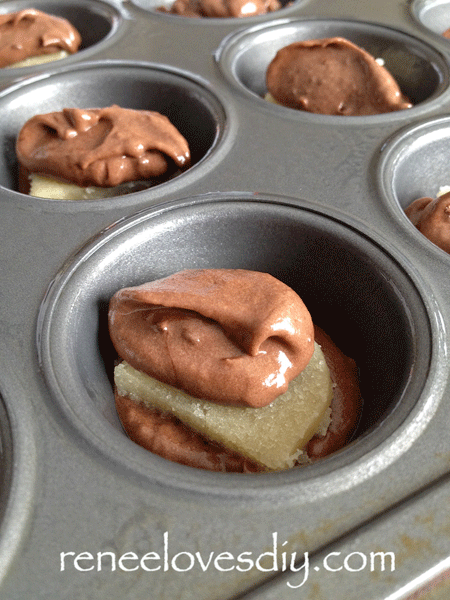
Top the almond paste with 1 tsp of batter.  Don’t worry if it doesn’t spread out evenly, it will in the oven!

Bake for 9-12 minutes in a 350 degree oven.  Do not over bake!

Mini-Chocolate Cakes filled with Almond Paste!

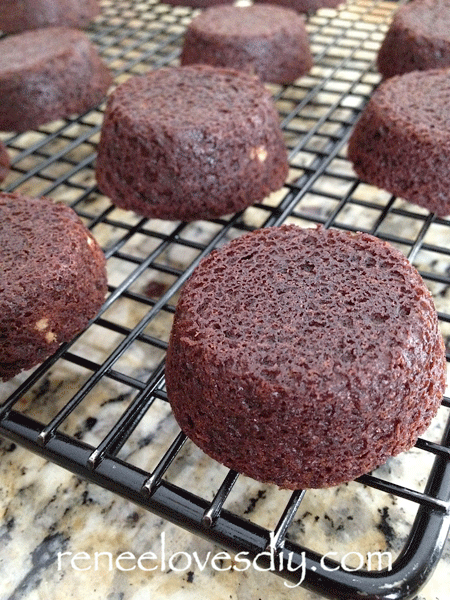
After the mini-cakes have cooled in the pan for at least 5 minutes, carefully remove and allow to cool upside down!

Mini-Chocolate Cakes filled with Almond Paste!

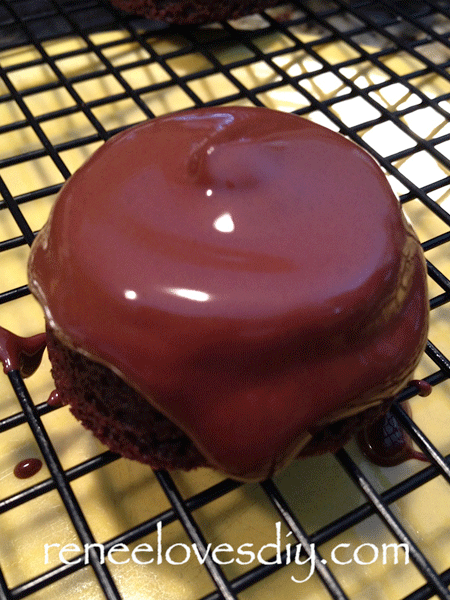
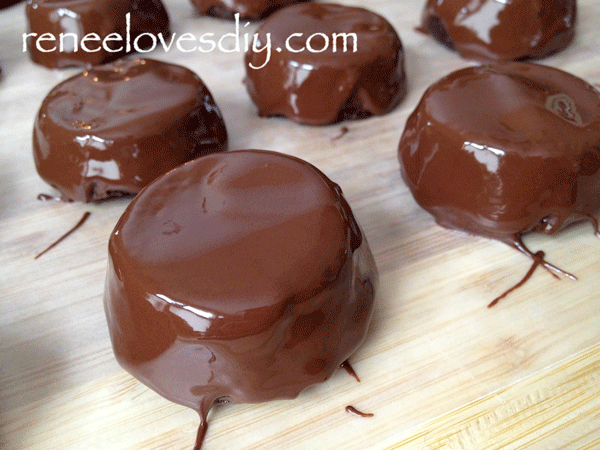
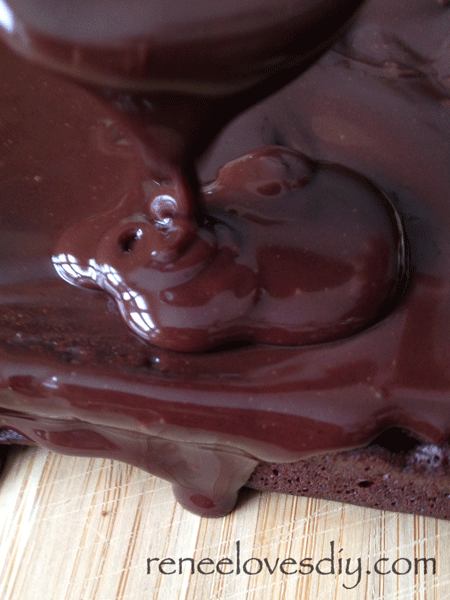
After the mini-cakes have completely cooled.  Drench in your favorite dipping chocolate!

Mini-Chocolate Cakes filled with Almond Paste!

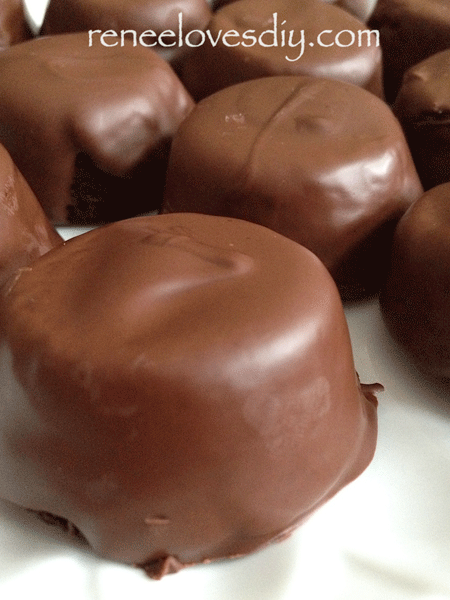
Allow to cool & enjoy!

Here is a printable recipe!

[gmc_recipe 2158]

Mini-Chocolate Cakes filled with Almond Paste!
I linked up to iheartnaptime!

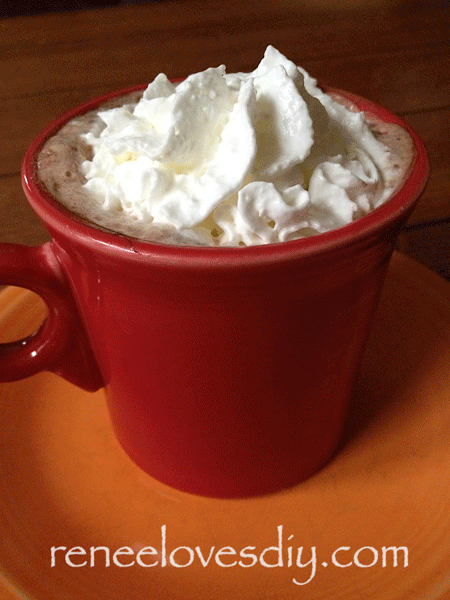
Creamy Rich Hot Chocolate

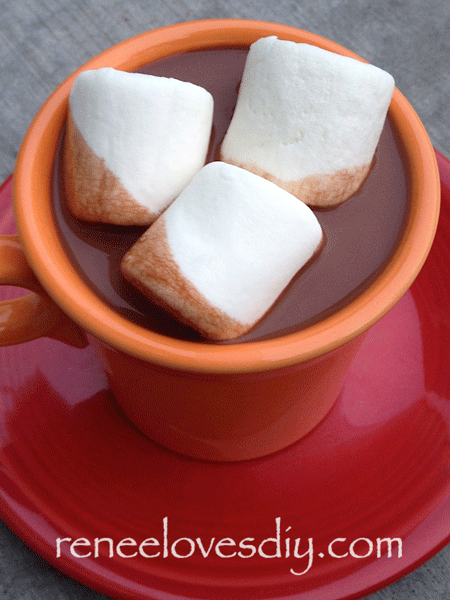
“This is sooo good” –  my son’s comment after taking a sip of this wonderful hot chocolate!
My daughter describes it as “creamy, delicious and chocolatey!”

This recipe truly makes a heavenly, rich hot chocolate that is so easy to prepare!

Hot Chocolate

A printable recipe can be found at the bottom of this post!

Ingredients
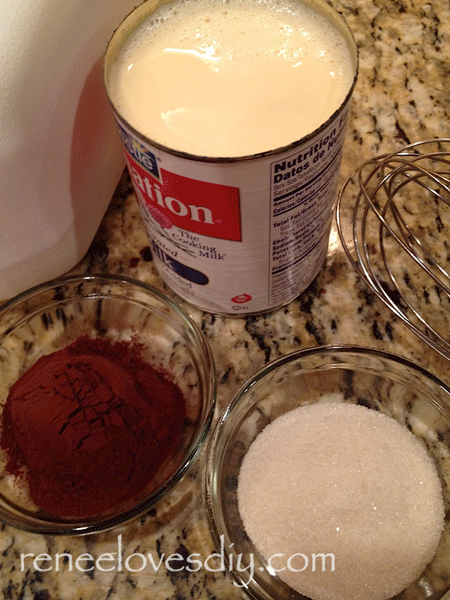
1/4 cup Cocoa – I use Dutch Processed!
3 Tablespoons Sugar
1/2 cup water
12 oz Evaporated Milk
6 oz Milk
1/4 teaspoon of Vanilla
Dash of Salt

hotChoc

If you do not have Dutch Processed Cocoa – no worries!  Any cocoa will work, but you may want to add an additional tablespoon of sugar with any other cocoa!  If you can get your hands on the Dutch Processed – it is worth it!

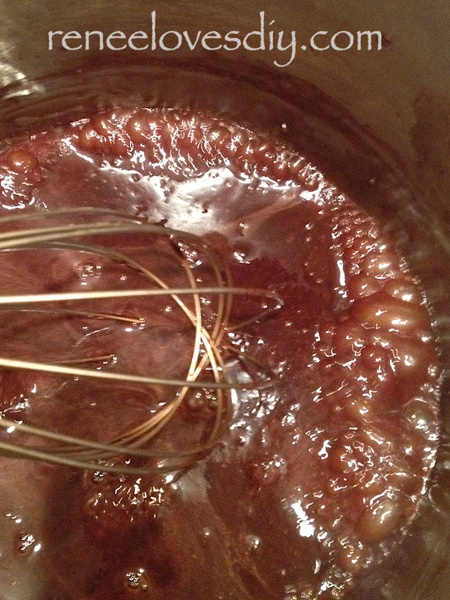
Combine the water, sugar and cocoa powder in a medium sauce pan.

hotChoc2

Bring the contents to a simmer for 3 minutes, whisking constantly.

hotchoc3

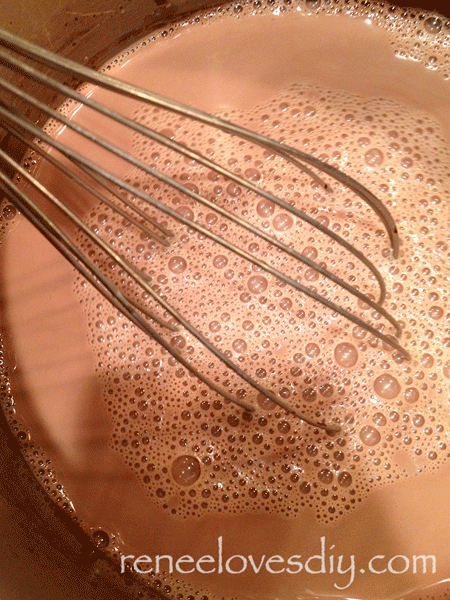
Whisk in the milk and the evaporated milk.  Heat thoroughly then remove from heat, add the vanilla and a dash of salt!  Enjoy!

Delicious Hot Chocolate

[gmc_recipe 2062]

Birthday Candle Cupcake Garnish

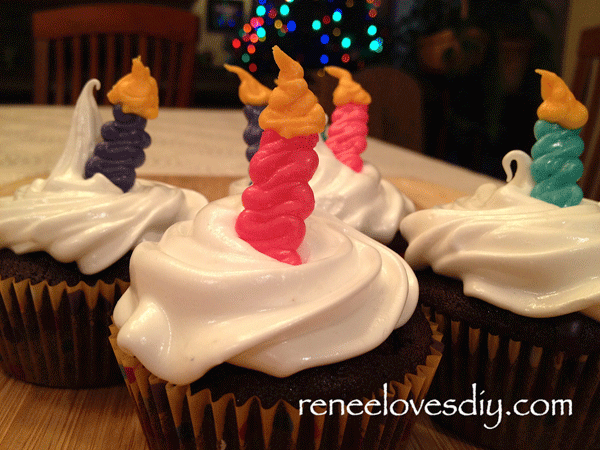
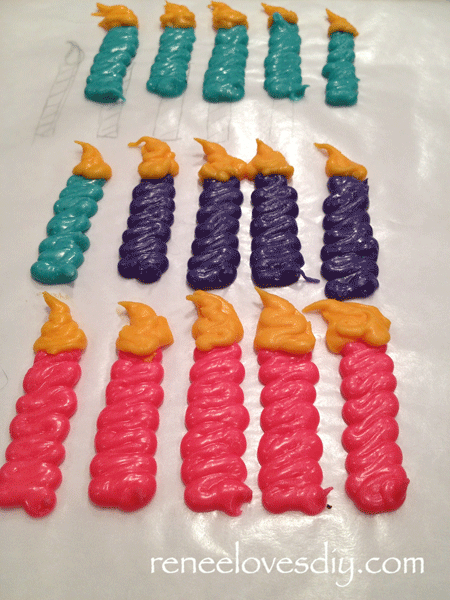
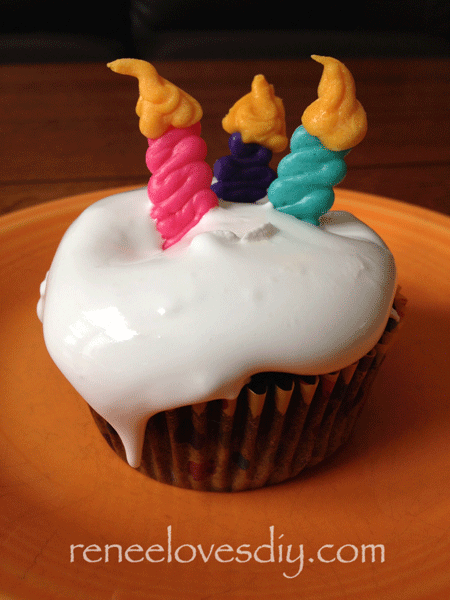
White Chocolate Candles make a great garnish for all your birthday cakes and cupcakes!

If you are looking for less fire on your celebratory cake, make white chocolate candles of your very own!  Bonus –  you can eat these delicious and adorable candles!

candle8

What do you need to make 18 candles:

1 Cup White Chocolate Chips
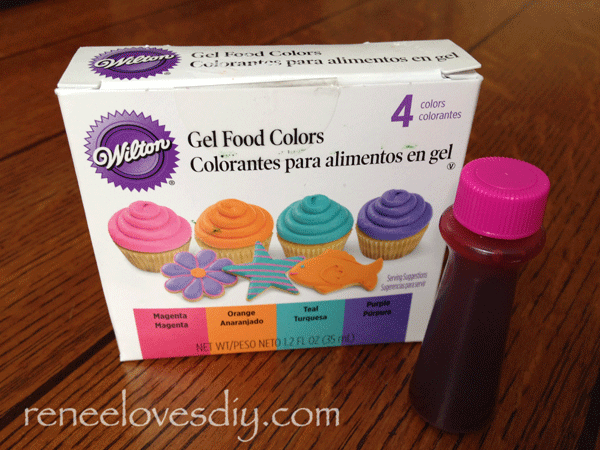
Gel Food Coloring

candle2

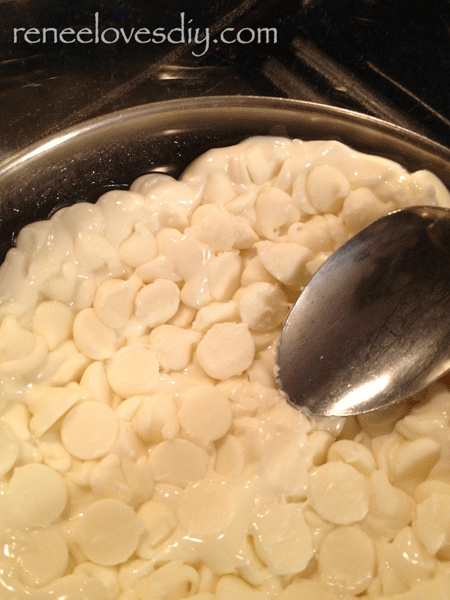
Place one cup of white chocolate chips in the bowl of a double boiler.  Heat the water to a low simmer and let the chips melt slowly.  Be patient!

candle3

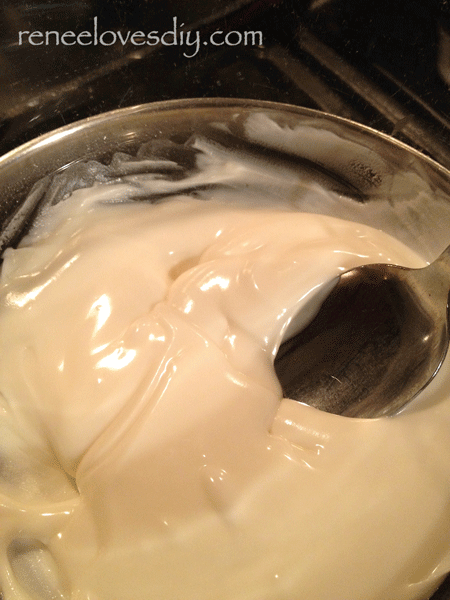
After the chips have begun to melt, stir until smooth.

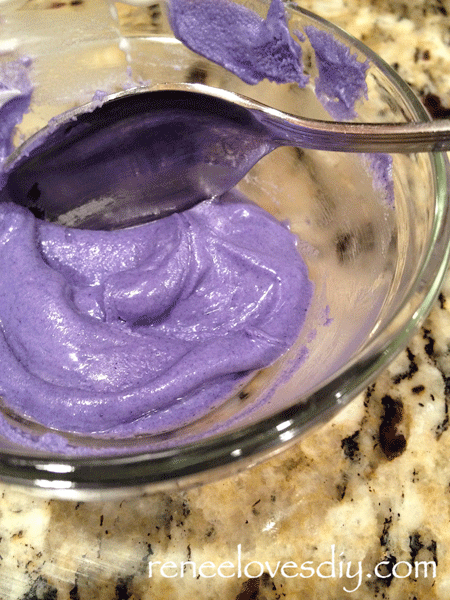
I divided the melted chocolate into 4 small bowls and blended in the gel coloring.  The chocolate began to harden as it cooled, but by microwaving at a low power it softened again.  I just didn’t work fast enough!

candle11

If you use a liquid food color the chocolate will start to seize.  If this happens, you can make it smooth again by adding coconut oil.  Using gel colors will prevent this from happening!

candle4

Blend the gel food coloring into the white chocolate until the color is uniform.

candle

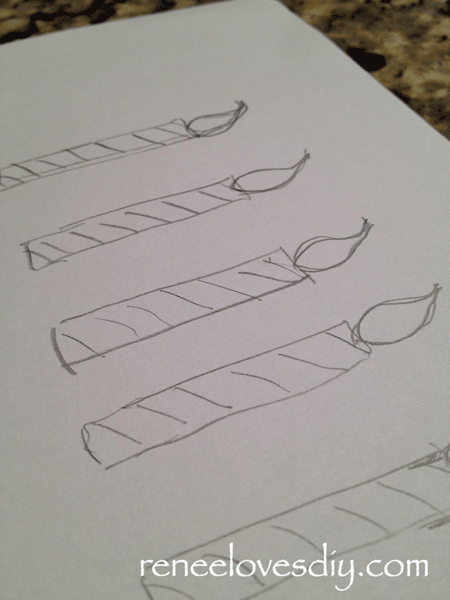
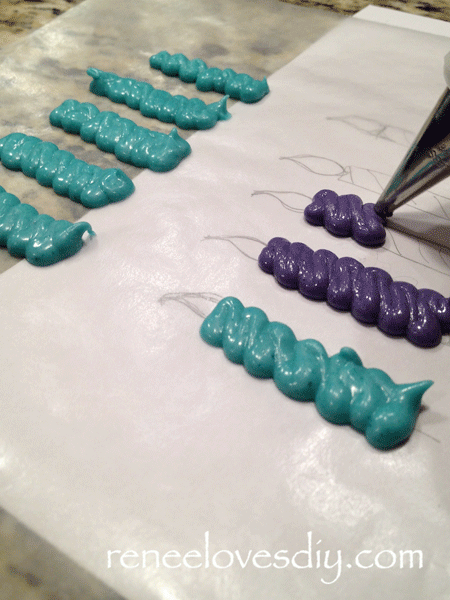
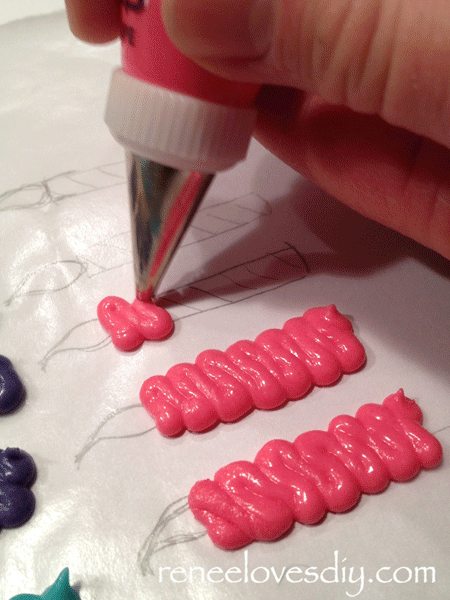
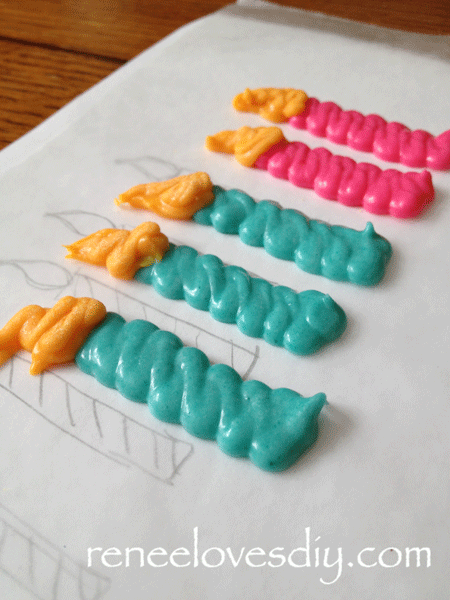
I drew out a number of candles to provide a pattern for me to follow.  I then covered the drawing with a piece of wax paper and began piping the colored white chocolate!  By sliding the wax paper over the drawing I could use my template drawing over and over.

Using a number one round decorating tip for the candles and the flame worked very well!  This is so easy to make, you must try it for yourself!

candle5candle6candle7candle9

Everyone will enjoy these tasty and beautiful candles!

candle12

Happy Birthday!

Hot Chocolate Bar


Hot Chocolate Bar
Hot Chocolate Bar

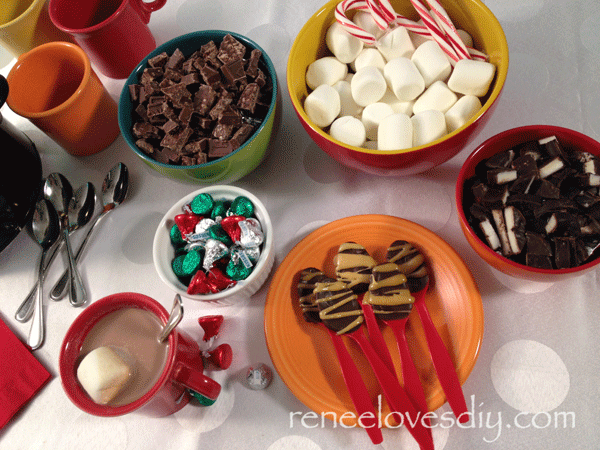
As adults, we plan fabulous parties thinking of everything an adult might enjoy.  We tend to overlook the fact that kids will be present at our gathering and may not enjoy the same things! This year, when planning your holiday party, create a special treat just for the kids!

So kids – this is for you!

Candy for a Hot Chocolate Bar

Hot Chocolate Bar

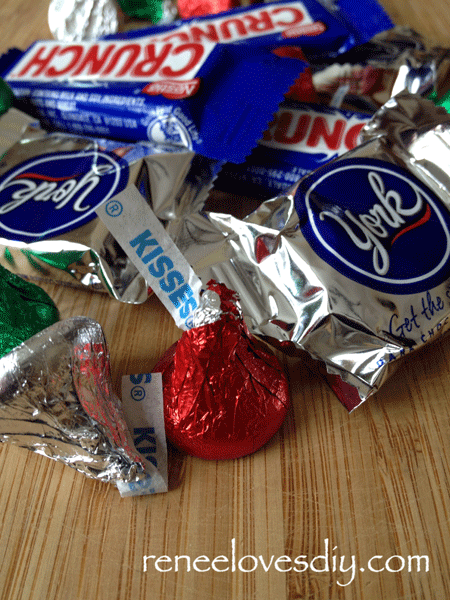
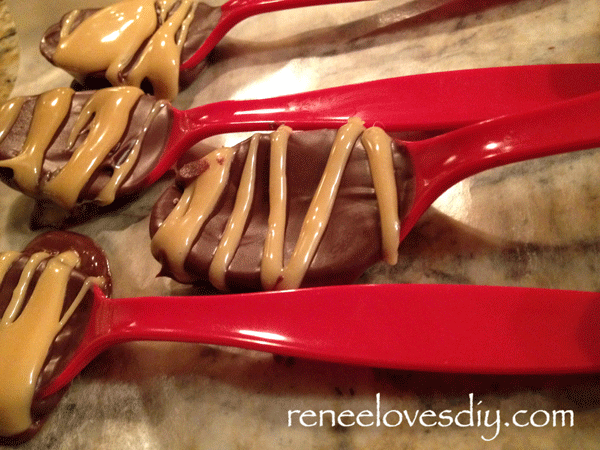
Set up an area where the kids can choose treats to stir into their mugs of hot chocolate. Bowls heaping with cut-up peanut butter cups, peppermint patties and marshmallows will be a welcome sight for the wee ones. Include candy canes and chocolate spoons for stirring their personalized drink!
And don’t  forget the whipped cream – Must have whipped cream!

Cinnamon – that’s another great addition.  Sprinkle some of that on the whipped cream – so beautiful!

Hot Chocolate Bar
Hot Chocolate Bar

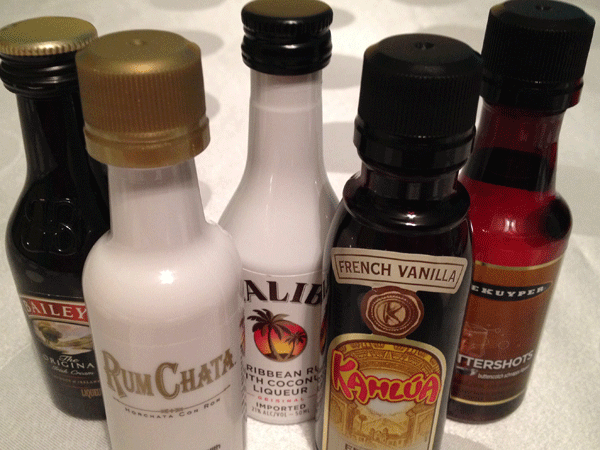
Just in case there is an adult or two that enjoys a nice mug of hot chocolate, have a few mini-bottles of assorted liquors for them to add to their mugs! There we go – thinking about the adults again!

Liquor Bottles for the Hot Chocolate Bar

How to make Chocolate Spoons!

This recipe will make 8 Chocolate Spoons
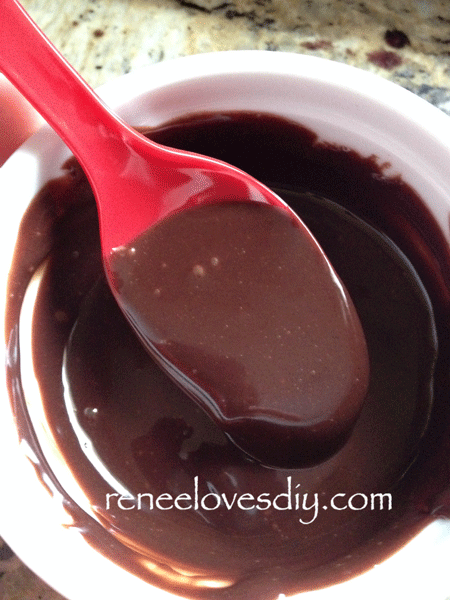
Heat 1/2 cup semi-sweet chocolate chips and 1/2 tsp  coconut oil in a double boiler over barely simmering water.  Allow the chips to melt and then stir until smooth.

Chocolate Spoons
Chocolate Spoons

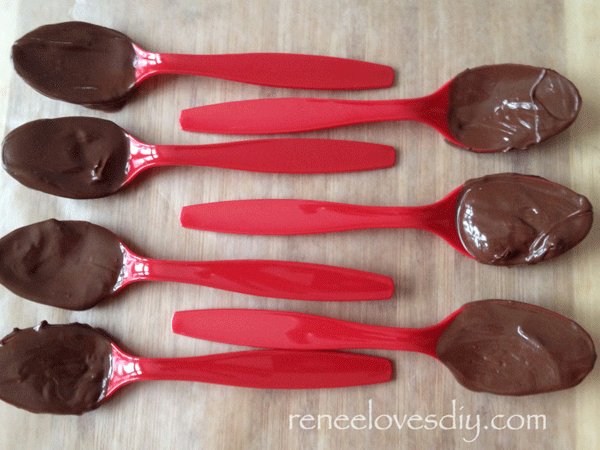
Using plastic or wooden spoons ( I couldn’t find them, but I know they exist!)
Coat them well and make sure the bowl of the spoon is full of chocolate!
Set on wax paper to cool

Chocolate Spoons
Chocolate Spoons

Heat 2 oz of cut-up caramels and 1/2 tbs of cream in a double boiler over barely simmering water.
Allow the caramels to soften then stir until smooth.  Drizzle the melted caramel over the top of the chocolate spoons.  If the caramel isn’t drizzling well, thin with a little water!

Chocolate Spoons Drizzled with Caramel

The caramel sticks to everything therefore, I would avoid getting it on the bottom of the spoon!  The kids won’t be able to pick them up!

Also, I use a small glass bowl over a small pot of simmering water.  A regular double boiler is way to big for this tiny amount of caramel!

I linked up to iheartnaptime!

Flourless Mocha Brownie

Flourless Mocha Brownie

Who wants a delicious brownie with none of the flour and all of the delicious taste?  I do!
This recipe is one of my go-to desserts when having a party.

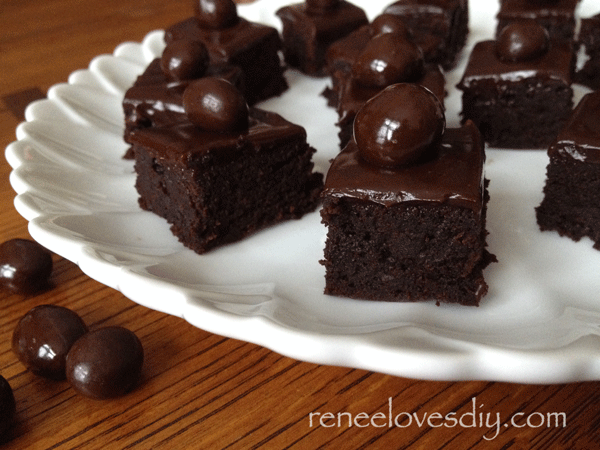
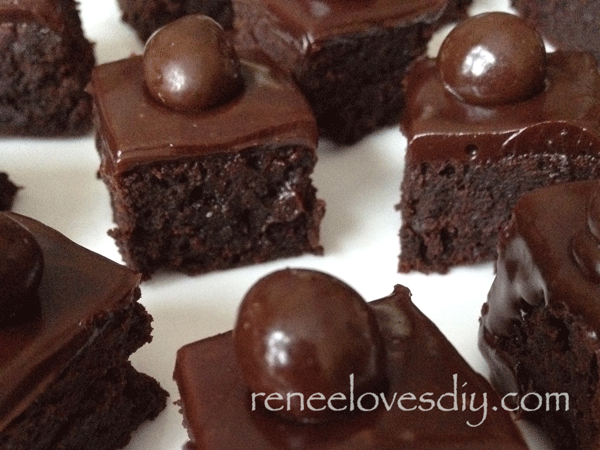
I like to cut these brownies into bite-sized pieces and top them with a chocolate covered espresso bean!  Guests seem to like desserts that are small – why? I think it’s so they can eat 5 of them and not feel guilty – hmmm.

Here is the recipe for you to try!

Flourless Mocha Brownie
½ cup unsalted butter
1 cup semi-sweet chocolate chips
½ cup sugar
1 tsp vanilla
3 eggs
dash salt
½ cup cocoa powder
2 tsp Espresso Powder

Genache Icing
2/3 cup cream
1 cup chocolate chips

Chocolate Covered Espresso Beans

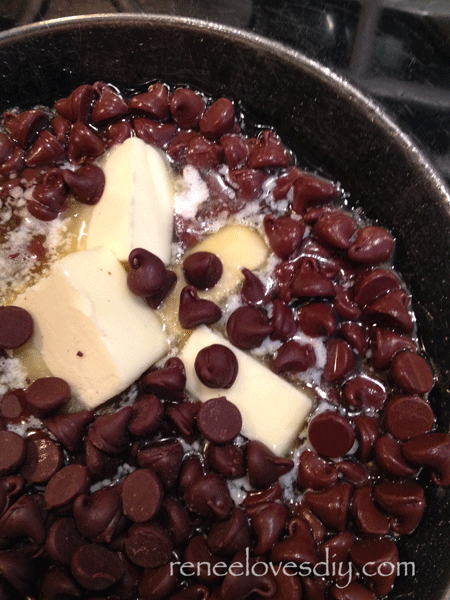
Heat your oven to 350 degrees and prepare a 9” square pan by spraying generously with cooking spray. In a double boiler, melt the butter and 1 cup of chocolate chips over barely simmering water. Whisk until smooth.

Melt Butter and Chocolate Chips in a double boiler!
Chocolate Mixture for Flourless Mocha Brownies!

Remove the top of your double boiler from the heat and stir in the sugar, vanilla and eggs. Mix well. Sift together the cocoa powder, espresso powder and salt and add this to the egg mixture. Stir until just combined and pour into your prepared pan.

Flourless Mocha Brownie is ready for baking!

Bake for 12-15 minutes until a cake taster comes out almost clean.

Flourless Mocha Brownie ready for it's Genache glaze!
Flourless Mocha Brownie ready for it’s Genache glaze!

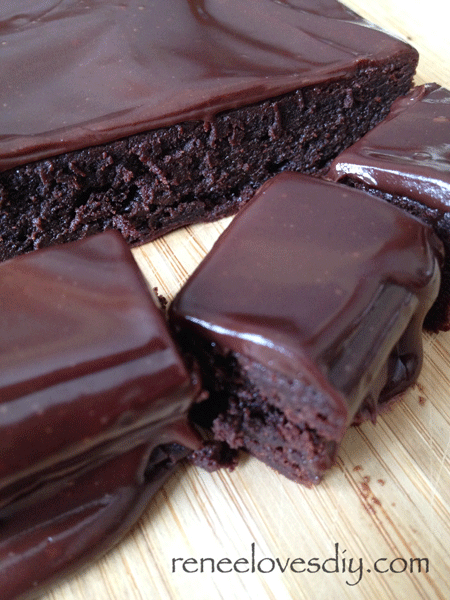
Allow the brownie to cool in the pan for 10 minutes then turn over onto a cutting board. Allow the brownie to cool completely. In a double boiler melt the chocolate chips with the cream over barely simmering water.

Prepare Chocolate Genache with Cream and Chocolate Chips!

Whisk until smooth. Remove from the heat and allow to cool slightly before spreading over the brownie layer.

Drizzling Genach over the Flourless Mocha Brownie!

After the genache has stiffened, cut the brownies into bite-sized pieces. Top each brownie square with a chocolate covered espresso bean.  Enjoy!

Flourless Mocha Brownie

If you clean your knife after every cut, you will get perfect pieces with no crumbs!

Flourless Mocha Brownie

Here is an easily printable recipe for you![gmc_recipe 1725]


I linked up to iheartnaptime!

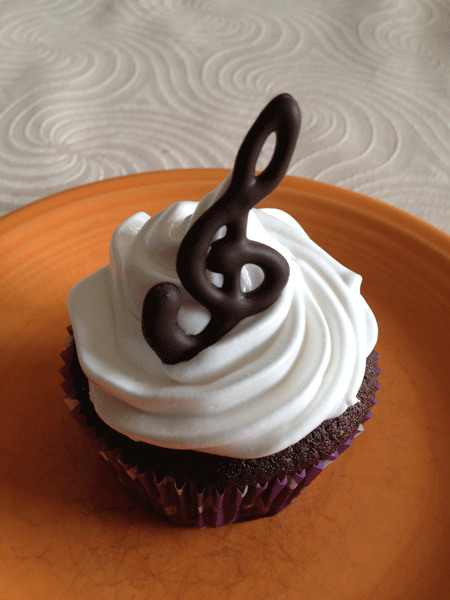
Musical Chocolate Garnish for Cupcakes!

Musical Notes Chocolate Garnish

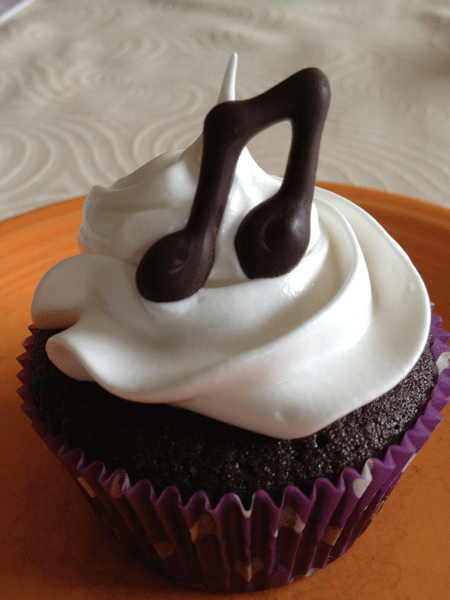
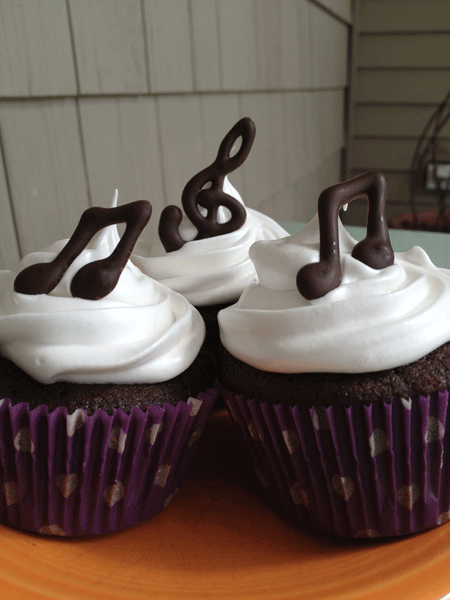
Musical chocolate garnishes for one of my favorite cupcakes!

We were attending a jazz event for my son’s school and I needed to donate a dessert!
What could be better than fabulous cupcakes decorated with a musically themed garnish!

Drawing for chocolate garnish
Musical Notes Chocolate Garnish for Cupcakes

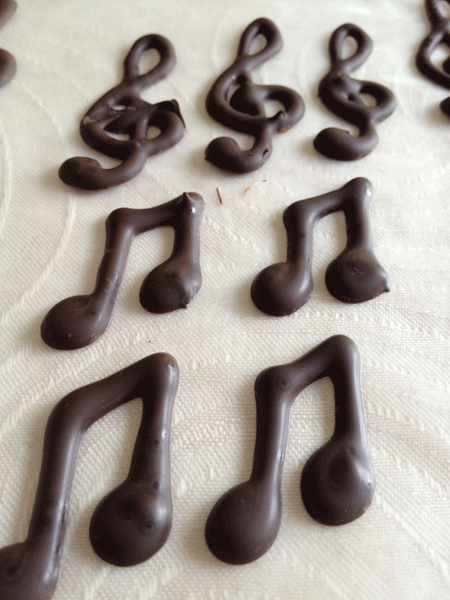
Draw the shape you would like to create out of chocolate.  Place a piece of wax paper over the drawing and pipe melted chocolate, using a pastry bag and small round tip, over your drawing.  When finished, slide the wax paper exposing the drawing again to create multiple garnishes!

Chocolate Garnish for Cupcakes
Treble Clef Chocolate Garnish for Cupcakes

If you would like to see more about creating this delicious and fun garnish refer to my previous post – Cupcakes for Prom or any Special Occasion