Pumpkins Decorated with Etchings

I love Halloween and I love to carve pumpkins!  Mid-September I start picking up pumpkins for fall  decorations around my home.  Because carved pumpkins will only last a short time, I  wait to carve them until a few days before  Halloween.

This year I am trying something new!  I am etching my pumpkins with a design and leaving them whole – at least for the time being!  I have etched pumpkins before, but then my process was to “gut” the pumpkin, thin the wall, and light a candle inside to see the etching glow!  It is very cool.

This year I am doing my etchings early, leaving the pumpkins whole and later I can “gut” them if I wish.
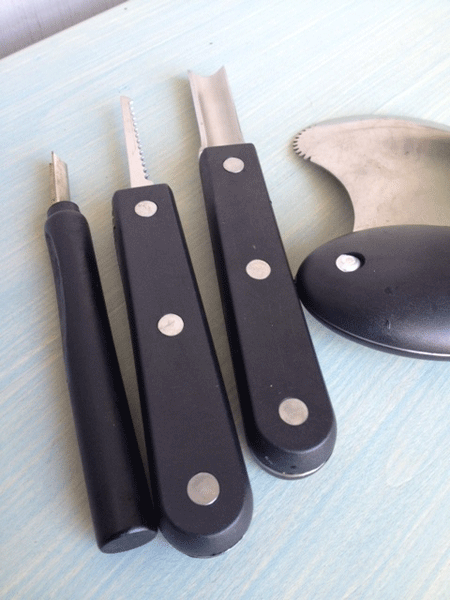
 

Pumpkin Carving Tools

The tools I used for this project were purchased from Williams Sonoma.  They are excellent quality and should last for years!  Currently, they have a similar product – the  Pumpkin Carving Tools 3-piece Set.  Included in this set is an etching tool, which is what I used here.  The etching tool is also called a linoleum cutter and if you happen to have wood carving tools, they may work as well.  For whatever tool you use, the goal is to remove the top layer of skin from the pumpkin!
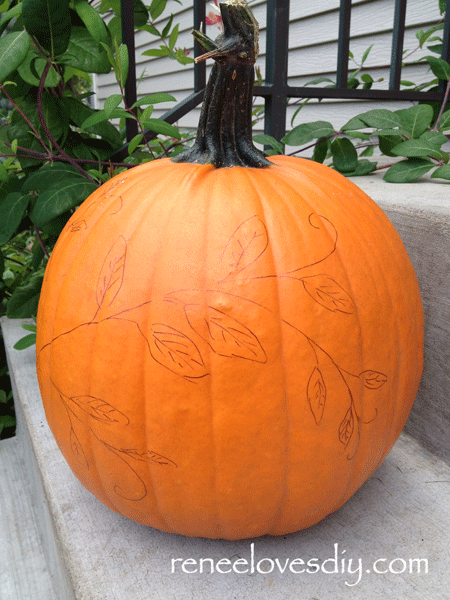
Pumpkin with Vine Drawing

Before I began the etching process, I  drew an image on my pumpkin.  Here I show a roughly drawn simple vine.  It was not necessary for it to be perfect since it is just a guideline.
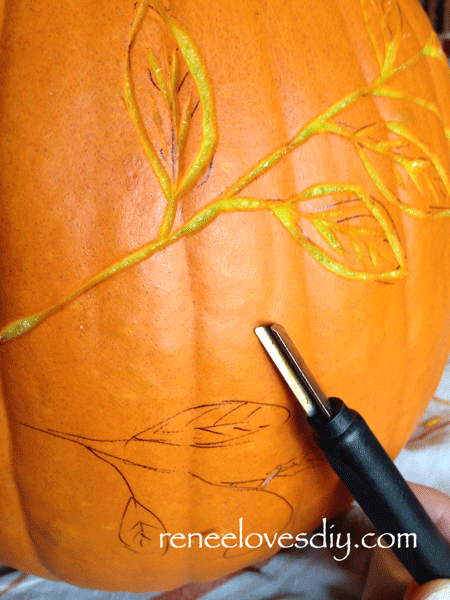
Etching a Vine on a Pumpkin

Then, using my etching tool, I carved  out the vine.
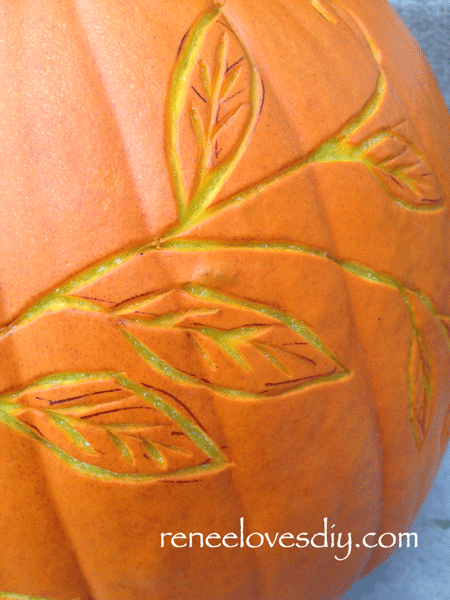
Etching a Vine on a Pumpkin

When I finished etching, I used a Magic Eraser to remove any visible ink.  The Magic Erasers are a fabulous product so if you have never tried them – you must test  them out for yourself!

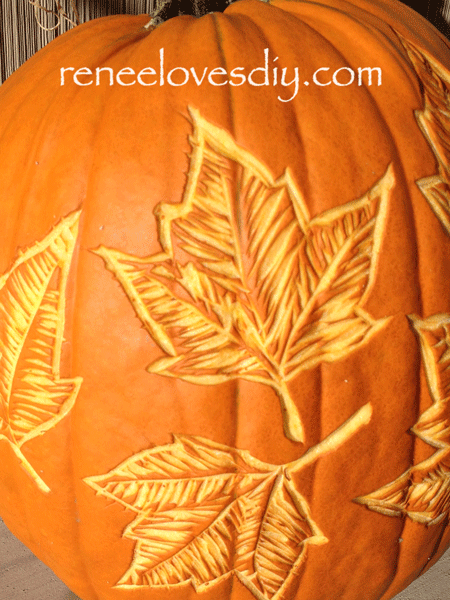
My next pumpkin I etched with maple leaves.  I went to my backyard, picked a couple of different sized leaves and roughly traced them onto my pumpkin.
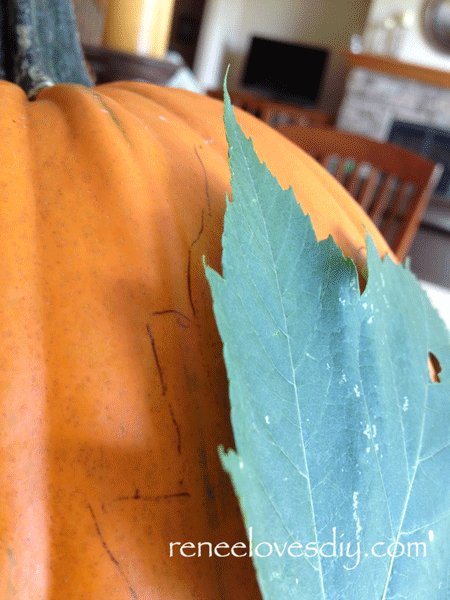
Preparing Pumpkin for Leaf Etching

I etched out the edge of the leaves then added the veining detail.  If you are not sure how to add the veining, just examine the leaf in front of you.  Of course, I had to simplify the detail – I am not as good as  mother nature!
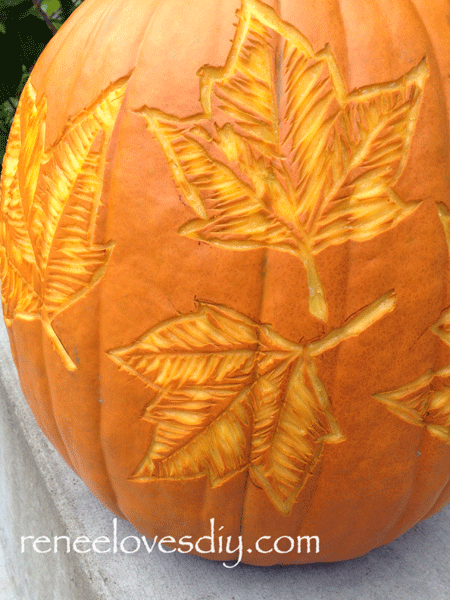
Pumpkin with Leaf Etching

If you are unsure how to lay out a vine or leaves to make them look natural, just google drawings of the images you want to replicate and you will get wonderful guidance from the many fabulous artist whose images are on the web!
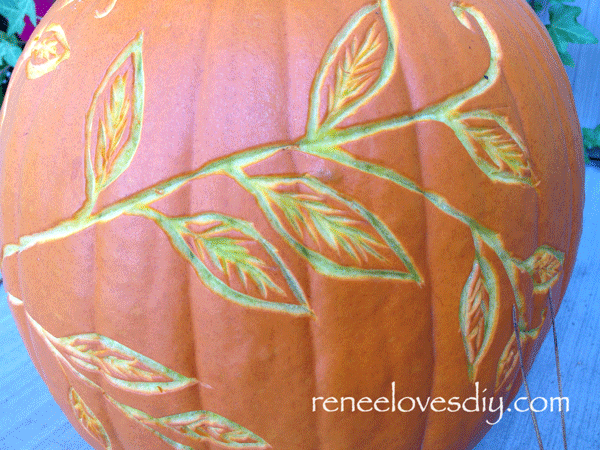
Pumpkin with Vine Etching
Pumpkin with Leaf Etching

Have a Happy Fall!
I linked up at I Heart Nap Time!


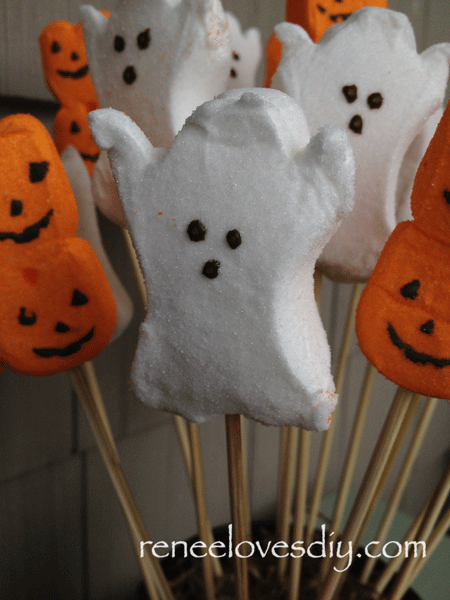
Peeps Bouquet

Peeps Bouquet
Peeps Bouquet

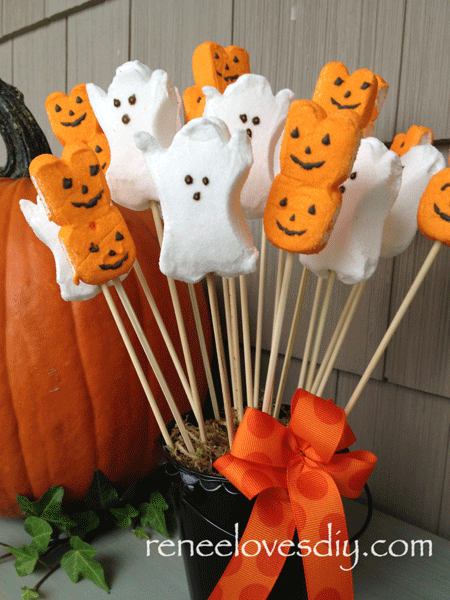
Brighten someone’s day with a fun, fall, edible bouquet!

The Peep bouquet is perfect for any college student.  It’s an easy treat for your student to share with fellow roommates or dorm mates!  It is easy, fun and inexpensive!

Peeps Bouquet
Peeps Bouquet

My daughter’s freshman year, she was living in the dorms and I thought it would be fun to send a gift easily shared with others.  I sent her the Peeps bouquet and she was so excited to receive it, she promptly hit the hall and shared the treat with other homesick freshmen.  It worked perfectly!

This year, even though she is in an apartment, I thought it would be fun for the treat bouquet to double as a Halloween decoration!  OK – it probably won’t last long as a decoration, but it will be cute for a little while!

Peeps
Peeps
Supplies:

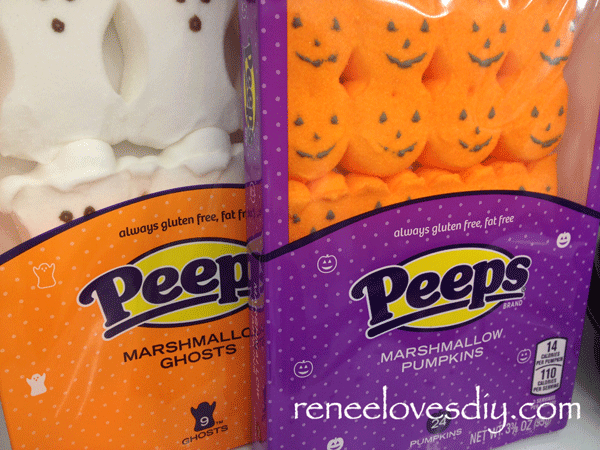
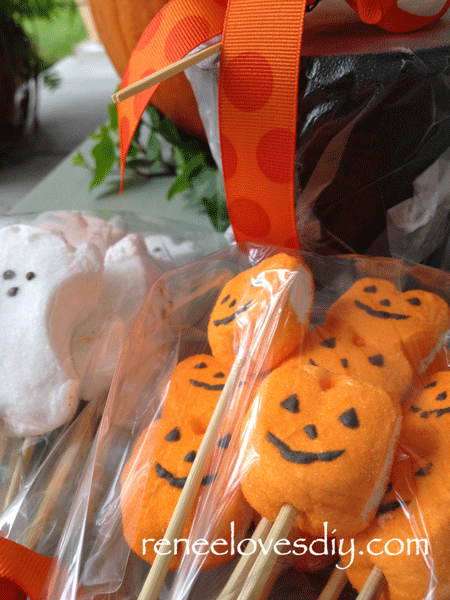
Peeps – I used one package of pumpkin peeps and one package of ghosts – scary!!

Bamboo Skewers

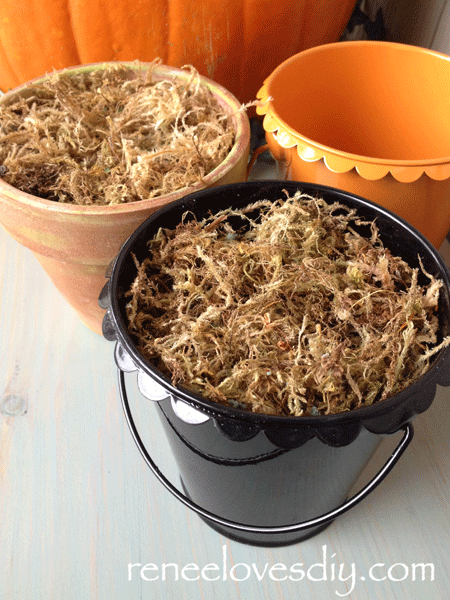
Container – I filled the container with foam and covered the foam with dried moss!  The container I found at Target for $1

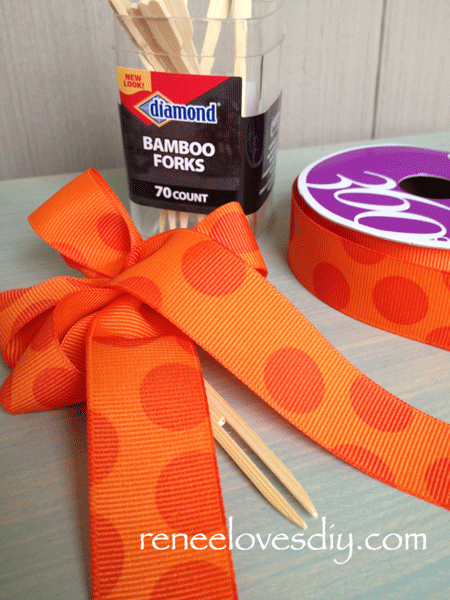
Ribbon – I created a bow and attached it to a Bamboo fork with floral wire!

Pots for Peeps Bouquet
Bow for Peeps Bouquet

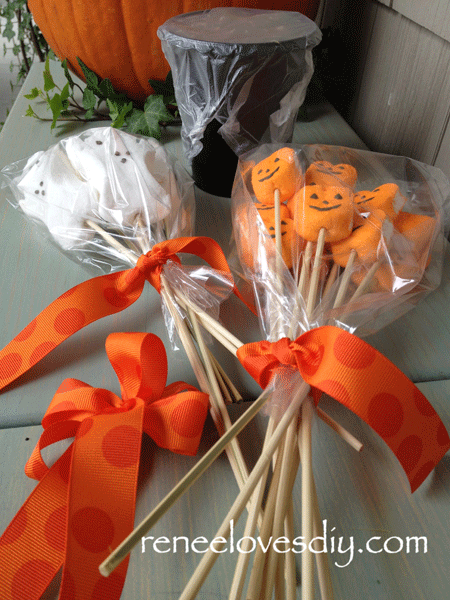
Since I needed to mail my bouquet, I bagged the Peeps and sealed the moss covered pot with GLAD’s Press’n Seal (love that stuff)

Peeps Bouquet ready for sending!

Now go out and make someone’s day with a Peeps Bouquet!

Peeps Bouquet ready for sending!

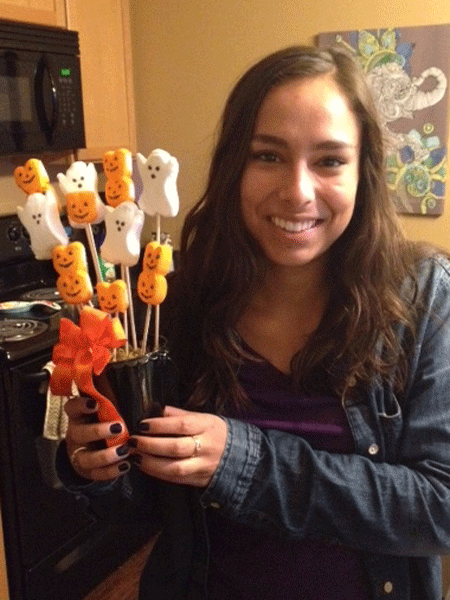
Here is my daughter with her Peeps Bouquet!
If I’m not mistaken, I believe a few Peeps are missing!

Robyn & her Peeps Bouquet

Breakfast Burritos

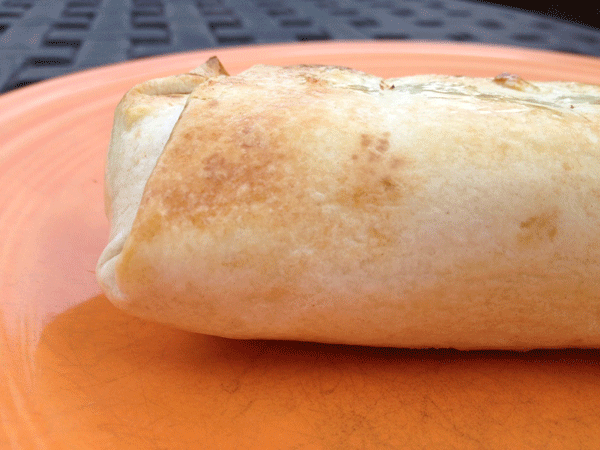
Burrito
Burrito

Here is a breakfast burrito recipe that is absolutely delicious!  The combination of eggs, bacon, peppers & onion and just enough jalapeño to give this recipe a little kick, will get your day going!

Here is the recipe so you can enjoy them too!  A printable copy can be found at the bottom of the post!

Breakfast Burritos
This recipe makes enough to generously fill  4 – 10″ tortillas

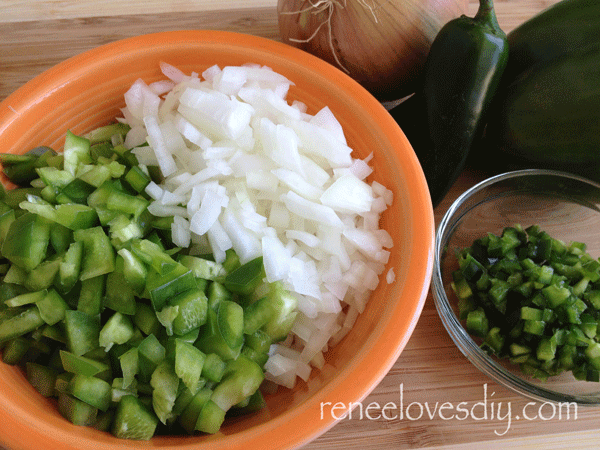
1/2 small onion, diced
1/2 green pepper, diced
1 jalapeño, diced (optional)   At my house – it would be 2 jalapeños and –  Not Optional!
4 slices of cooked bacon, crumbled
8 eggs
1/2 cup milk
1&1/2 cups grated cheese –  I like pepper jack & cheddar mixed
salt & pepper to taste
small amount of oil to prepare the frying pan

Egg Burrito Ingredients

Saute the onions, pepper and the jalapeños until the onions are translucent and the peppers are soft. Transfer to a medium sized bowl.

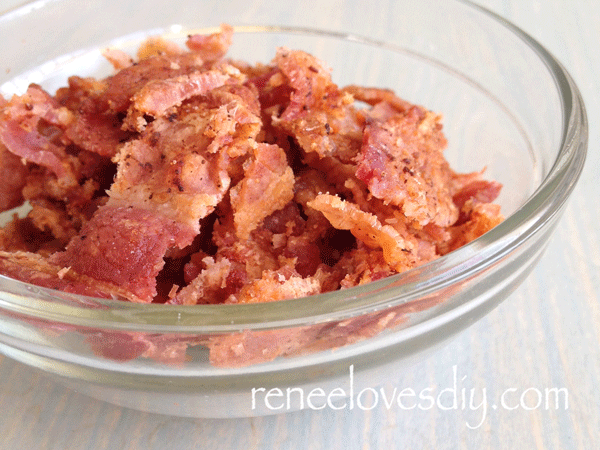
Bacon for an Egg Burrito

Crumble your cooked bacon!

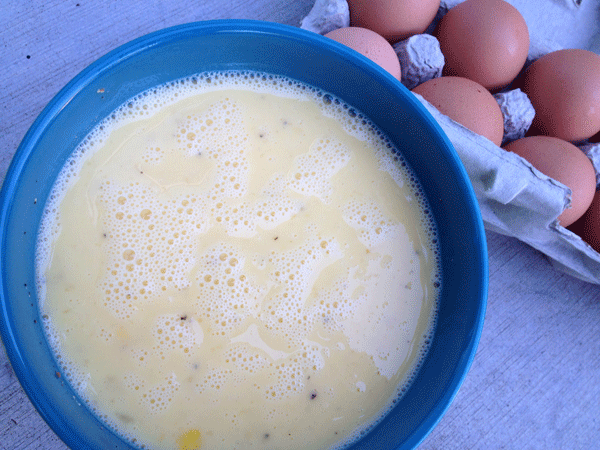
Scrambled Eggs for Egg Burrito

In a medium bowl, mix the eggs and milk.  Whisk until well blended and season with salt and pepper.

Scrambled Eggs for Breakfast Burrito

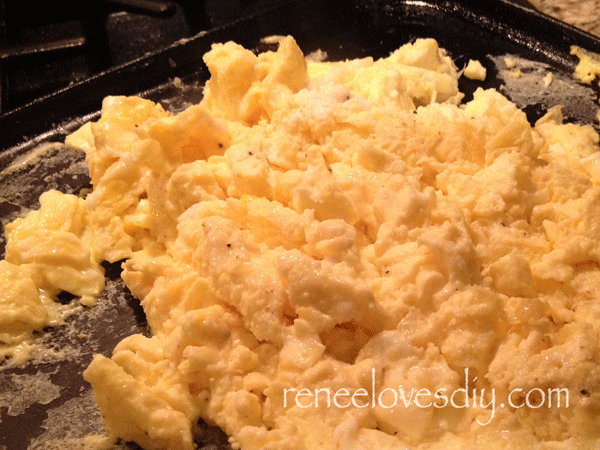
Heat a greased skillet over medium heat.  Pour the egg mixture onto the heated pan and gently stir until the eggs are set.  Transfer to a large clean bowl.  Add the onion/pepper mixture,  crumbled bacon and grated cheese.  Mix until blended.  Check seasoning!

Egg Burrito
Egg Burrito

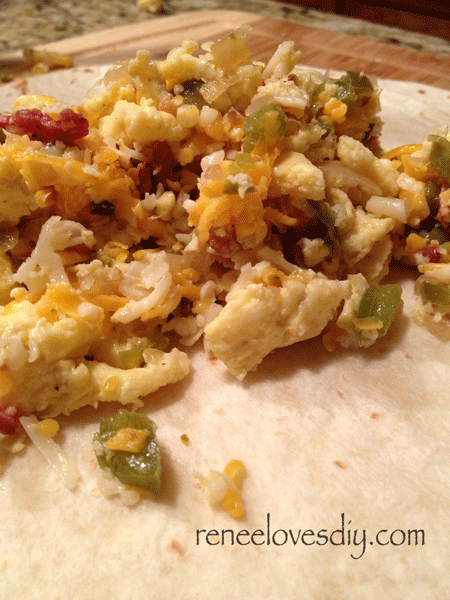
Place one fourth of the mixture onto a warmed tortilla.  Fold up and enjoy!
They are delicious!

Here is the Printable Recipe!

[gmc_recipe 1954]

Delicious Egg Burritos

When I make Egg Burritos,  I like to make a few extras to throw in the freezer!

Delicious Egg Burritos!

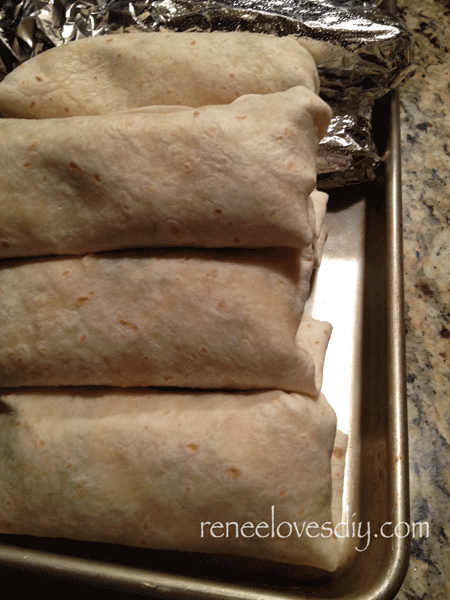
The last time I prepared these burritos I needed 40 of them.  My husband was participating in a family fishing tournament and he needed to provide breakfast for 27 fishermen!  I came up with the idea of preparing the egg burritos and freezing them so it would be easy to transport them and then simply reheat them in the oven!

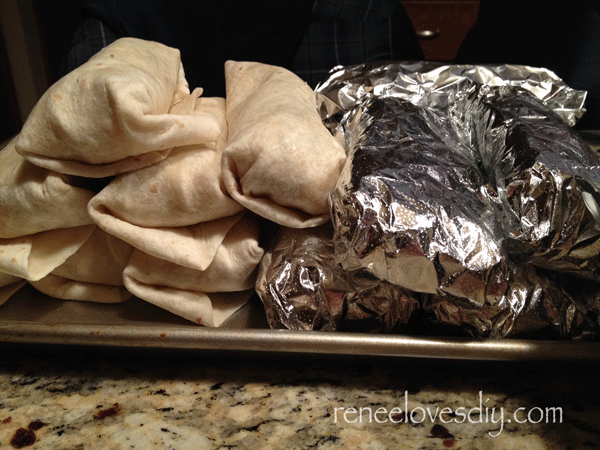
Now you know why I have pictures of mounds of burritos!  I made piles and piles that day.  We also wrapped each burrito in aluminum foil to make it easy to prepare them in the oven!

I am including the recipe for 40 Breakfast Burritos –  for anyone who is as crazy as I am!

40 Breakfast Burritos

3 large onions, diced
6 green peppers, diced
6-10 jalapeños, diced
40 sliced of cooked bacon, crumbled
60 eggs
4 cups of milk
3 lbs grated cheese

Prepare the above ingredients in the same manner as the recipe for a mere 4 burritos!

Because I was making such large quantities and because I am very concerned about food safety; I immediately cooled everything as I prepared it.  Starting with the bacon, once it was crumbled I refrigerated it, same thing with the pepper mixture and the grated cheese.  The last step was scrambling the eggs.  I prepared half the scrambled eggs at a time.  I cooled the cooked eggs in a metal bowl that I placed in an ice bath.  After it had cooled, I added half of each of the bacon, pepper mixture and cheese.  I then mixed this well, checked my seasoning and filled my tortillas.  I wrapped each burrito in aluminum foil.  As soon as I had a cookie sheet filled with a single layer of burritos, I placed them in the freezer.  I then prepared the rest of the scrambled eggs and did it all again.  Once the burritos were frozen, I placed them in labeled ziploc bags.

The frozen burritos can be reheated in the microwave.  Check after one minute!

Frozen burritos can also be reheated in the oven:

Preheat oven to 350 degrees.  Place frozen burritos in the oven for 20-30 minutes.  If you want them toasted on the outside, remove the aluminum foil after 20 minutes and place them on a pan and return the burritos to the oven.  Cook until the desired crispness is attained!

Update:
The breakfast burritos were a big hit with the fishermen!  I guess I know what I will be making for their next fishing trip!

Recently, my sister had lots of company and prepared 20 breakfast burritos ahead of time and froze them.  The morning she had to feed her guests , she reheated the burritos in the oven and the burritos were ready for each person as they woke up!  She said it worked perfectly and everyone enjoyed their breakfast burritos!


Personalize any Gift with an Inkjet Printer!

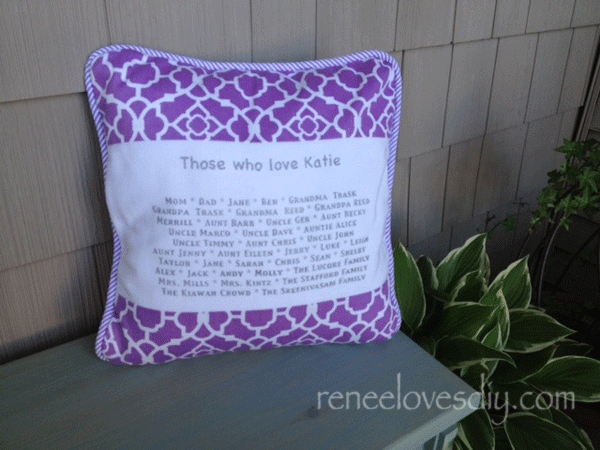
A gift pillow showing how much someone is loved!

Recently, while surfing the net, I discovered how easy it is to transfer letters using just an ink jet printer!  I discovered this technique on a blog called littlebitfunky.com.  This blogger used the freezer paper transfer to create a cute wooden sign.  This was not exactly what I needed, but it was the start of something fabulous!

For my use, I needed to transfer the print to fabric to create a personalized pillow for a family friend.

Materials Required:

The mirror image of the document you want transferred.
Not sure how to create a mirror image – just google mirror image for your computer’s word processing program. It is  very simple.  This is the link that taught me how to create a mirror image using a text box – super easy to do!  Thank you TechRepublic!

Freezer paper cut into 8 1/2″ X 11″ sheets

The fabric to which you want to transfer the image.
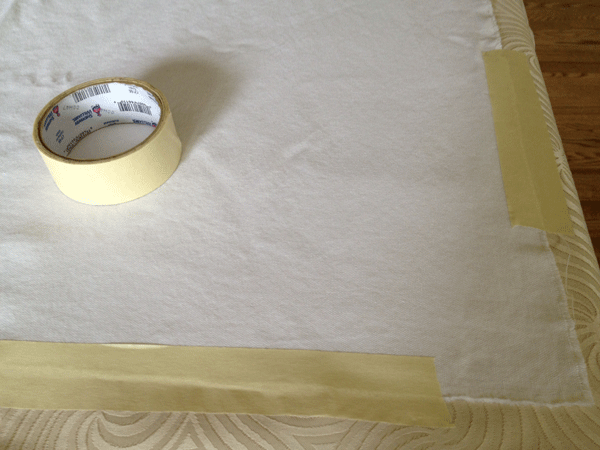
Make sure the fabric is secure and will not shift while you are transferring the image.

Getting fabric ready for transfer.

That’s it!  You don’t even have to go shopping to try this project! Unless, of course, if you don’t have freezer paper, an ink jet printer or a project to personalize!

Now let’s get it done!

Once your transfer fabric is ready, place a sheet of freezer paper between two sheets of regular printer paper and insert in the paper tray.  Make sure the waxy side of the freezer paper is the side that will be printed on.  Hit print twice.  The first print will be on regular paper and the second will print on the freezer paper.

Some sites will suggest gluing the freezer paper onto a piece of card stock, but I like to keep things easy and simply sending it between two sheets of paper worked for me.  The freezer paper likes to curl so the top sheet keeps it flat so it can feed into the printer.  If this doesn’t work for you, try gluing the freezer paper onto a piece of printer paper or card stock.

I have also seen sites where they  will glue the fabric to freezer paper and send that through the printer.  I have a new printer and there was no way I am sending fraying fabric through my printer.  Plus, it limits the size of your project to an 8.5 X 11 inch piece of fabric!  Just not big enough for me!

Once your image has printed – do not touch it!  It will easily smudge.  Quickly and with care,  I place it on top of my fabric!  Make sure the image is in the correct spot the first time.  It cannot be moved!

Secure the image with tape.  I even have pieces of tape ready so I can hold the image in place with one hand while securing it with tape.

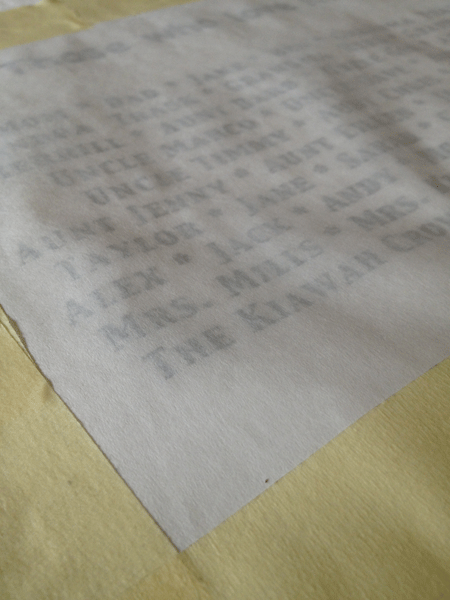
Freezer Paper Transfer

Finally – ready to transfer!

Using the back of a spoon, Rub the back of your image thoroughly!  Make sure you rub over the entire letter of each word!  I go over the whole image at least twice!

Freezer Paper Transfer

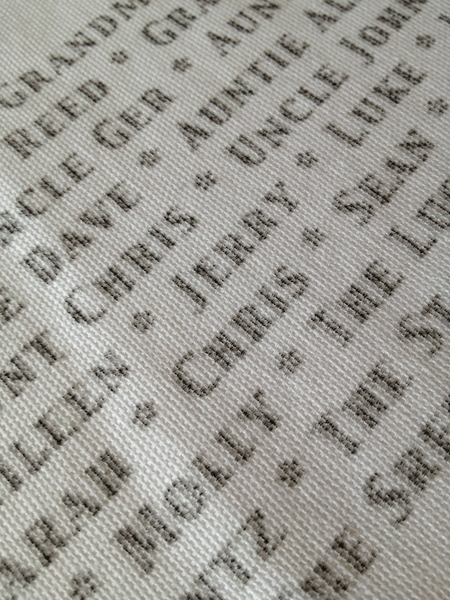
Once finished, remove the freezer paper.  Then take a moment to gaze at the beauty of the image you have created!

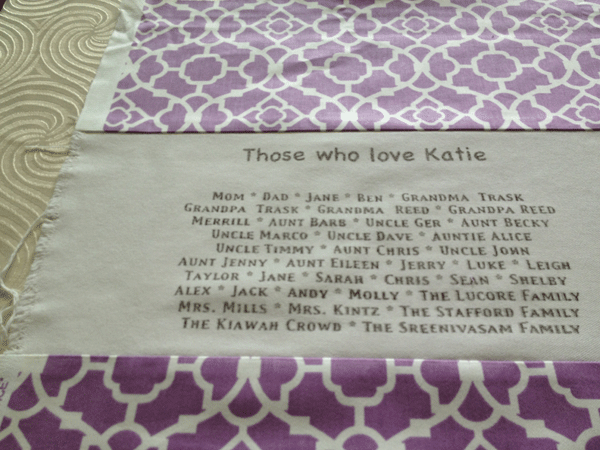
Message Pillow
Message Pillow

One more step – After my image is completely dry, I ironed the image to heat-set the ink!

Done!  You now have a unique and personalized gift that anyone would love!
Well – I wasn’t done – I still needed to sew my pillow together!

I have used this technique multiple times already!
It makes any ordinary gift -extraordinary!

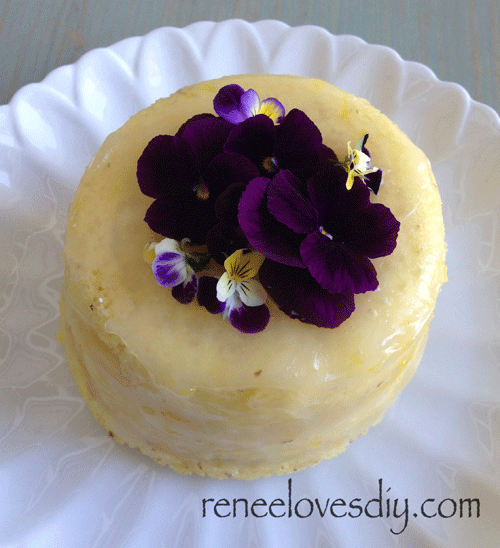
Gluten-free Lemon Cake

Gluten-free Lemon Cake

If you have been checking my latest posts, you would have found a delicious, easy to make and super quick chocolate ganache cake.  Today’s post is that same cake in a tasty lemon version.  The cake itself is made in the microwave and it is enough for 4 people to have the perfect size piece of cake or for one person to eat it all!
This cake is made, once again, from my favorite baking mix – Pamela’s Baking and Pancake Mix.  This is such a versatile mix!  I use it for pancakes, muffins, bread, cookies and cakes!
Here is the recipe so you can make your own!

Gluten-free Lemon Cake

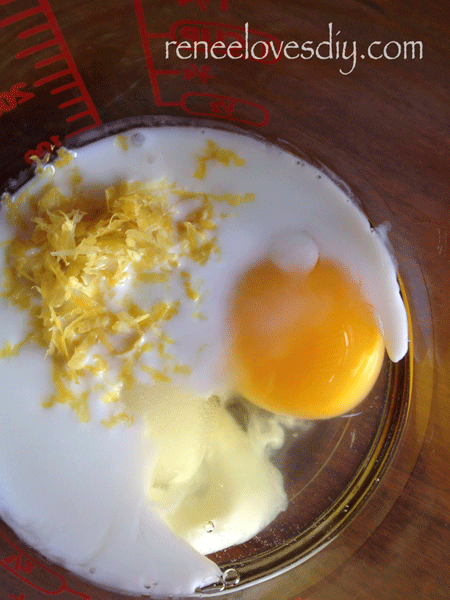
1 egg
1 tsp oil (I use coconut oil!)
3 tablespoons buttermilk
1 teaspoon lemon juice
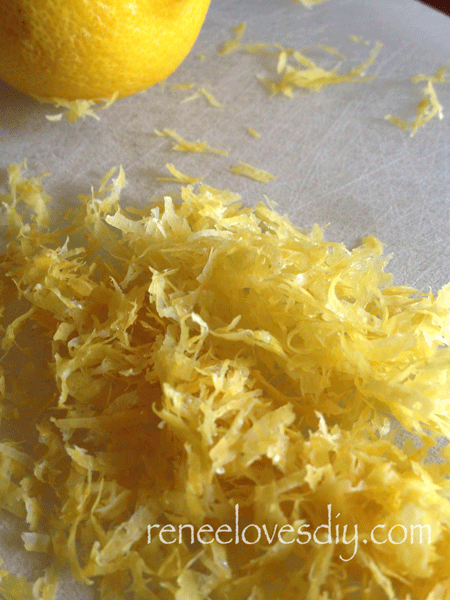
1/2 tsp lemon zest
1/4 teaspoon vanilla
1 &1/2 tablespoons of sugar
Mix the above ingredients until well blended.

Lemon Zest
Lemon Zest
Ingredients for a gluten-free lemon cake!

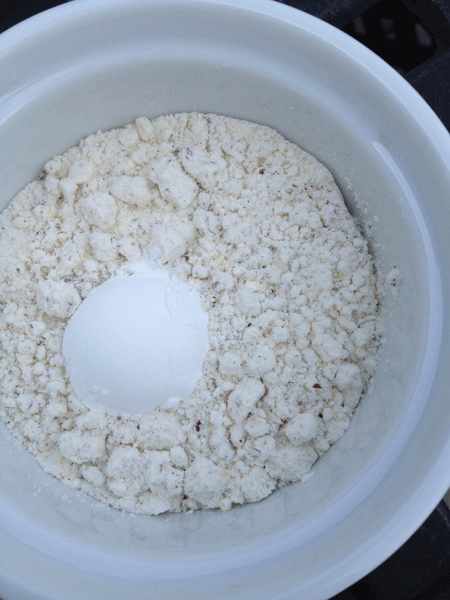
In a small bowl, mix the following dry ingredients:
1/3 cup Pamela’s Baking and Pancake Mix
1 teaspoon baking powder

Gluten-free lemon cake dry ingredients

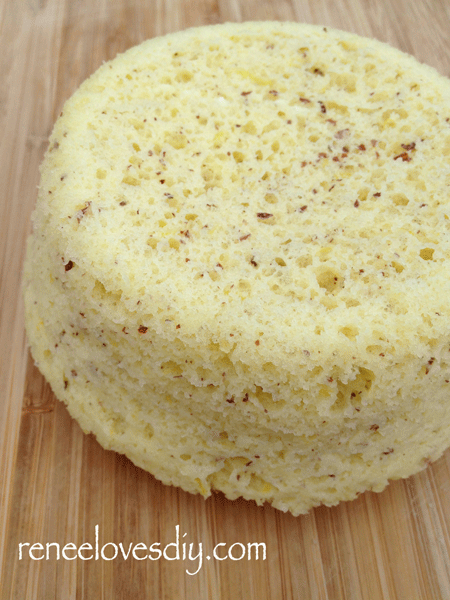
Blend the dry ingredients with the egg mixture and using a spatula, transfer the batter to a microwavable bowl.  I used a 2 cup ramekin, which worked really well, since the sides are straight and that allowed me to easily slice the cake to create a layered cake!  Place in the microwave for 2 minutes on high.

Remove the ramekin from the microwave.  It will be very hot!  Loosen the sides of the cake and turn it over onto a cooling rack.  If it looks like the bottom of the cake is not quite done, just place it back in the ramekin and microwave a little longer!  It sounds crazy, but it works!

Gluten-free Lemon Cake

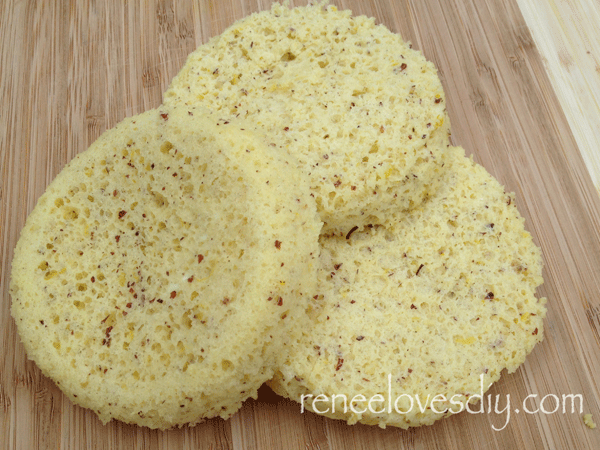
After the cake has cooled, slice it into three layers.

Slice the gluten-free lemon cake into thirds!

Now for the good stuff!  I layered my cake with lemon filling that I prepared using the following recipe.  If you don’t wish to take the time to make your own lemon filling, pick up a jar of lemon curd at the grocery store.  The lemon curd from a jar is rather stiff therefore,  I would warm it  slightly in the microwave before using.

Lemon filling – this recipe comes from a Betty Crocker Cookbook my roommate gave me many years ago!  On the front flap she left a message about using it when I am “feeling domestic”!  As you can see from my blog, I have been feeling very domestic lately!

Clear Lemon Filling
3/4 cup sugar
3 tablespoons cornstarch
1/4 teaspoon salt
3/4 cup water
1 teaspoon lemon zest
1 tablespoon butter
1/3 cup lemon juice

Mix sugar, cornstarch and salt in saucepan.  Slowly add the water and cook over medium heat; stir constantly until mixture thickens and boils.  Let boil for 5 minutes, stirring constantly.  Remove from heat, stir in  lemon zest, butter and lemon juice.  Let cool in the refrigerator.

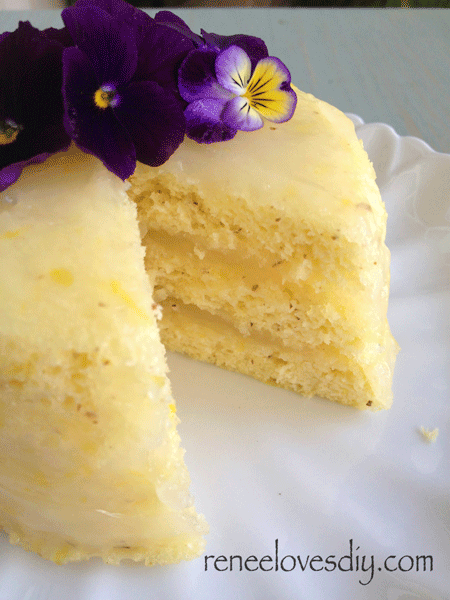
After your lemon filling has cooled, spread it between your layers of cake.  Stack the cake layers then cover the entire cake with the lemon filling.  Enjoy!

Gluten-free Lemon Cake


Marzipan Cupcake Garnish – Beautiful & Delicious!

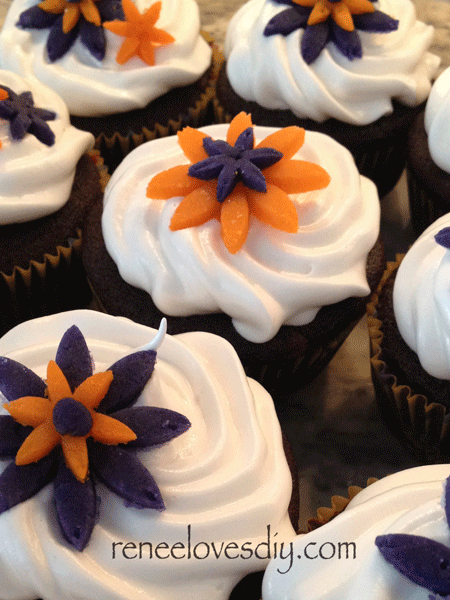
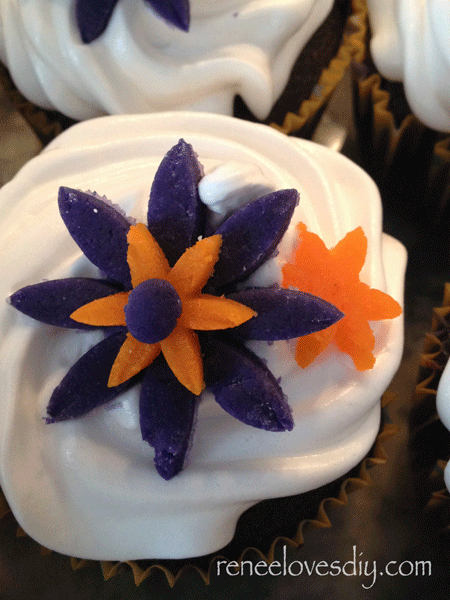
Marzipan garnish decorating a cupcake!

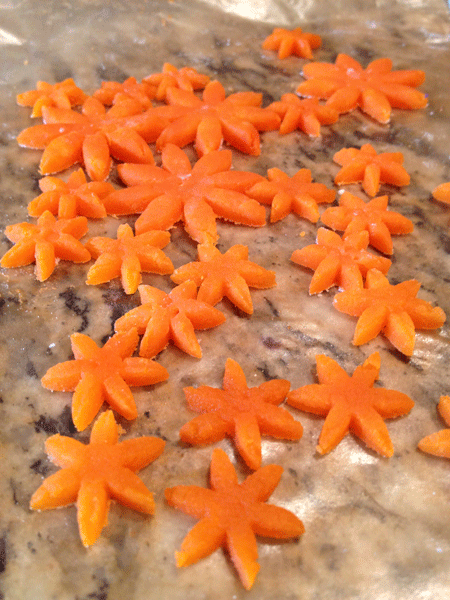
Here is another wonderful cupcake garnish!  The flowers you see here are made from marzipan and are not only beautiful, but very tasty too!

Marzipan is made of finely ground almonds mixed with sugar to create a paste that can be molded into cake icing, wonderful candies, and cupcake garnishes!  It is very delicious and can be found in any baking aisle!

Still not sure what marzipan is?  Well, If you have ever been in a candy store, you have seen marzipan.  The beautiful miniature fruit candies found in the display case are made from marzipan that has been colored and molded into beautiful shapes, such as apples, oranges, or bananas by a skilled candy maker. Next time you see them, try one.  They are very tasty!

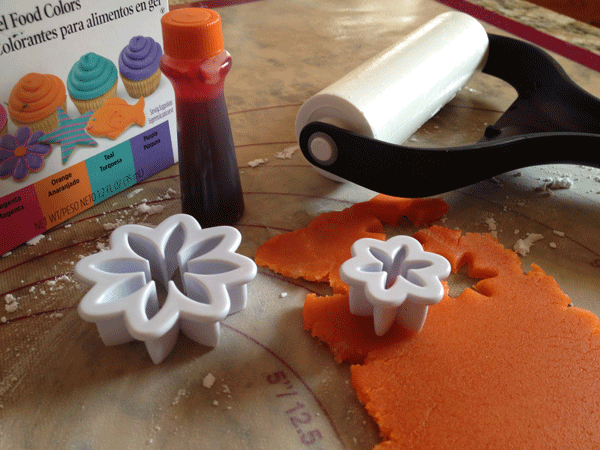
Creating this garnish was very easy.  Here is the short list of what is required.

Fondant Cutters – mine are from Wilton and I found them at Michaels for less than $4.
Marzipan – this comes in small cans or tubes in any baking aisle.
Gel Food Colors – these now come in the multipack – love it!


Coloring the marzipan!

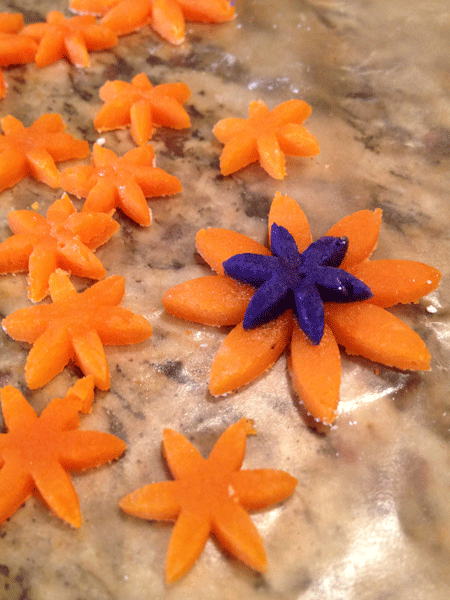
To color the marzipan:  Break off the amount you think you will need;  microwave for just a few seconds  to warm it slightly; add a couple of drops of food coloring; knead the marzipan to incorporate the color.  You may need to add a little water if it seems dry, a little powdered sugar if it seems too moist.

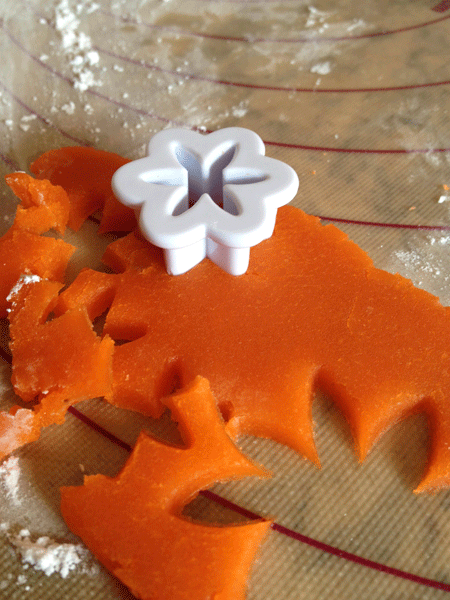
marz2

Rolling out the marzipan:  Cover your surface with a light coating of powdered sugar; roll the marzipan to a thickness of about 1/4″.  Using trial and error, decide what thickness works for your project.

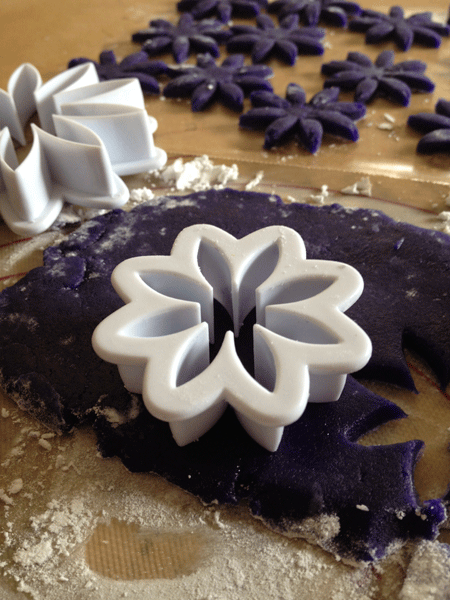
marz3

Cutting the flowers:  Using your fondant cutters, cut out the flowers for your decorations. The tricky part to this, is removing the flower from the cutter.  Because the flowers are delicate, you will need to use toothpicks or bamboo sticks to remove them from the cutter.  I used both the sharp and blunt ends of the picks to accomplish this.

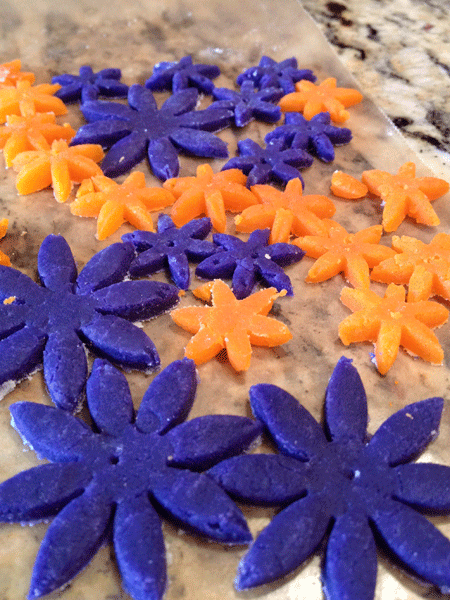
marz4 marz5

The cupcakes you see here were for a wedding shower and because I needed to garnish 40 cupcakes, I made the flowers a couple of days before the event.  I stored them on wax paper in an airtight container.  The multi-colored flowers I stacked before storing them because the marzipan will dry some and it will be more difficult to get the pieces to stick together if they dry too much.  You can always use a little corn syrup “glue” when stacking flowers.  Not too much though or they will slide apart!

marz6 marz13

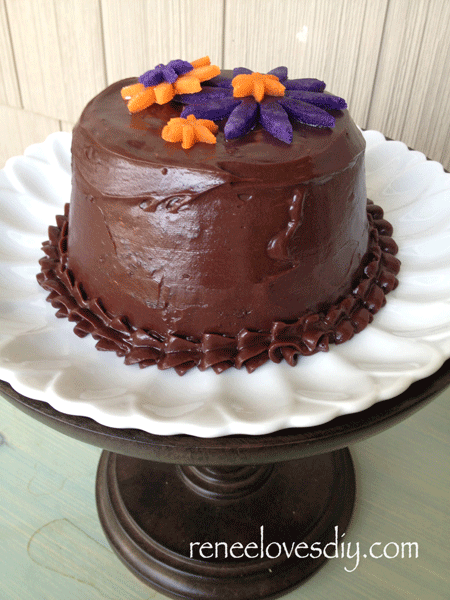
I used Marzipan to decorate my Gluten-free Chocolate Ganache Cake from a previous post!  Delicious and beautiful – gotta love it!

Gluten-free Chocolate Cake

Gluten-free Chocolate Ganache Cake – Made in the Microwave!

Gluten-free Chocolate Cake

Last week, we had a family birthday to celebrate and I needed a small, gluten-free cake that I could make in an hour  without using the oven.  It was 90 plus degrees out and turning on an oven was the last thing I wanted to do.  Amazingly enough, after a quick internet search, I was able to make it happen!

Coming to my rescue was none other than my favorite baking mix – Pamela’s Baking  and Pancake Mix .  I have said it before and I’ll say it again – I love this mix.  I use it for pancakes, muffins, cookies and now cake!

On Pamela’s website, I found a recipe for bread that was prepared in the microwave!  I tried the recipe and it worked fabulously!  I was shocked, excited, and absolutely thrilled.  I knew if I could make bread in the microwave, I could make cake.

Using  the Amazing Bread in about a Minute recipe as a starting point, I added a few additional ingredients and created a recipe for the beautiful cake you see before you!

Chocolate Ganache Gluten-free Cake

1 egg
1 tsp oil (I use coconut oil!)
3 tablespoons buttermilk
1 teaspoon water
1/4 teaspoon vanilla
1 &1/2 tablespoons of sugar
Using a fork, mix the above ingredients until well blended.

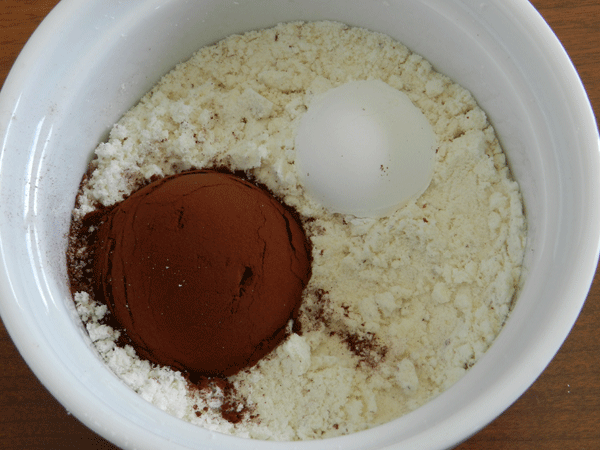
In a small bowl mix, the following dry ingredients:
1/3 cup Pamela’s Baking and Pancake Mix
1 teaspoon baking powder
1 tablespoon cocoa powder

Dry Ingredients
Dry Ingredients

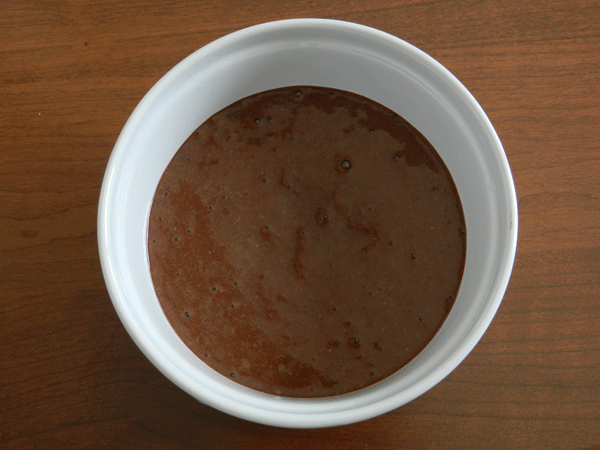
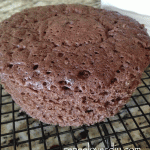
Blend the dry ingredients with the egg mixture and using a spatula transfer the batter to a microwavable bowl.  I used a 2 cup ramekin, which worked really well, since the sides are straight and that allowed me to easily slice the cake to create a layered cake!  Place in the microwave for 2 minutes on high.

Pour cake batter into microwaveable dish

Remove the ramekin from the microwave.  It will be very hot!  Loosen the sides of the cake and turn it over onto a cooling rack. If it looks like the bottom of the cake is not quite done, just place it back in the ramekin and microwave a little longer!  It sounds crazy, but it works!

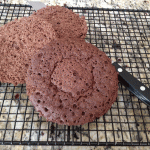
After the cake has cooled, slice it into three layers.

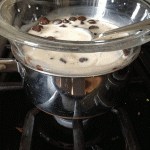
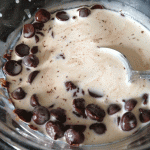
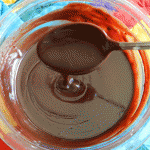
Prepare the ganache.  Heat one cup of cream and 1 1/2 cups of chocolate chips in a double boiler over simmering water.  Allow the cream & chocolate chips to gently heat then stir until smooth.  Remove from heat, stir in 1/2 tsp vanilla and allow the ganache to cool.

To create an extra glossy ganache add 1 tablespoon of corn syrup with the vanilla.

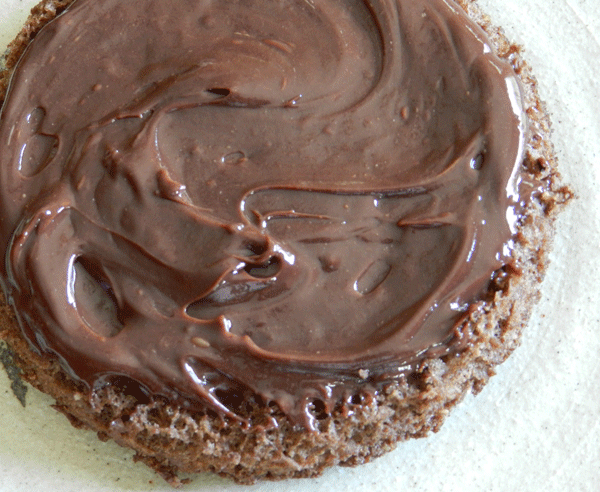
Spread the ganache between the cake layers, stacking them on top of each other.

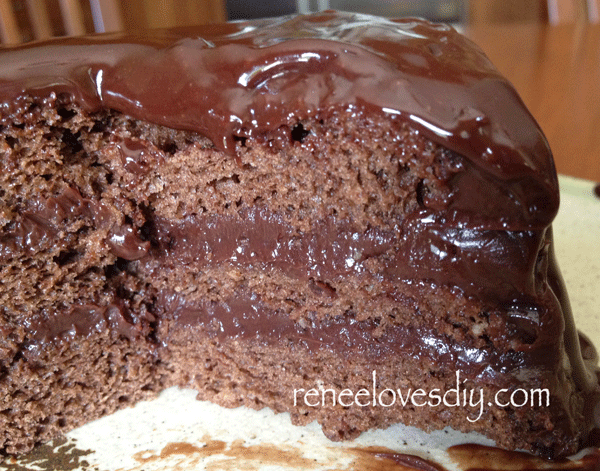
Create a layer cake with ganache!

Cover the entire cake with the ganache.  To create the dripping chocolate, heat ganache slightly so it pours easily!

Gluten-free Chocolate Ganache Microwave Cake

It’s time to eat cake!!

Gluten-free Chocolate Ganache Microwave Cake

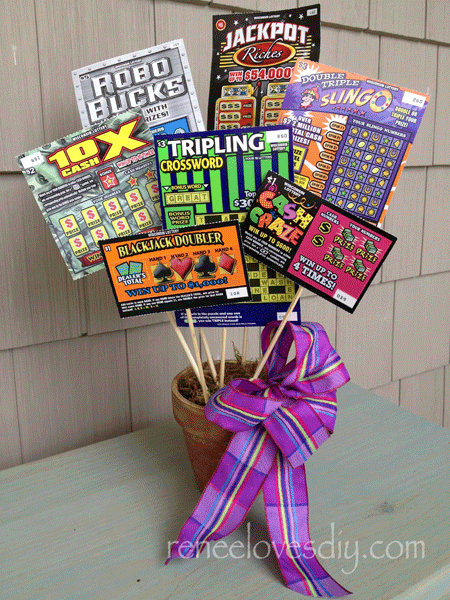
The Lottery Ticket Bouquet!

When a bouquet of flowers will not do the trick for cheering up that someone special, give a lottery ticket bouquet!  This gift was for my 84 year old father.  Yes, I could have delivered flowers, but if you had seen the way his eyes lit up when he saw his special lottery ticket gift,  you would understand how this was so much better.  Young or old, everyone enjoys the opportunity to take a chance at winning with a lottery ticket!

What you need to create a Lottery Ticket Bouquet:

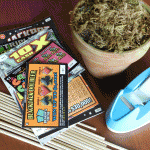
Flower Pot – mine was filled with foam and covered with dried moss.  Both are available at any craft store.

Bamboo Skewers – just dig in your kitchen drawer and pull out your skewers!  I used two sizes because I just happened to have them, but whatever you find will work.

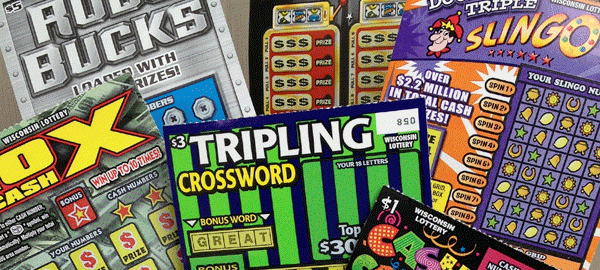
Lottery Tickets – You know where to get these!

Tape – for, you guessed it, attaching the tickets to the skewers!

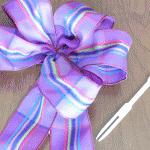
Bow – this is optional.  I created a bow with some ribbon I had on hand.  To secure it to the pot I attached it to a bamboo fork.

Lottery Bouquet

Put it all together and voila – a gift anyone would love!
Provided they are 18 or over and legally able to play the lottery!

For this gift, I purchased $20 in lottery tickets and my father won $12.
Yes – I lost money, which is the norm for lottery tickets, but I have to say it was worth the money for the surprise and fun the gift provided!
Make one today for your special someone!


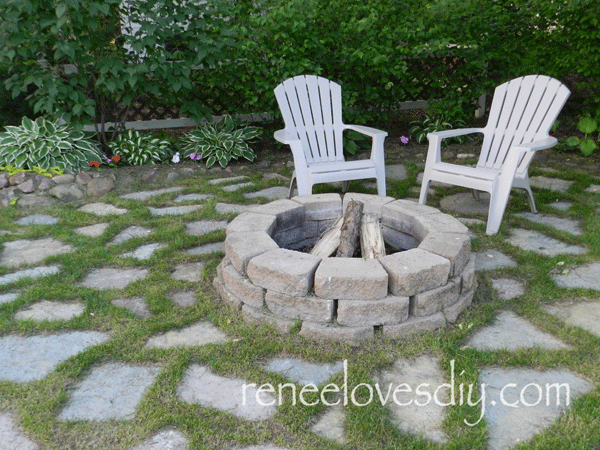
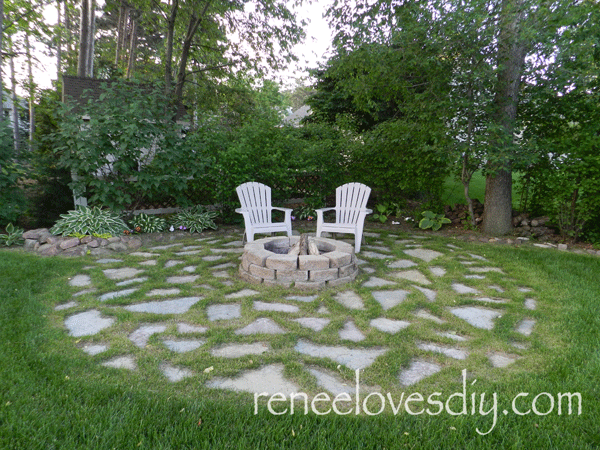
Fire Pit and Flagstone makes for a Favorite Spot in our Yard

fire3

This is absolutely my favorite spot in my yard.  Most hours of the day it is shady with only a small amount of dappled light and many times a delightful breeze.

It is a wonderful place to put your feet up and think about your day while sipping your morning coffee or in the evening, socialize with friends and bask in the warmth of an open fire.

Beautiful Shady View

My goal, in creating this space, was for my children to invite their friends and socialize – at my home – where I could keep an eye on them!  It’s what we all want as parents – right?

It turns out that we adults use the space as much as the kids.   I love to sit out there any time of the day.  I can work on my computer, read a book, or just relax!

The making of my favorite spot:

Privacy – To make it difficult for peering eyes, I planted a hedge around the corner of my yard.  I love my neighbors, but sometimes it’s nice to feel alone!

Fire Pit – Mine is constructed of  concrete blocks.  Go to your local home store and they will be able to set you up with something similar.

After locating the spot for the fire pit, I cleared it of grass, leveled it out and laid out my stone.

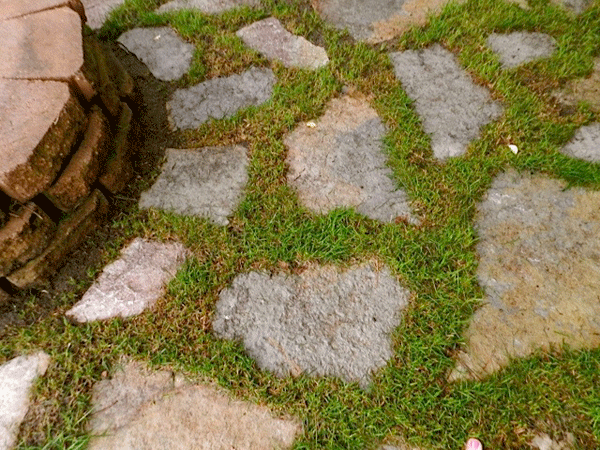
Flagstone Area – Because I wanted my fire pit to have it’s own space, an outdoor room if you will.  I laid flagstone, encircling the fire pit.  Since I already have a “formal patio area”  I wanted this to be a casual space so I left 3-4 inches of grass between the stones.

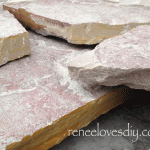
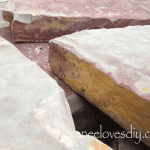
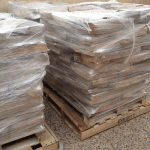
The flagstone I purchased locally and it currently sells for $0.15/pound.  Flagstone comes in many colors and I liked all of them so I purchased a little of everything!

Because I have a vehicle capable of hauling stone, my husband and I made a few trips to a natural stone retailer.  Our process was to load the stone in the truck, lay out the stone as we unloaded it , decide more stone was required and go get another load!  It took 3 trips to carry enough flagstone.  Yes – I could have had it delivered, but this way I was able to pick the colors of the stone and build muscle…lots of muscle!

For this project I used over a ton of stone and it’s not that difficult.  Only the really big flagstones  are hard to move and I only had a few of them!  Plus – it is kind of fun to say “I moved a ton of stone today!”


Flagstone
Flagstone

Starting at the fire pit, I placed stones that “fit” around the concrete blocks, leaving a couple of inches between the flagstones for grass.  After laying the stone in place, I used a knife to cut it’s outline in the grass, moved the flagstone and removed the grass with a flat shovel and garden trowel.  I also had sand on hand to help level the space the stone was to lay in and a rubber mallet to pound it into place.  Getting the stones to lay flat meant moving the stone in and out of place a few times, but it was well worth it.

From this spot I can gaze across to the rest of my beautiful yard.  There is nothing better than appreciating your hard work with your feet up and a refreshing beverage in your hand!

Before you begin a fire pit project, make sure you can legally have a fire pit in your area.  Some cities do not allow them.  Also, keep it away from any fire hazards.  I do have trees in my yard, but we removed any low hanging branches from the area and we never use it in dry weather.

Fire Pit surrounded with flagstone patio

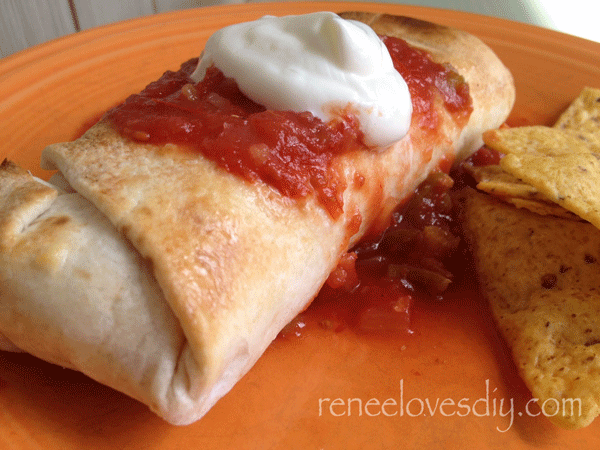
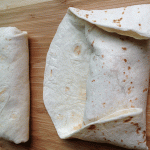
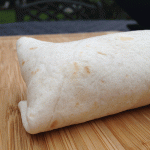
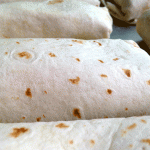
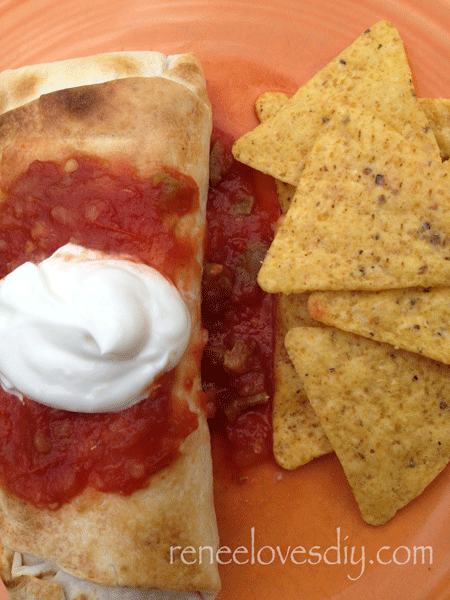
Baked Chicken Chimichanga


Baked Chicken Chimichanga

Baked Chicken Chimichangas – we love chimichangas!  The deep fried ones with the crispy crust are really wonderful, but I feel so guilty eating all that deep fried tortilla.  Plus, drowning that delectable crispness in salsa and sour cream just makes the tortilla soggy anyway…right?…So it’s not that great…right?  Ok that is what I am telling myself –  so let’s just go with it – baked is better!

My son loves it when I make chimichangas because that means there is a quick meal for him  in the freezer for at least a week.  They never last long at my house – they are that good!

This recipe will make 10- 12 chimichangas, depending on how full you fill them!

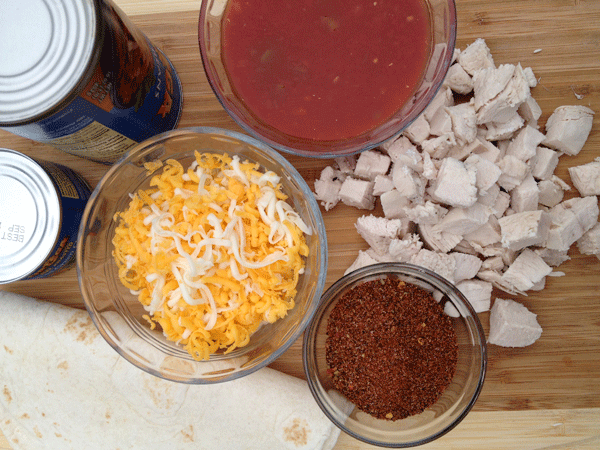
Chimichanga Ingredients

1.5 lbs cooked and cubed chicken breast
1 tbs taco seasoning
2 cups salsa
3/4 lb freshly grated cheese ( I use a mixture of cheddar and jack cheeses)
1 can roasted diced green chiles
1 can refried beans

10-12 10″ tortillas

In a large bowl flavor the chicken with the taco seasoning and mix well.  Add the rest of the ingredients and mix until uniform.  Place  approximately 3/4 cup of the chicken mixture in the center of your tortilla.  Starting at one end roll the tortilla over the mixture, fold in the sides and then finish rolling it up.  If the tortillas crack upon rolling, heat the tortilla slightly on a griddle before using them.

Now you have options!

Hungry now – Heat oven to 350 degrees.  Wrap each chimichanga in aluminum foil, place on a cookie sheet and bake 20 minutes.  Remove from the oven, unwrap the chimichanga and bake an additional 10-15 minutes to crisp the outside!

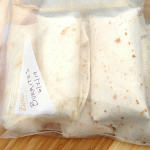
Hungry later – place chimichangas on a cookie sheet, keeping them separate.  Place the chimichangas in the freezer for at least 30 minutes.  Remove from the freezer and place your chimichangas in freezer ziplock bags.  Because you have taken the time to freeze the tortilla, they will not stick together in the bag.  The other option is to wrap each one in aluminum foil then immediately freeze.

To prepare frozen chimichangas, remove from freezer, microwave on high for 1-2 minutes.  If you want the outside crispy, toast the chimichanga in an oven for 10 minutes at 350 degrees.  My toaster oven works well for this!


Baked Chicken Chimichanga

Helpful tips:  Taco Seasoning – I make my own!  It is so much better than the packets I used to purchase before I knew better. I use the recipe from allrecipes.com!