Monthly Archives: February 2015

A Gift for the Cook in Your Life!

Some of the most important people in our lives are the ones that prepare fabulous food for us to eat!  Here is a simple DIY for a scrubby kitchen cloth that anyone who washes dishes will love! These cloths are wonderful for scrubbing pots and pans, but the best part is that they are machine washable!  So go make a bunch and say Thank You to all the wonderful cooks in your life!
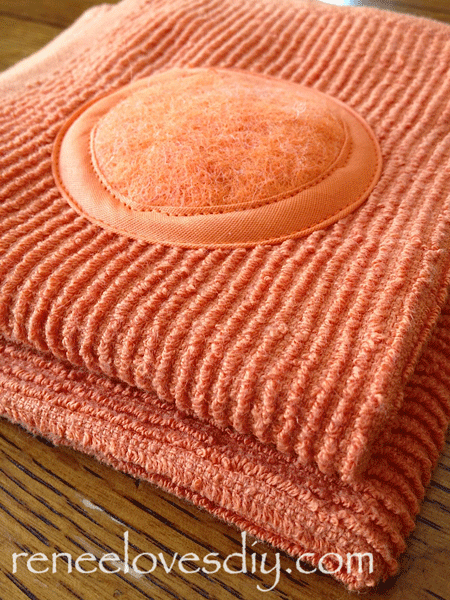
KitchenScrubby
DIY Kitchen Cloth Scrubby

What do you need?
Scouring Pads
Kitchen Cloths
Bias Tape
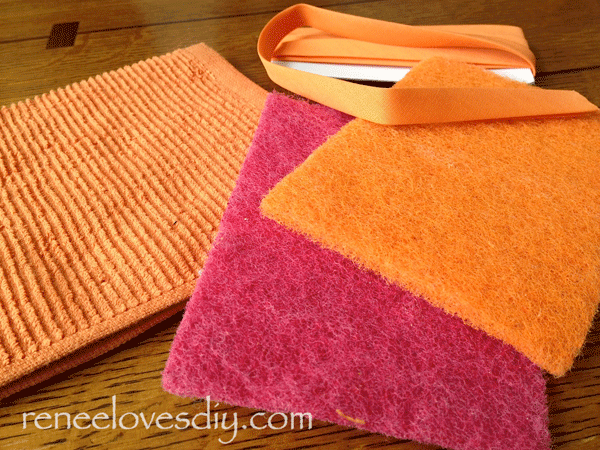
Making a scrubby kitchen cloth!

The scouring pads are a bit stiff to sew, but if you rinse them out a few times they will soften a little bit!
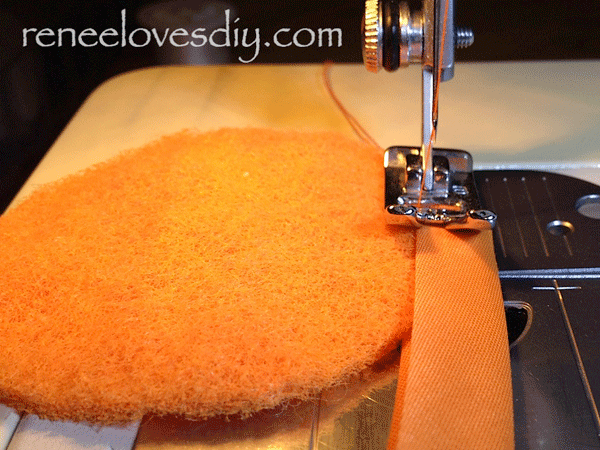
Sewing the Scrubby
Sewing the Scrubby

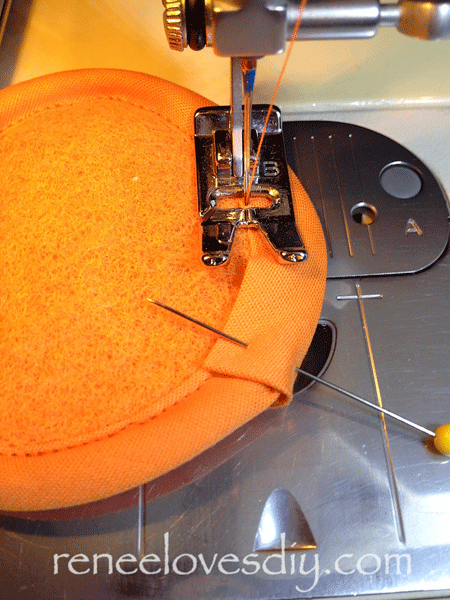
I cut my scouring pads into 2 & 1/2  inch circles and sewed bias tape around the edges. Make sure you use a heavy duty needle and sew slowly!
Sewing the Scubby
Sewing the Scrubby

When you get close to overlapping your bias tape, cut the tape so there is one inch of overlap.  Fold the end of the bias tape under 1/4″ and pin into place as the picture above shows! Finish sewing!
Scrubby Kitchen Cloth

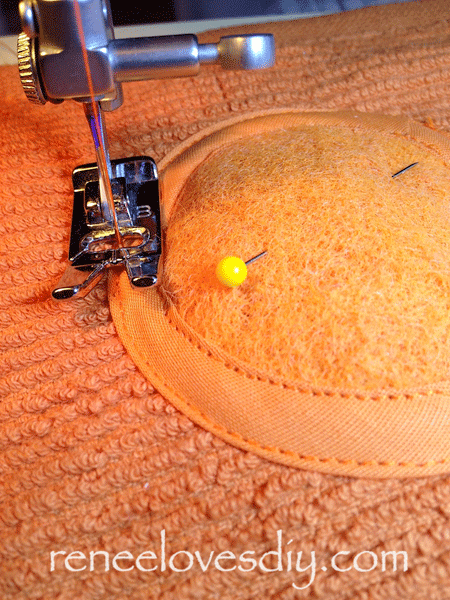
Last step – Pin your bias tape trimmed scouring pad onto a kitchen cloth.  I pinned mine 1.5″ from both edges of one of the corners.  Sew the outer edge so the scouring pad is now attached to the kitchen cloth!

Voila – A Scrubby Kitchen Cloth!

Finish off your gift with some fabulous hot pads!
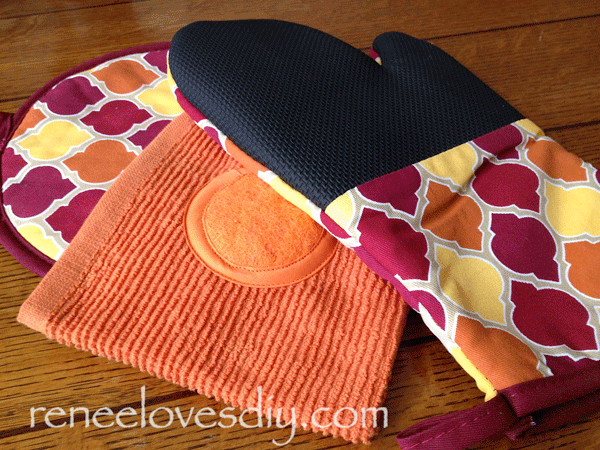
A kitchen gift for your favorite cook!

The hot pads shown here have a neoprene face that provides great grip and insulation.  I own a few of these and they are wonderful!  My one word of caution is – follow the washing instructions! That sounds easy enough, but how many of us do it?

I threw one of mine in the washing machine & dryer which resulted in a small tear in the neoprene layer.  It is now essentially useless!  Just follow the instructions  –  hand wash ONLY and they will be a wonderful addition to anyone’s kitchen!

Have fun making and using your Kitchen Cloth Scrubby!
Now everyone is going to want to do the dishes!



Egg Soufflé Recipe

Egg Soufflé Recipe
Egg Soufflé Recipe

 Here is a delicious, elegant and beautiful breakfast to prepare for company or for those you love the most – your family!  If you can make scrambled eggs you can prepare these wonderful soufflés!

What do you need?
1/2 small onion – diced
1 small green pepper – diced
1 jalapeno – diced (optional)
9 eggs
4 sliced cooked bacon – crumbled
1 cup shredded cheddar cheese
1 sheet of puffed pastry
salt and pepper

Preheat oven to 350 degrees.
Prepare a muffin tin by spraying with cooking spray.

Puff Pastry for the Egg Soufflé Crust

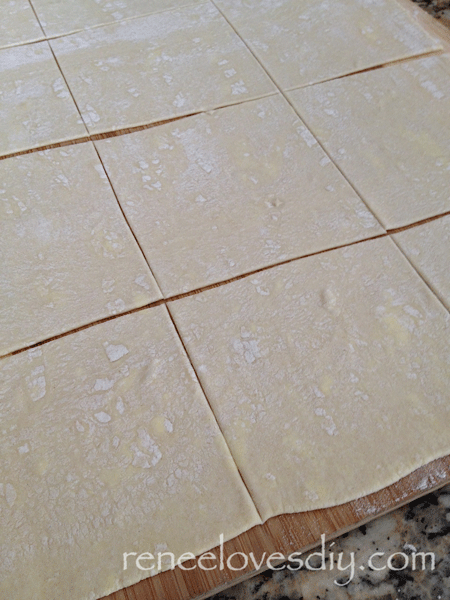
On a floured surface, roll out the puffed pastry sheet until it is a  12″ X 16″ rectangle.  Using a pizza cutter, cut the pastry into 12 – 4″ squares.

Puff Pastry for the Egg Soufflé Crust

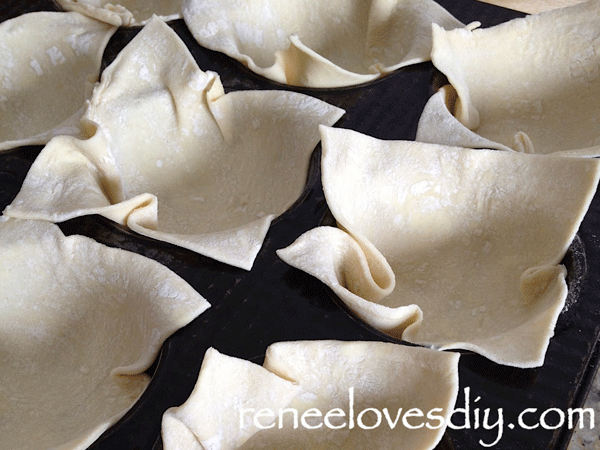
Line each of the holes of your muffin tin with one of the pastry squares

Egg Soufflé Recipe
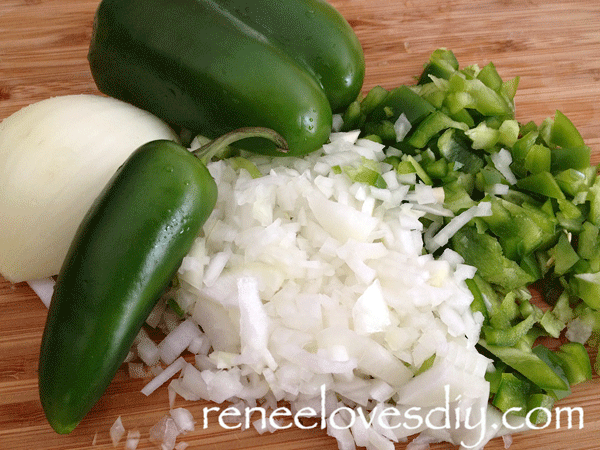
Dice onions and peppers for the Egg Soufflé Recipe

Sauté the onion, green pepper and optional jalapeno in a small frying pan coated in oil until the onions become translucent.  (Coconut oil is my favorite!)

Egg Soufflé
Egg Soufflé

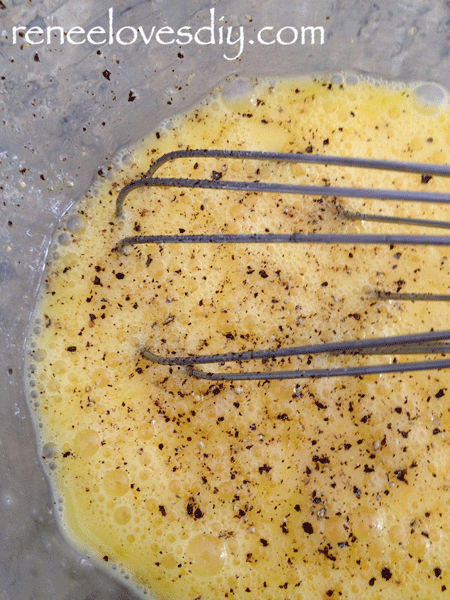
In a medium sized bowl, whisk the eggs and add the sautéd peppers and onions.  Season with salt and pepper.

Egg Soufflé Recipe
Egg Soufflé Recipe

Using a large spoon, distribute the egg mixture evenly to the pastry lined muffin tin.

Top each of the soufflés with the shredded cheese and bacon.

Egg Soufflé Recipe
Egg Soufflé Recipe

Bake at 350 degrees for 20-25 minutes until the soufflés have puffed and the pastry is golden brown.

Egg Soufflé Recipe
Egg Soufflé Recipe

Doesn’t that look delicious!
I’m getting hungry!

Enjoy!

Here is a printable recipe for you!

[gmc_recipe 2201]

I linked up to iheartnaptime!

Peanut Butter Popcorn!

Peanut Butter Popcorn!

I love popcorn, but popcorn drenched in a peanut butter glaze and drizzled with chocolate creates such a decadent, crunchy snack that you should be prepared to make a second batch! The peanut butter glaze is very simple to prepare and uses just two ingredients.  For those who want a healthier option, I have included that as well.  Both recipes are delicious!

Because we have a peanut butter allergy in our household, I have used almond butter instead of peanut butter.  Luckily, this recipe will work with any kind of nut butter!

What do you need?
12 cups of Popcorn
1/4 cup Peanut Butter or Almond Butter
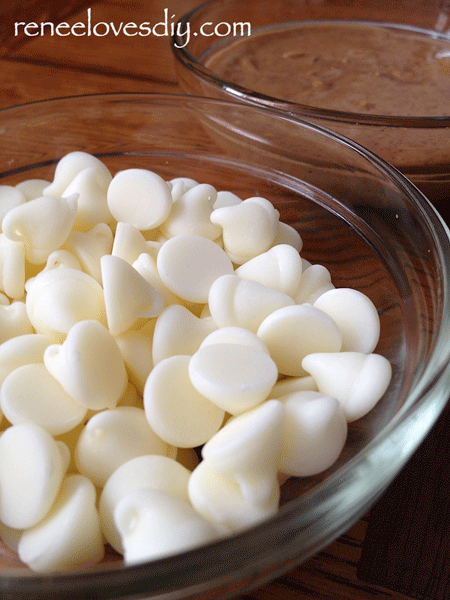
1/4 cup White Chocolate
4 oz  Chocolate ( milk or dark) for drizzling


Peanut Butter Popcorn!
The makings of a peanut butter glaze!

Into a small microwavable bowl, mix the peanut butter and white chocolate.  Microwave 30-60 seconds or until the peanut butter is warm.  Remove from the microwave and stir until the white chocolate has melted and the two ingredients are combined.

Peanut Butter Popcorn!

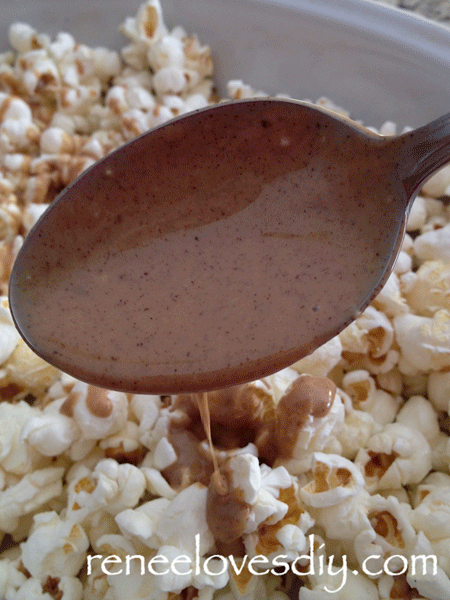
After spreading out your popcorn in a shallow pan, drizzle with the peanut butter glaze!

You can toss the popcorn gently with a spoon to help distribute the glaze!

Peanut Butter Popcorn!

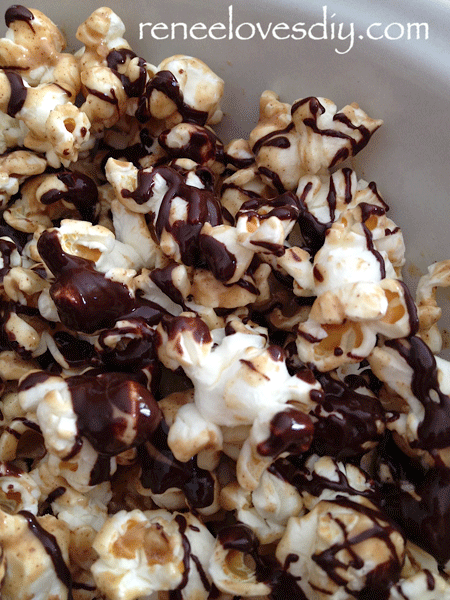
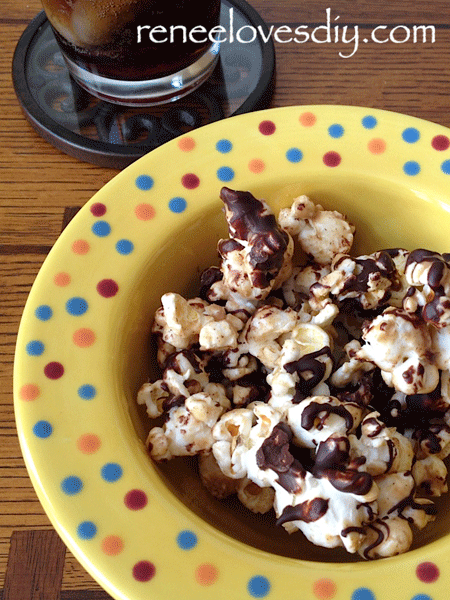
Melt 4 oz of the chocolate of your choice and drizzle it over the peanut butter glazed popcorn.

Allow the glaze and chocolate to cool and enjoy!

Peanut Butter Popcorn!

Now for the Healthier Peanut Butter Popcorn Recipe!

This healthier recipe is just as tasty as the first, but it does not set up as well.  If you are hoping to keep your peanut butter popcorn around for a day or two, I would suggest using the first option. If you are like me and the popcorn disappears in less than 30 minutes, then this is a great option for you!

Place 1/4 cup of peanut butter and 2 tablespoons of coconut oil in a small microwaveable bowl.  Heat for 30-60 seconds. Remove from the microwave and mix together until the coconut oil has melted and the two are combined.  If you would like to sweeten the glaze, add up to 2 tablespoons of powdered sugar.  Drizzle your peanut butter glaze over the popcorn and finish it off with a chocolate drizzle.  Allow your popcorn to cool and enjoy!

I linked up to iheartnaptime!

Valentine’s Day Garnish for Cakes and Cookies!

Valentine's Day Garnish
Valentine’s Day Garnish

Valentine’s Day is just around the corner!  This year I want you to make all your Valentine treats special with an easy white chocolate garnish!  I have even included a printable template of hearts to use as a guide in making these charming garnishes.

I have a feeling that your Valentines are going to feel very special this year!

What do you need?
Melted white chocolate
Pink or Red gel food coloring
A frosting decorating bag (The number one round tip works well!)

Valentine's Day Garnish
Valentine’s Day Garnish

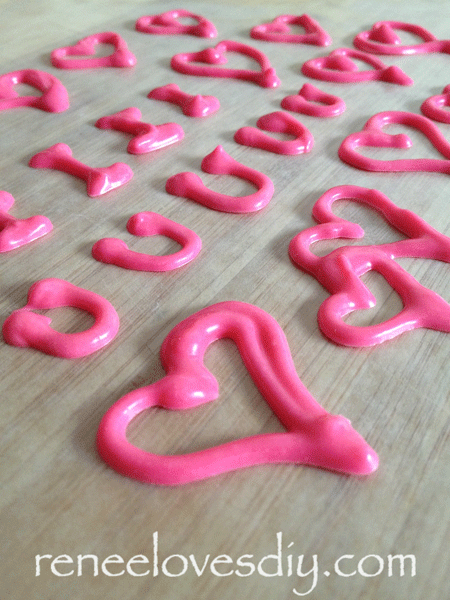
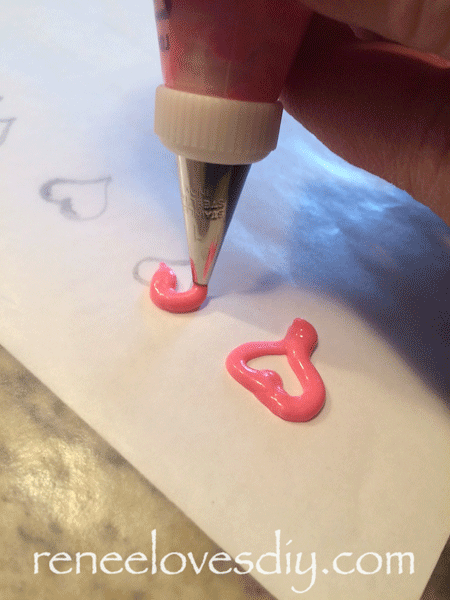
Melt white chocolate and blend in a gel food color of your choice.  I used the Magenta gel food color from Wilton.  The number one round decorating tip, shown here, works well for piping chocolate!

But before you start piping, print a Valentine Garnish Template!  The template includes a variety of hearts and the letters – I and U.  Cover the template with a piece of wax paper and you are ready to begin piping your chocolate, using the template as a guide!

In no time at all you will have lots of wonderful garnishes to use on all your Valentine’s Day treats:  cupcakes, frosted cookies, cakes, candies…  Below I have used the Valentine’s Day garnishes on my Mini-Chocolate Cakes filled with Almond Paste!

Mini-Chocolate Cakes filled with Almond Paste!

These little cakes are sure to please any Valentine!  Just click on the link for the recipe – Mini-Chocolate Cakes filled with Almond Paste!

For what other events could you use these cute & tasty garnishes?  How about weddings, anniversaries, engagements or any occasion where love is in the air!

Happy Valentine’s Day Everyone!