Monthly Archives: June 2014

Baked Chicken Chimichanga


Baked Chicken Chimichanga

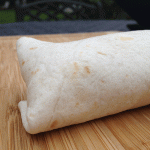
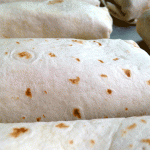
Baked Chicken Chimichangas – we love chimichangas!  The deep fried ones with the crispy crust are really wonderful, but I feel so guilty eating all that deep fried tortilla.  Plus, drowning that delectable crispness in salsa and sour cream just makes the tortilla soggy anyway…right?…So it’s not that great…right?  Ok that is what I am telling myself –  so let’s just go with it – baked is better!

My son loves it when I make chimichangas because that means there is a quick meal for him  in the freezer for at least a week.  They never last long at my house – they are that good!

This recipe will make 10- 12 chimichangas, depending on how full you fill them!
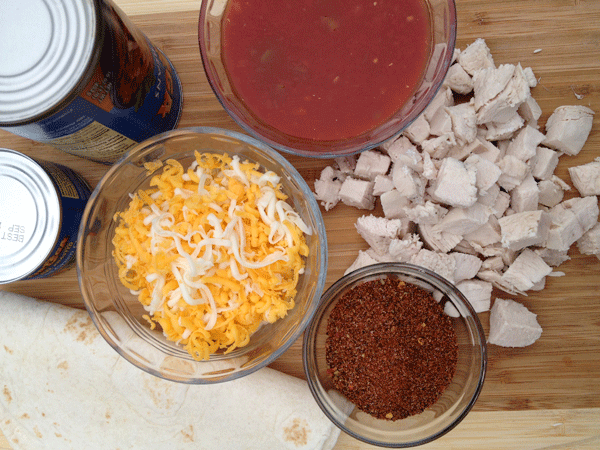
Chimichanga Ingredients

1.5 lbs cooked and cubed chicken breast
1 tbs taco seasoning
2 cups salsa
3/4 lb freshly grated cheese ( I use a mixture of cheddar and jack cheeses)
1 can roasted diced green chiles
1 can refried beans

10-12 10″ tortillas

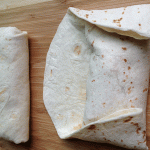
In a large bowl flavor the chicken with the taco seasoning and mix well.  Add the rest of the ingredients and mix until uniform.  Place  approximately 3/4 cup of the chicken mixture in the center of your tortilla.  Starting at one end roll the tortilla over the mixture, fold in the sides and then finish rolling it up.  If the tortillas crack upon rolling, heat the tortilla slightly on a griddle before using them.

Now you have options!

Hungry now – Heat oven to 350 degrees.  Wrap each chimichanga in aluminum foil, place on a cookie sheet and bake 20 minutes.  Remove from the oven, unwrap the chimichanga and bake an additional 10-15 minutes to crisp the outside!

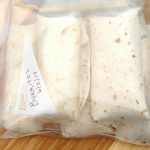
Hungry later – place chimichangas on a cookie sheet, keeping them separate.  Place the chimichangas in the freezer for at least 30 minutes.  Remove from the freezer and place your chimichangas in freezer ziplock bags.  Because you have taken the time to freeze the tortilla, they will not stick together in the bag.  The other option is to wrap each one in aluminum foil then immediately freeze.

To prepare frozen chimichangas, remove from freezer, microwave on high for 1-2 minutes.  If you want the outside crispy, toast the chimichanga in an oven for 10 minutes at 350 degrees.  My toaster oven works well for this!


Baked Chicken Chimichanga

Helpful tips:  Taco Seasoning – I make my own!  It is so much better than the packets I used to purchase before I knew better. I use the recipe from allrecipes.com!


Musical Chocolate Garnish for Cupcakes!
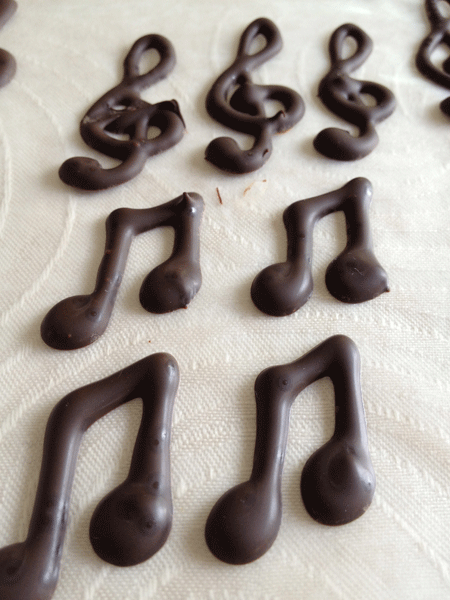
Musical Notes Chocolate Garnish

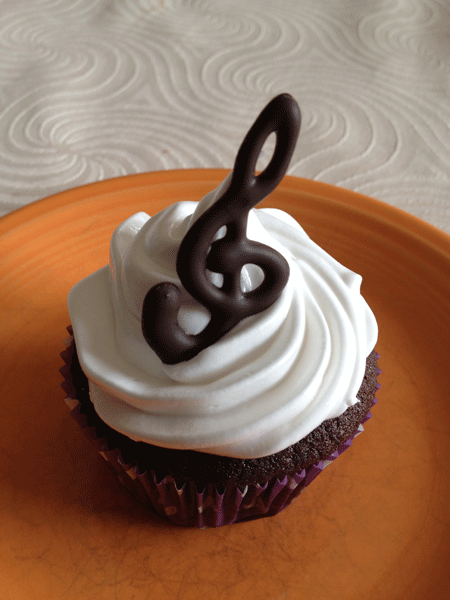
Musical chocolate garnishes for one of my favorite cupcakes!

We were attending a jazz event for my son’s school and I needed to donate a dessert!
What could be better than fabulous cupcakes decorated with a musically themed garnish!

Drawing for chocolate garnish
Musical Notes Chocolate Garnish for Cupcakes

Draw the shape you would like to create out of chocolate.  Place a piece of wax paper over the drawing and pipe melted chocolate, using a pastry bag and small round tip, over your drawing.  When finished, slide the wax paper exposing the drawing again to create multiple garnishes!

Chocolate Garnish for Cupcakes
Treble Clef Chocolate Garnish for Cupcakes

If you would like to see more about creating this delicious and fun garnish refer to my previous post – Cupcakes for Prom or any Special Occasion

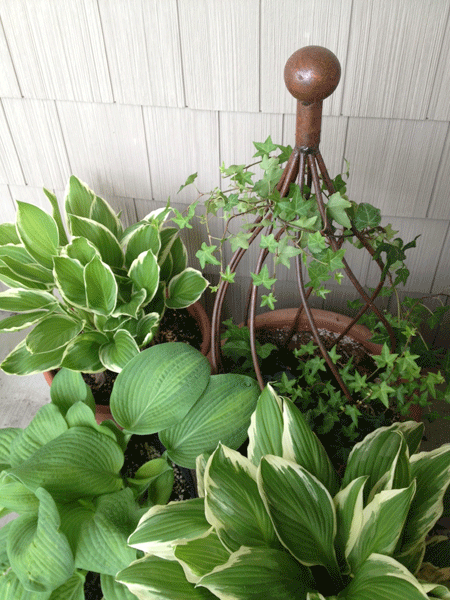
Potted Hostas


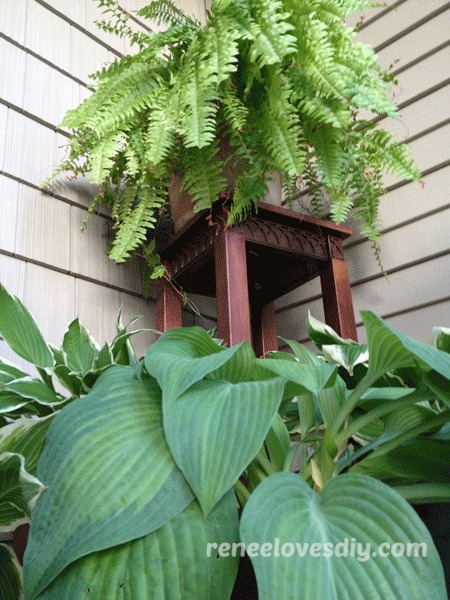
Beautiful Hostas on my Porch

Hostas, Hostas everywhere!

Now you know why I was dividing hostas this spring.  For those of you that have not read my earlier post, check out Spring is a great time to divide your perennials!

Last year, a friend of mine had adorned her front entry with hostas and I loved the look so much that I potted up some of my own!

I did go a little crazy and potted up about a dozen of them.  I really didn’t need that many, but I thought they might come in handy decorating outdoor entrances for a fall family wedding.  I have offered them up to the mother of the bride and guess what – she wants them.  Why not?  They are simple and beautiful and when your summer flowers are failing the hostas will come to the rescue!

More Hostas
More Hostas


Wine Tasting Party

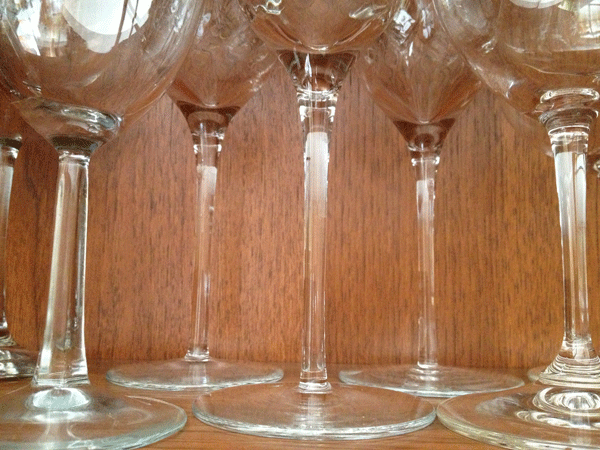
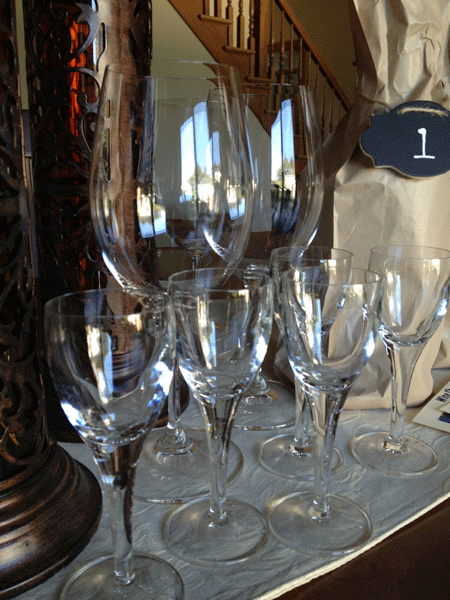
Get out the stemware - it's time for a wine party!
Get out the stemware – it’s time for a wine party!

I love wine and I love parties – put the two together and I am a happy lady!

Anyone who knows me, knows I love to have parties.  I love decorating, selecting the wine and preparing the food, but mostly I love when my guests have a wonderful time!  I like to see smiles on faces, booming laughter and my guests getting to know my wonderful family and friends they didn’t know before.  I am a people person – it’s as simple as that!

Because my husband and I both enjoy wine and sharing it with others, we have wine “tasting” parties at least once a year.  We go beyond traditional tasting and create a fun, non-intimidating wine challenge for all to participate in – and guess what – they all do and they all love it!

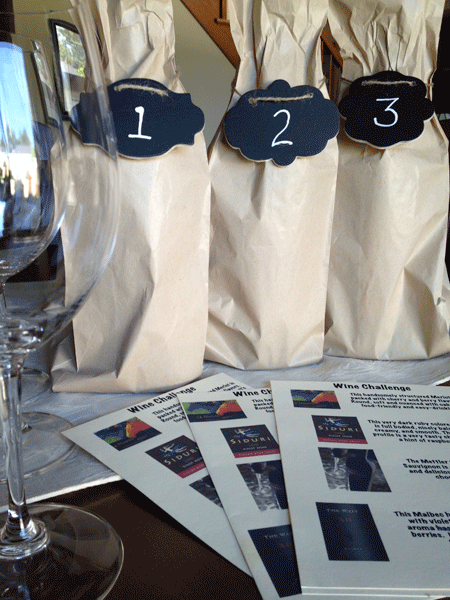
Hide the labels and number the bottles.

Preparing the wine challenge – Select 3-4 bottles of wine.  I would select  wine of one color!  Picking the chardonnay out of a line up with a pinot, cabernet sauvignon & merlot, might be a tad bit too easy for most of us!

Because we have done this challenge quite a few times, a few of our guests like to get in on the game ahead of time and provide their own special wine for the challenge.  Last time, we had a wonderful Argentinian Malbec from my neighbor.  It was a wine that was new to us and we welcomed the addition to the game!

Wine Challenge
Wine Challenge

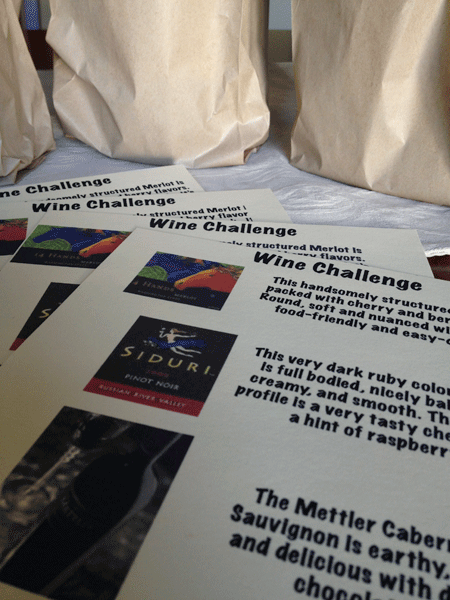
Selecting your wines ahead of time is helpful to give you time to make the challenge sheets!  I get on the computer and search for information about the wine.  On the challenge sheets, I provide the name of the wine, the type of grape used, and a description of the nuances of the wine.  Is it full bodied, earthy, jammy, does it have a hint of plum, cherry, or vanilla…Did the wine receive a high score from the wine advocate, wine spectator,  Robert Parker…

Whatever I find, I summarize and type it on the card.  If I can find a picture of the label – wonderful – I include that as well!

Wine Challenge
Wine Challenge

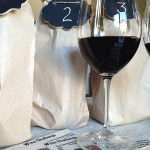
Each bottle I cover with a wine paper bag and assign it a number.  My guest’s job is to determine which wine correlates with the wine descriptions I have provided for them on their challenge card!

Above are examples of three of our wine challenges – bottom line – the picture just makes it better!

Gather the Stemware!

As my guests arrive I offer each of them a glass of wine and when most guests are present the challenge begins!  The problem is how do you taste a wine when everyone already has wine in their glass – wine is not for gulping down!  This is not beer!

Luckily, my husband had a great solution.  We used our aperitif glasses for the wine challenge.  For some reason, we have two dozen of these.  We rarely have aperitifs, but we do have the glasses – that’s what’s important – right?

Now I know – it you are a true wine snob, you know this isn’t ideal.  The wine has limited space to be swirled and the aromas may not hit your nose properly, but sometimes you gotta work with what you have.

The aperitif glasses really did work very well for keeping track of glasses.  Each guest had their wine glass and their tasting glass and each was clearly distinguishable!  It was one of those rare times that – yes – my husband was right!

The only thing left to do is have fun, celebrate your friends and enjoy your wine!

Ok- maybe not so fast – you need to create your guest list, make invitations, put together a menu, think about decorations, go shopping…

Creating a Fabulous & Functional Entryway


Boring foyer
Boring foyer

Check out my entryway – Boring!

The wood work is beautiful, the door is lovely, but the space needed inspiration!

It needed –
A Mirror – nothing is nicer than to take a quick peek in a mirror before heading out the door – even if what you find scares you!
Hooks – a spot for your guests to hang a jacket where they can easily find it again and it keeps them out of the front closet dumping ground!
Bench – a place to have a seat and slip on your boots on cold and snowy, winter days in Wisconsin!

Mirror
Mirror

Inspiration for me arrived in the form of a mirror.

One day while strolling thru T.J. Maxx I spotted the most lovely mirror!  I strode past it…circled around the store and strode past it again….debating with myself…should I…no, you don’t need it…it’s so cute…no, really, you don’t’ need it.  I left the store without the mirror.

Upon returning home – I took one look at my foyer, grabbed my keys and pointed the car in the direction of T.J. Maxx.

Luckily, the mirror was still there. If you are a T.J. Maxx shopper you know – if you think you want it – grab it or it will be gone by the time you get back!

The stars were aligned for me that day – the mirror was mine! As I was walking to the checkout with my prize – not one, but two ladies commented on the mirror and how they too had been thinking about purchasing it –  sorry ladies – too late!

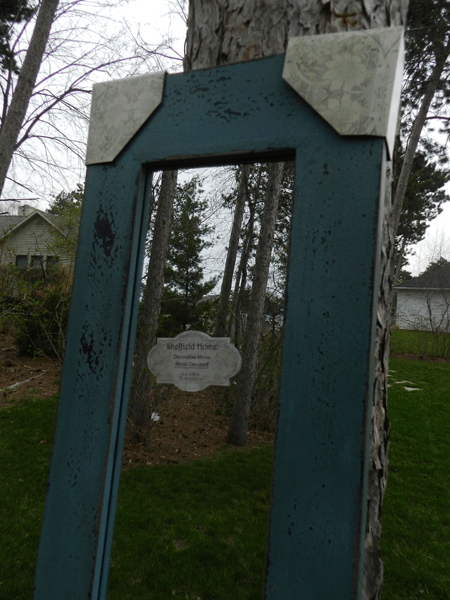
The mirror is by Sheffield Home.  I tried to find a similar one online, but I was unsuccessful.  You may have better luck!

To finish my foyer I needed to hang my mirror and a super cool set of Three Dot Coat Hooks that I ordered from CB2…love that store!  In an earlier post this week – Applying Varnish to Beautify and Protect Wood, I talk about CB2 and how to varnish the coat hooks since they come unfinished.

I gathered my tools – ok – my husband gathered the tools.  I couldn’t find the level or the stud finder.  Maybe I didn’t look hard enough!  The other tools I needed were a hammer, measuring tape, phillips head screw driver, a couple of nails and a wonderful invention called the  EZ Anchor!  When I discovered these, I never waited for my husband again to hang up a picture – so easy to use!

Tools of the trade
Tools of the trade

The last tool I utilized was a drill, since I was lucky enough to find a stud in the right spot for my mirror!

The first thing to go up was the mirror!
Did you see it – it’s so pretty!  You can tell I love it – can’t ya!

Mirror
Mirror

I started with the mirror because I really wanted to find at least one stud to hang it on.  Then, depending on the location of the mirror, the coat hook locations could be adjusted.

Using my trusty stud finder, I located the spot and hammered in a nail.  I always start with a nail because the stud finder only gives you a general area.  Usually it’s very close, but sometimes your stud may be just to the right or left and you don’t want to drill a bunch of holes in your wall.  My wish is to use the drill once!

After locating the stud, I pulled the nail, drilled the hole and secured a screw for my mirror to hang on.  This mirror came with two hooks.  To make sure the second screw was level with the first  – I used the level!  I located the spot, and this time I used an EZ anchor.  I secured it then screwed my screw into the anchor and hung my mirror!

Voila – it was perfectly level!

Am I good or what?

Now on to hanging those fabulous Dot Coat Hooks!

CB2 Dot Coat Hooks
CB2 Dot Coat Hooks

To help me decide on the placement of the hooks, I cut out three brown paper circles and taped them to the wall in the area I wanted the hooks to be hung.  The paper circles were much easier to move than the real thing.

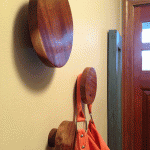
After that it was easy! I marked my spot, made a hole with my nail, then secured an EZ anchor.  The dots came with their own anchors, but I like these so much I used them instead. Finally, the  coat hooks arrive with screws attached to the back so a simple twist of the coat hook into the anchor was all that was required!I

Beautiful black walnut bench

My final addition to the entryway was a beautiful black walnut bench crafted by my father. Check out the post about the bench!

Finally – somewhere to sit!

The lack of seating was a common complaint from my 83 year old father.   The bench not only remedied that problem, but does it with style!

Foyer
Foyer

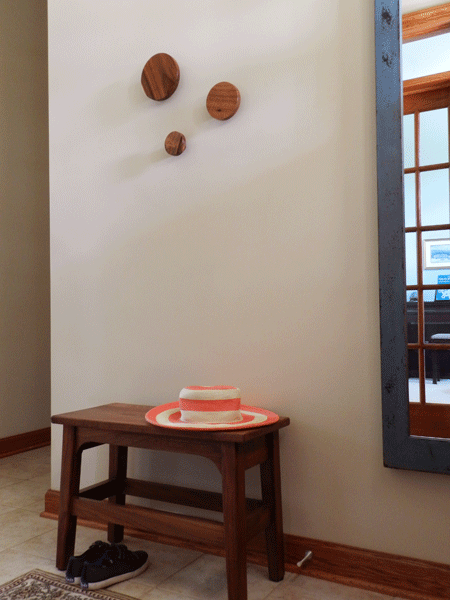
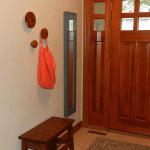
Here is my beautiful Foyer where I am excited to greet my guests.

I have combined traditional, modern and distressed styles to create a beautiful space.  You can too!  The key is – Don’t be afraid!  Just try it!   (And get some EZ anchors!)


Beautiful Black Walnut Bench

Beautiful Black Walnut Bench

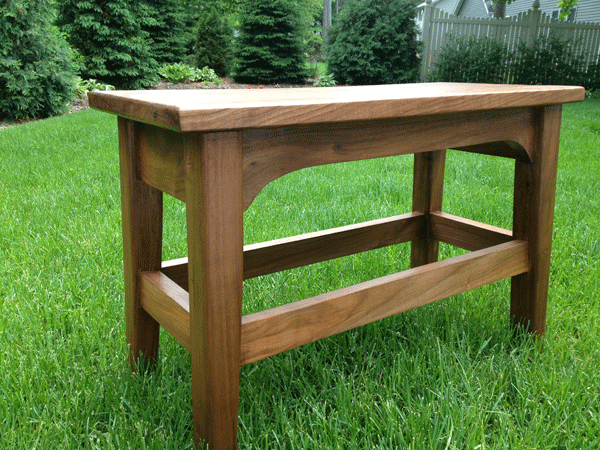
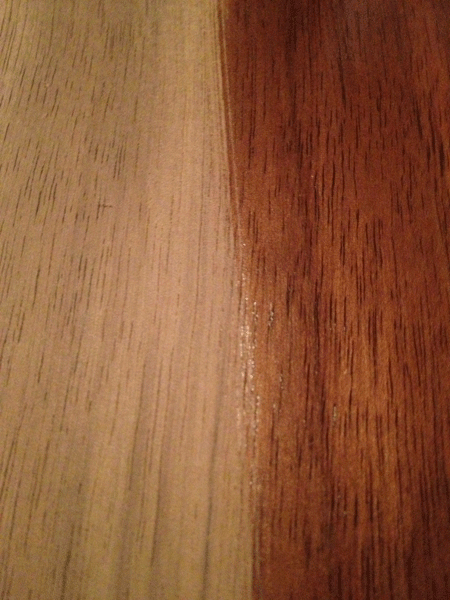
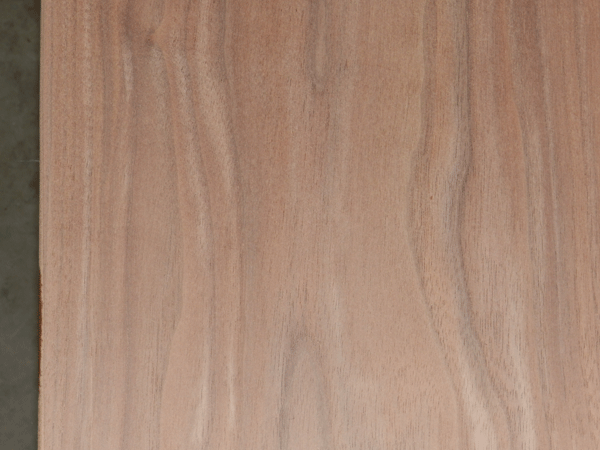
The black walnut bench, seen in the picture,  was built by my 83 year old father.  He creates beautiful pieces and one of his favorite woods to work with is – you guessed it – black  walnut.  It is beautiful, easy to work with and rarely requires stain.  Varnish is usually all that is required to create the beautiful color you see in the picture.

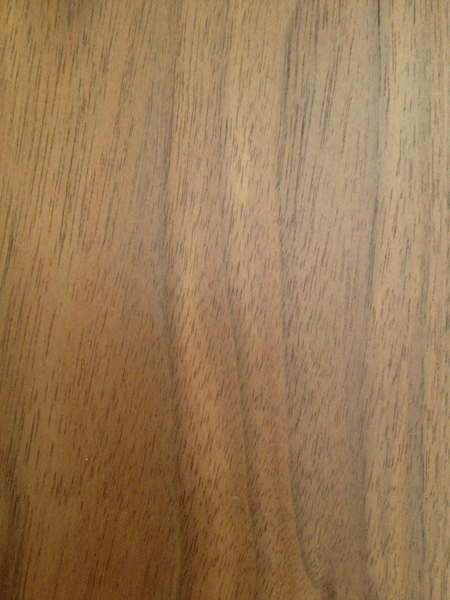
Black walnut has many shades of brown, some grey and a beautiful grain.  For those of you not familiar with this type of wood, it is beautiful.

Black walnut with matte finish varnish.

Here is a link to a wood working shop that has a funny story about black walnut and why furniture craftsmen dislike paint!  My father is included in that category!  No wood craftsman wants to cover nature’s graceful grains, especially when it is black walnut!

Since my father does not enjoy staining or varnishing, that job usually falls in my court and I am happy to do it.  My home is filled with beautiful furniture that he has built and I have finished.

Because black walnut naturally has a beautiful color,  the only finish usually required it a smooth coat of varnish.  In a previous post – Applying Varnish to Beautify and Protect Wood, I briefly discuss applying varnish to unfinished wood.  The project I wrote about in that post was very simple, but honestly, varnishing this bench was done the same way.  There was just a lot more ground to cover!

Unfinished black walnut bench

The most important aspect of varnishing is to make sure the surface you are about to varnish is smooth – very smooth.   That means sanding everywhere and don’t forget areas like  – under the seat sides,  where you may curl your fingers while relaxing on the bench.  Nobody wants  a splinter!

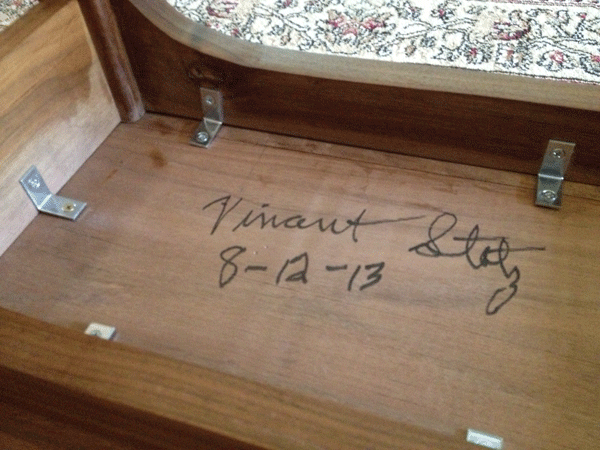
When I work on a project like this,  I will sand and varnish every inch of the bench except perhaps under the seat where the craftsman’s autograph might be found!

Signature of the woodcrafter!

The most challenging areas of my bench were around the legs.  Any glue that had oozed out of the joints had to be removed.  I used sand paper, a sanding sponge and even a chisel when necessary.  The varnish will not absorb into the wood if the glue is present and you will see a discoloring in your project.  Bottom line – remove all traces of glue!

As far as the number of coats to apply, refer to your can of varnish.  For a project like this, where the bench is in a high traffic area, I applied three coats to the entire bench and a fourth coat to the seat area.  Between each coat, I lightly sanded any rough areas and thoroughly wiped the surface clean before applying the next coat.


Black walnut with and without varnish.

Check back to my site tomorrow to see where, in my house, the bench and CB2 dot coat hooks were used!  These pieces are beautiful, useful  and oh so fun!

Applying Varnish to Beautify & Protect Wood

CB2 Dot Coat Hooks
CB2 Dot Coat Hooks

One of my favorite furniture and decor sites is CB2.  The site is a spin off of Crate and Barrel and if you have never visited the site, you must check it out.  In their stores and on the website, you will fun and modern: furniture, storage ideas, decor, gifts…

A few years ago I purchased a bar height table for my basement.  It is sturdy, a perfect size, and kid tough!

CB2 Table
CB2 Table

They no longer carry that exact table, but something similar would be the
stilt 42″ high dining table.

Now back to the purpose of this post – making wood beautiful with varnish!

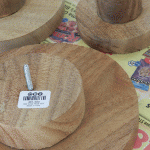
I purchased a set of three Dot Coat Hooks from CB2.  They are fun, useful and decorative, but they come in an unfinished wood.  The hooks can be used the way they arrive, but unfinished wood will usually discolor in the areas were they are touched repeatedly.  Plus, when you see how pretty they are with varnish, you will want to do the same.

To prepare the wood, you need to sand until smooth, wipe clean and varnish, but before you can do that you must gather your tools!

Tools of the trade!
Tools of the trade!

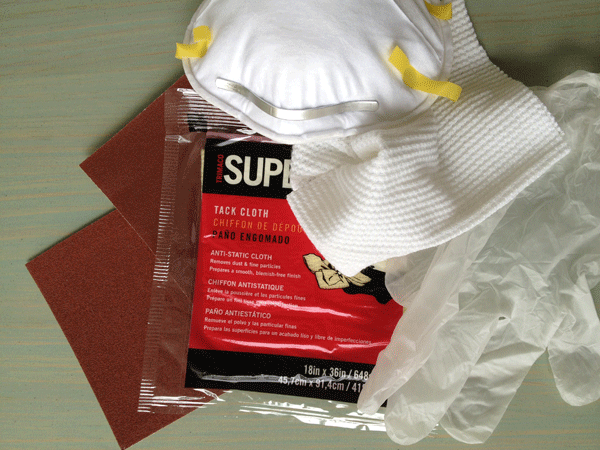
Tools of the trade:  sand paper, a mask, rubber gloves, rags, tack cloth and varnish.

For sanding, use sand paper or one of my favorites – a sanding sponge.  Depending on how rough the dots are, start with a medium grit (60-80) and end with a fine grit (100-150)

Before applying varnish, wipe the wood clean with a cloth then use a tack cloth.  Tack cloth is cheese cloth that has been treated with a substance to make it sticky.  Wipe this over the wood and it will pick up any dust left behind by your cloth.  The cleaner your wood is before you varnish, the nicer the resulting finish will be.

Now you are ready to varnish!  Always follow the directions on your varnish can, use gloves, and work in a well ventilated area.  I usually use a rag to apply the varnish, but use whatever you feel comfortable with.  For my dots, I used a satin finish varnish.

Before you begin – use a mask!  Use for both the sanding and varnishing!
Please protect the wonderful being that you are!

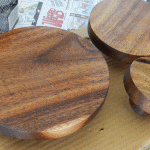
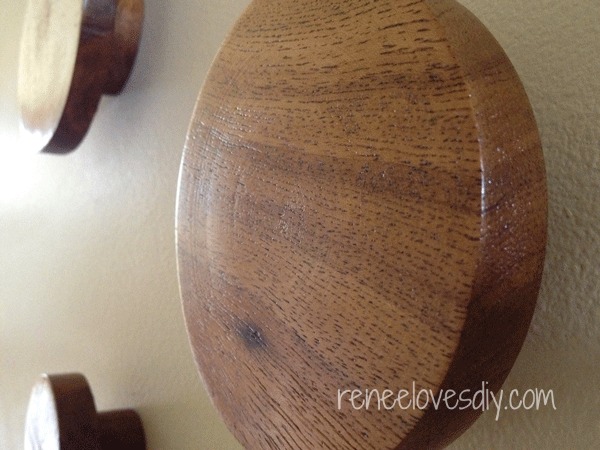
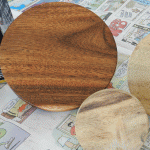
As you can see in the picture, the varnish brings out the grains in the wood wonderfully.
The varnish will protect your wood and make it beautiful!  For my dots, I applied three coats of varnish.  Before applying additional coats of varnish, lightly sand any rough areas, thoroughly clean and apply your next coat!

Come back to my site in a couple of days to see where I am using the Dot Coat Hooks!